 Hüpattl! Software
On one computer
For you if your photos are on your Mac or PC — or on a NAS you open in the Finder or Explorer — and you work at that computer.

Your photos. Your browser. Zero cloud.
Install it on a Mac or a PC, on a NAS, or on both at once — two installations share one set of galleries.
Unterlumen runs as a local web server and handles your photo workflow in the browser: browse and cull your shots, sort them into folders, build a searchable library, see where they were taken on a map, and publish galleries to your own website. Nothing leaves your computer unless you publish it.
From a quick scan of a folder to a single photo at full screen.
Your folders as they are on disk, in a justified grid, a square grid or a list, sorted by name, date or size.
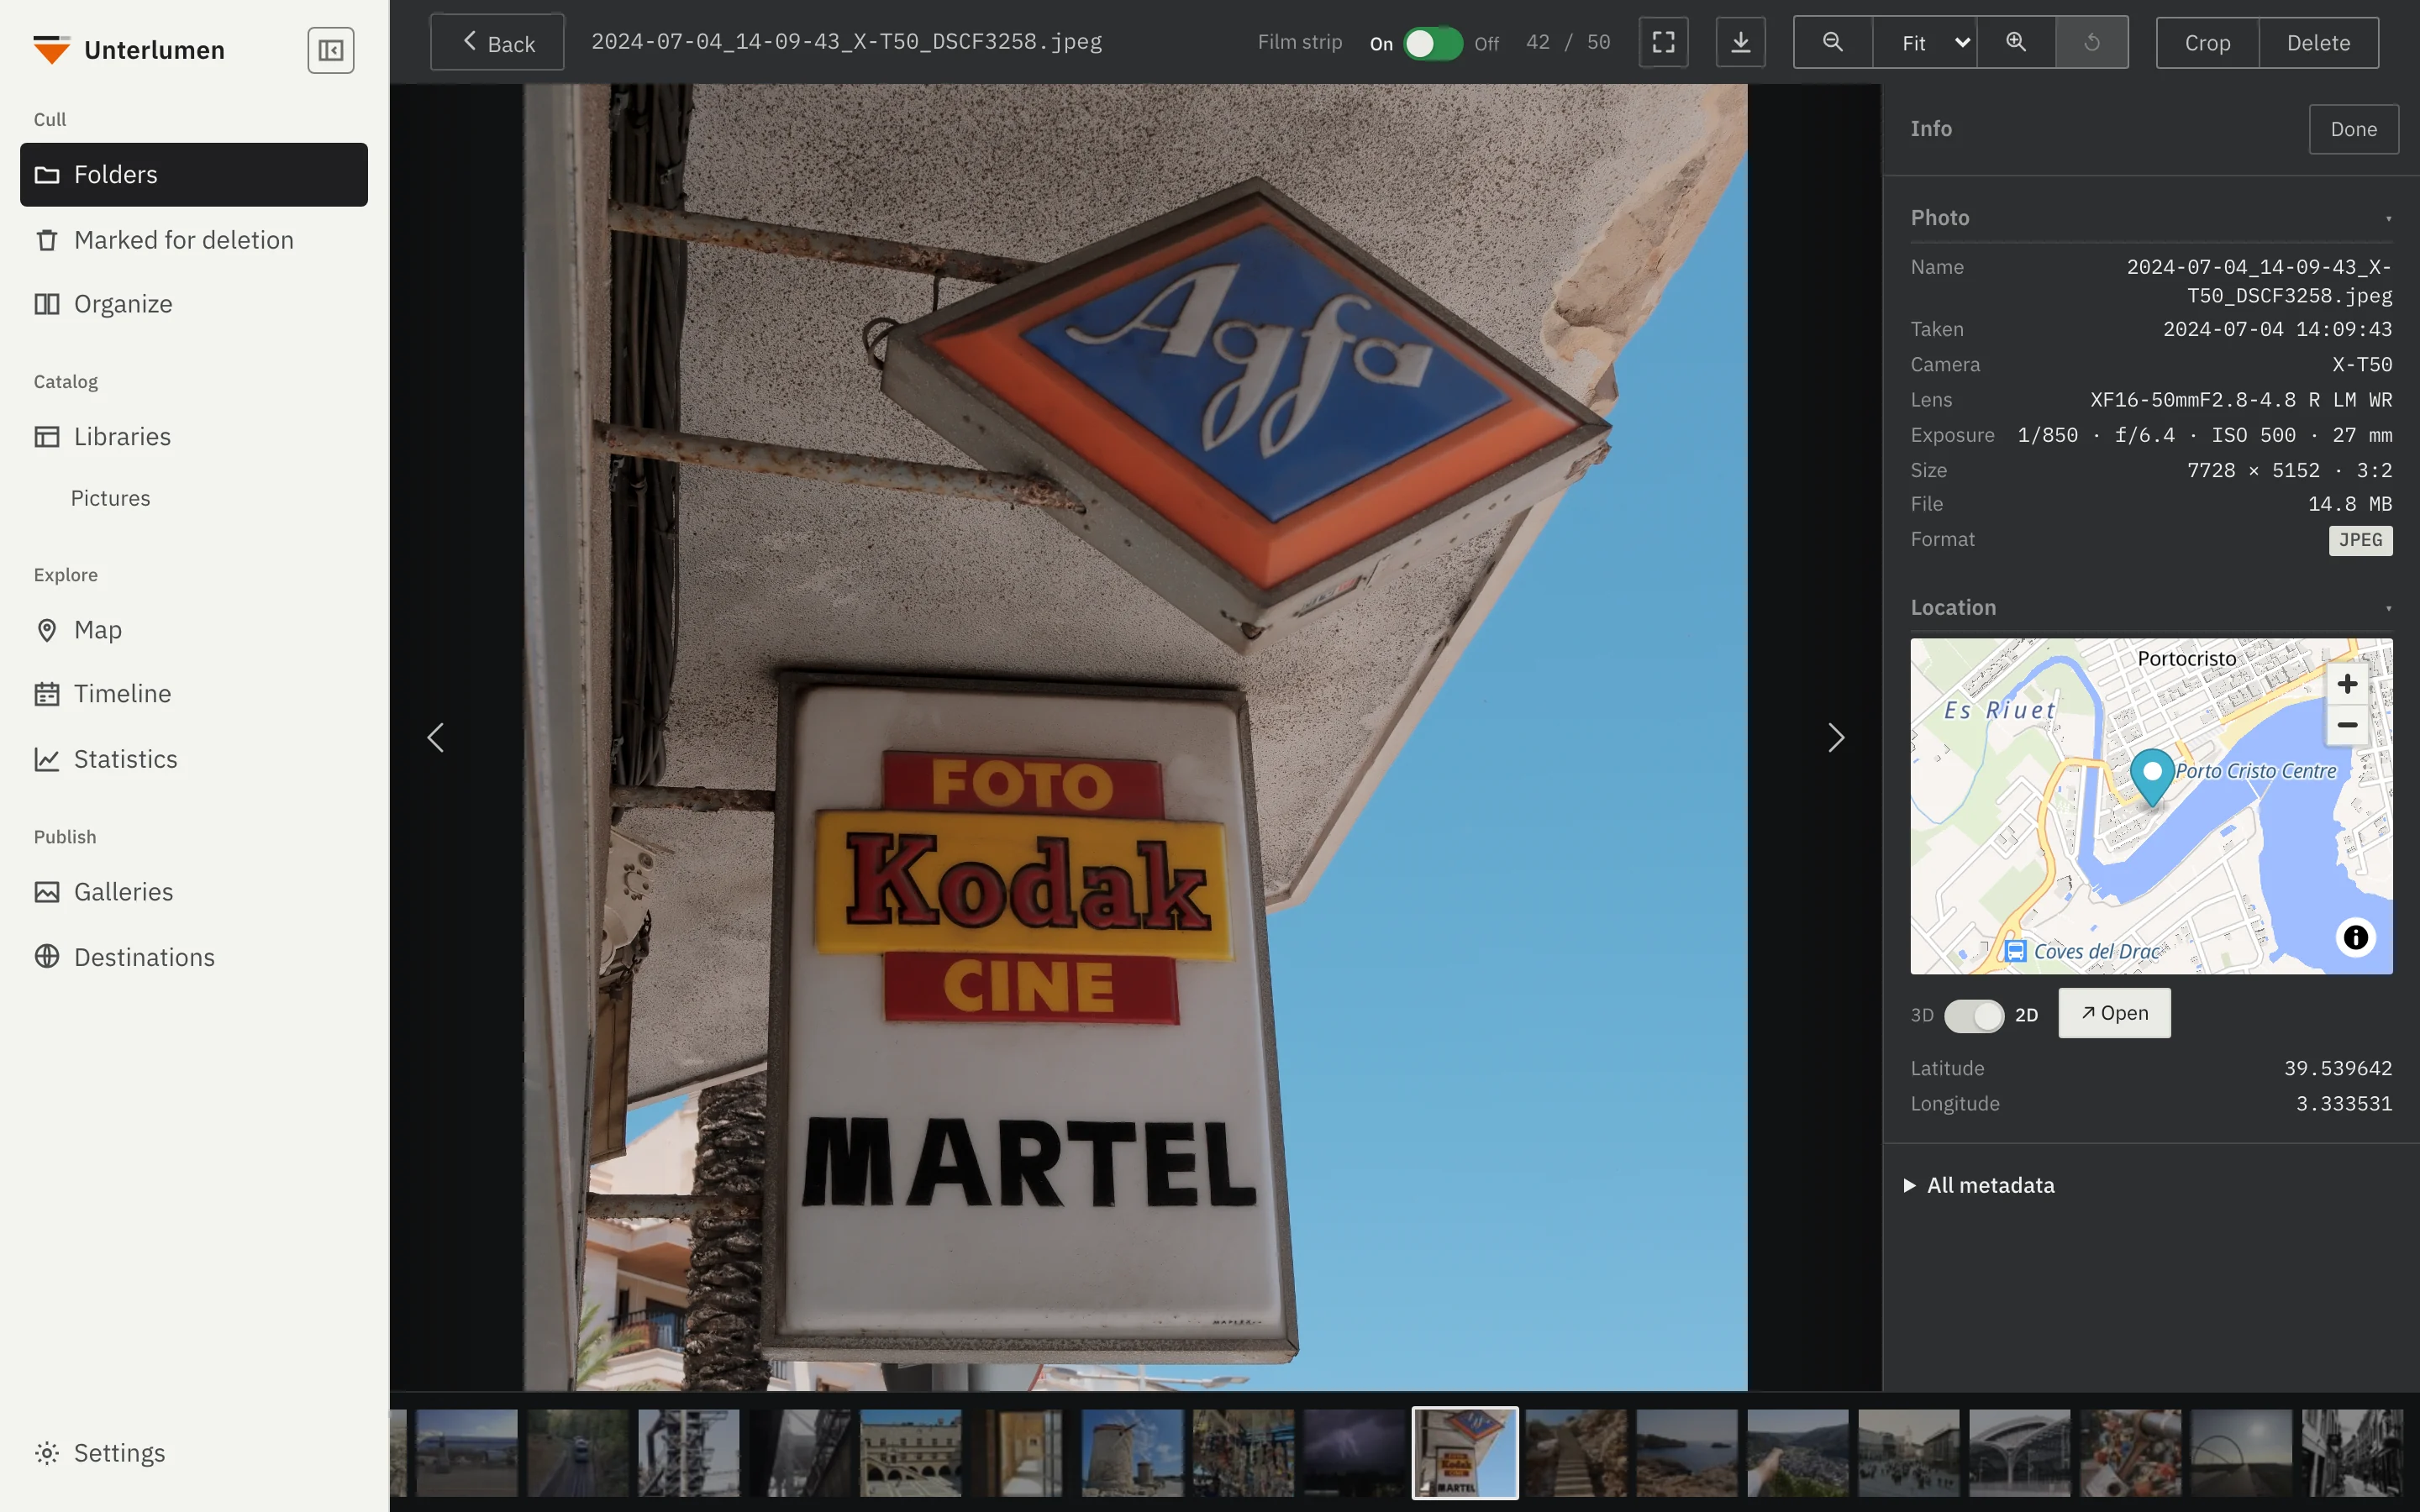
One photo at a time with the arrow keys, a film strip below and its metadata and location beside it. Full screen with one button.
A slideshow in the browser's full screen, for going through a shoot or showing it to others.
Crop in the viewer, freehand or at a fixed aspect ratio. The file is saved in place and keeps all metadata, including the Fujifilm film simulation.
EXIF data, the place a photo was taken on a small map, and the Fujifilm film simulation your camera recorded.
Follows your system's light or dark setting, or keeps the one you choose.
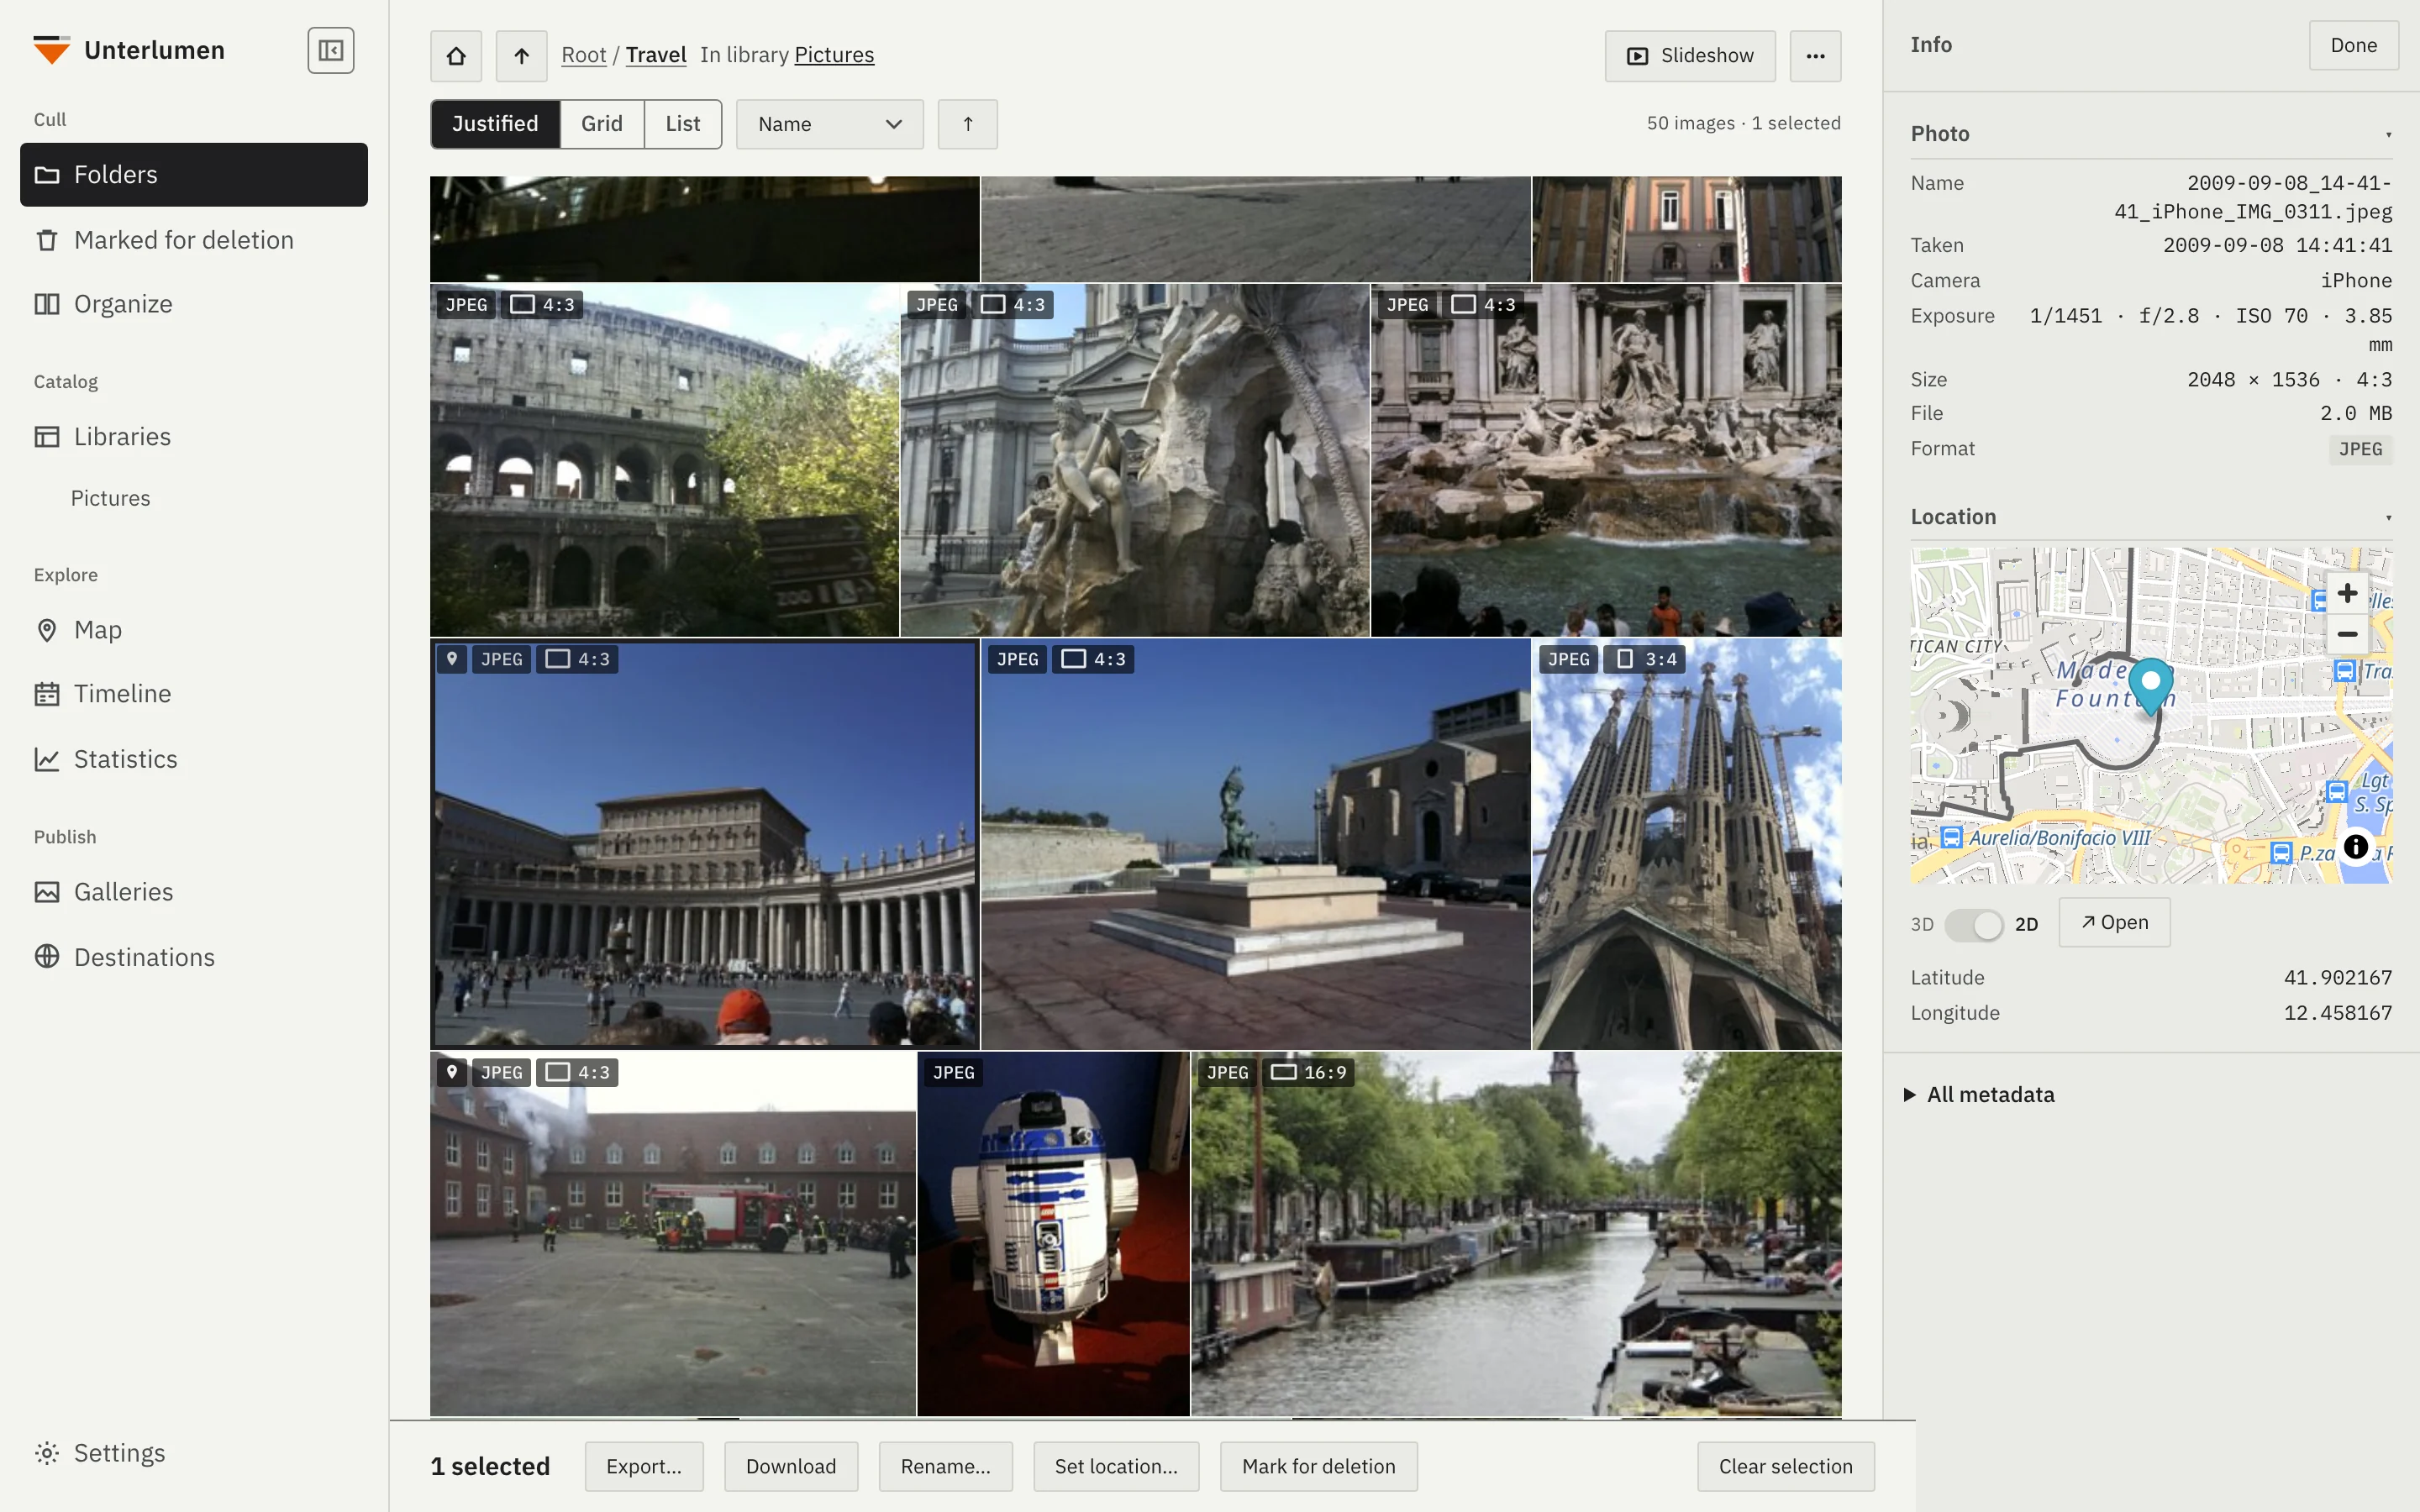
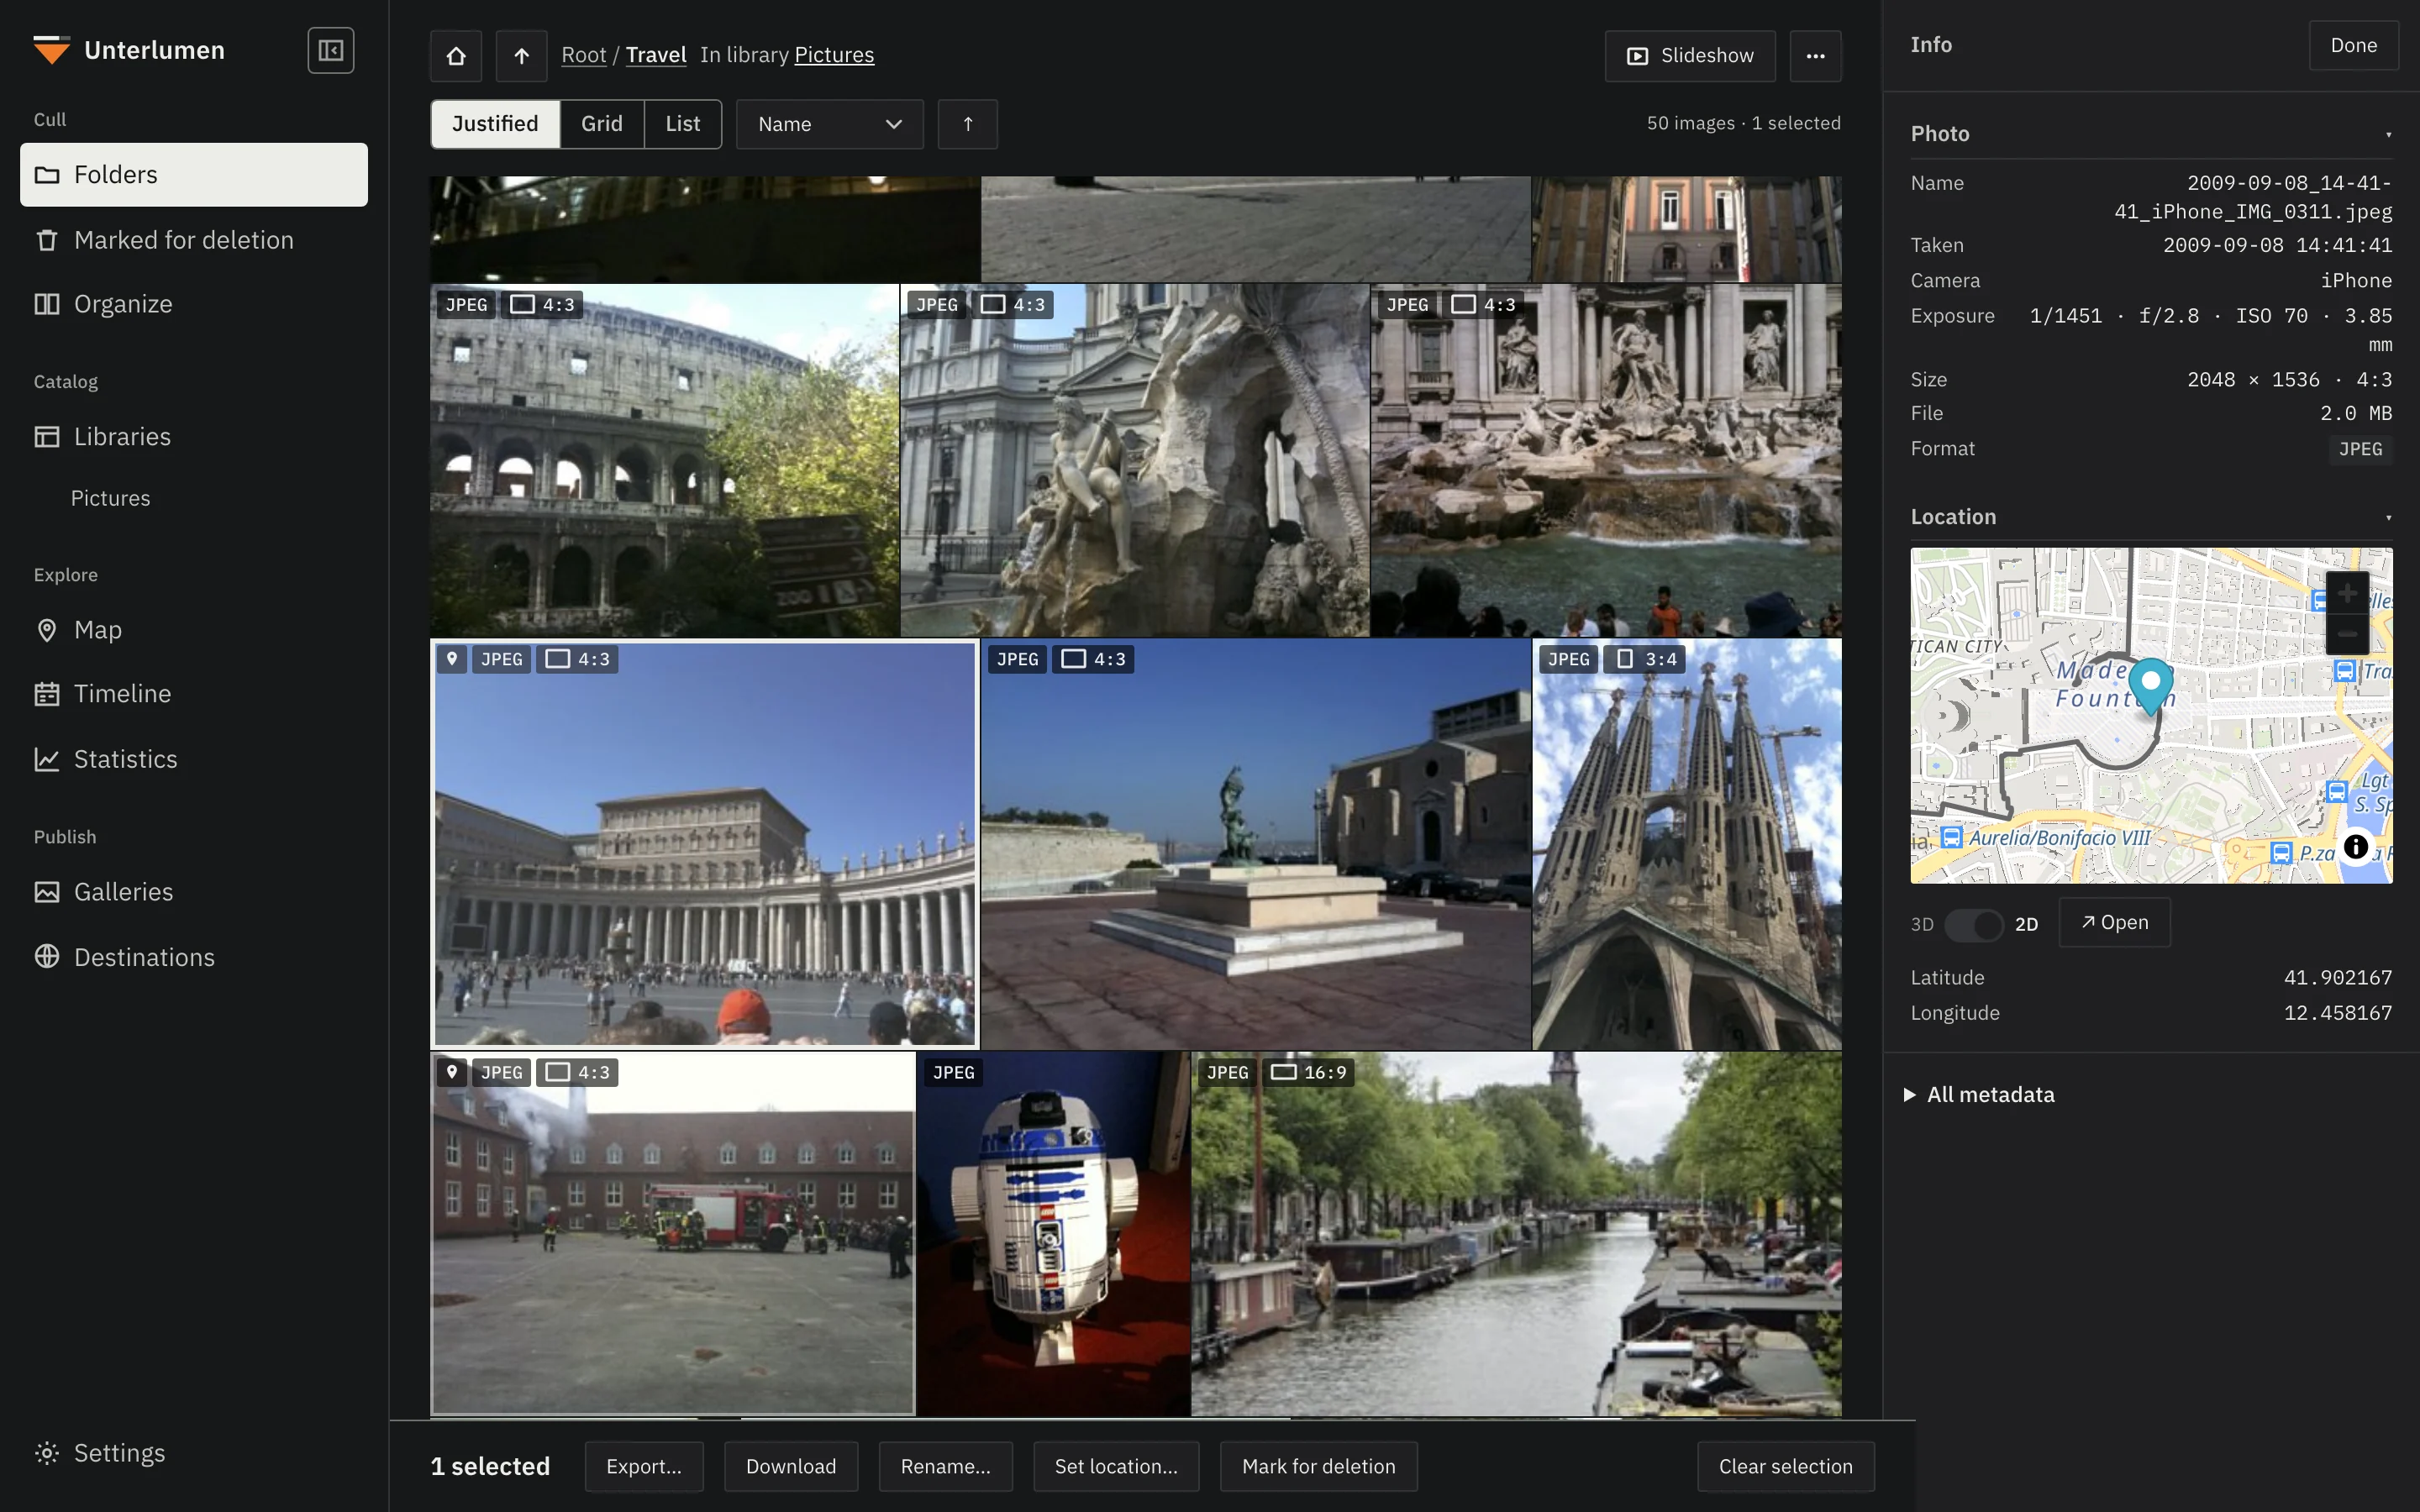
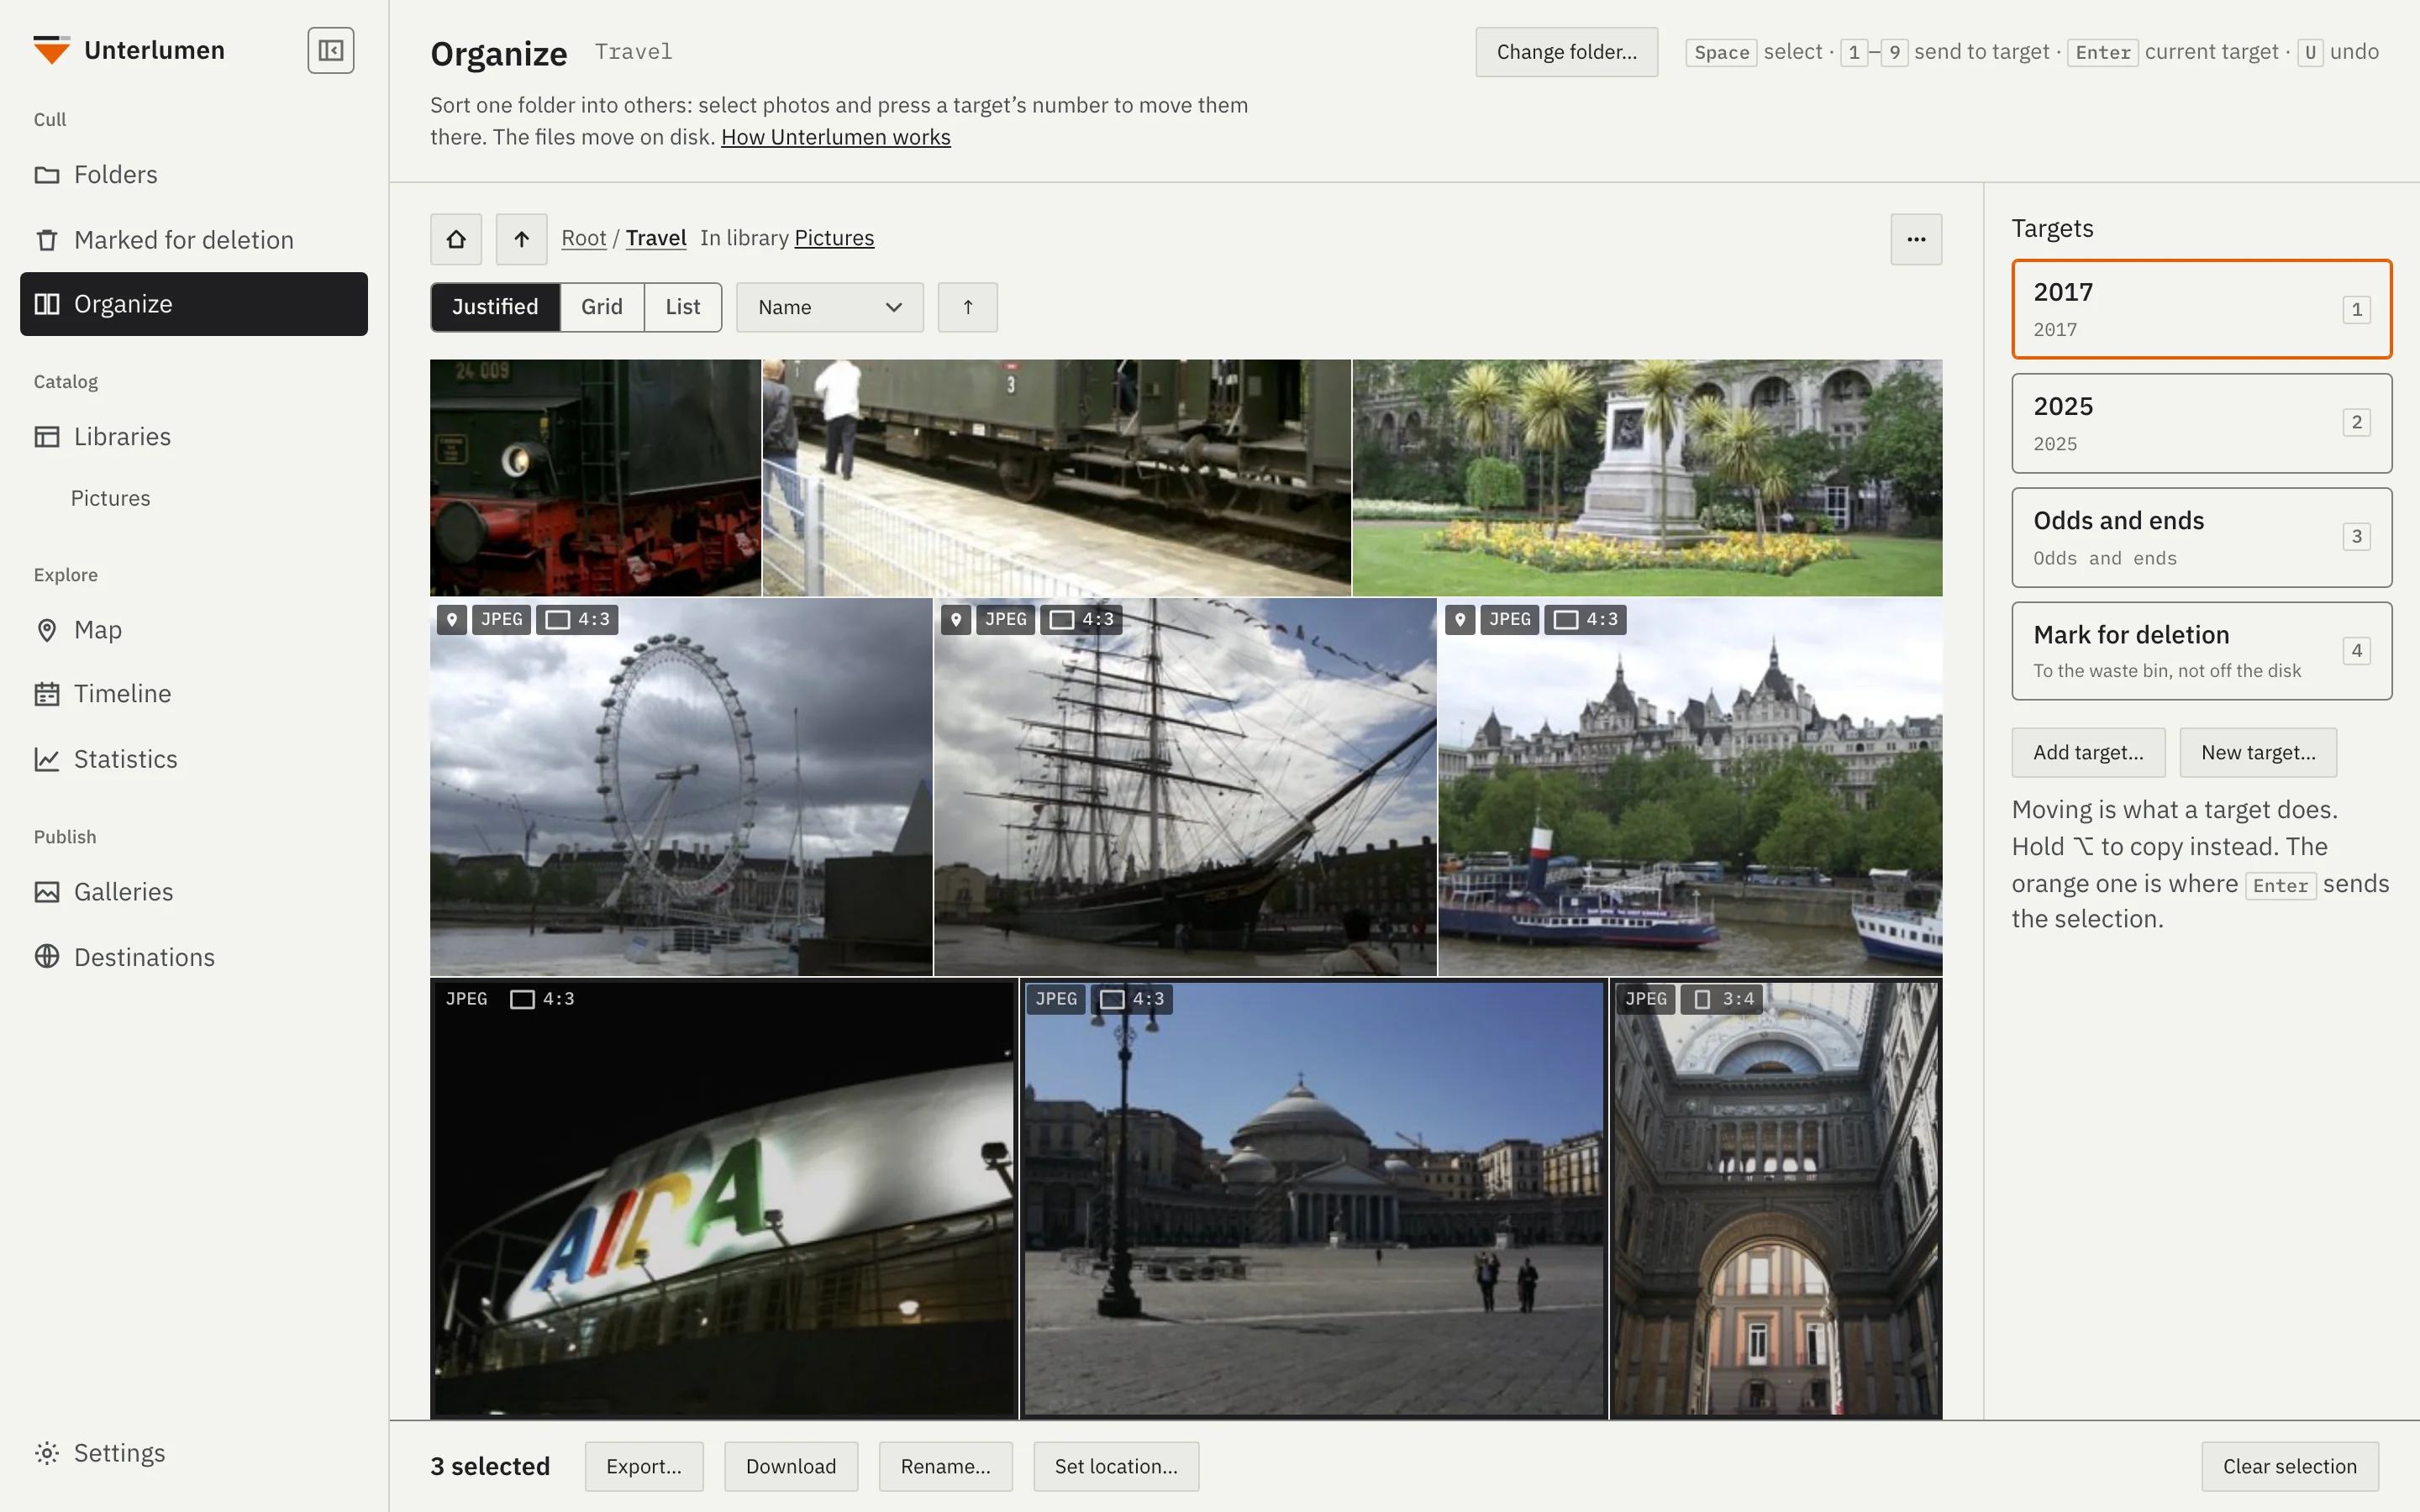
Sort a shoot into folders, set aside what goes, fix names and places.
The folder you are sorting on one side, your target folders on the other, each with a number key: select, press the key, done. Hold ⌥ to copy, press U to take the last move back.
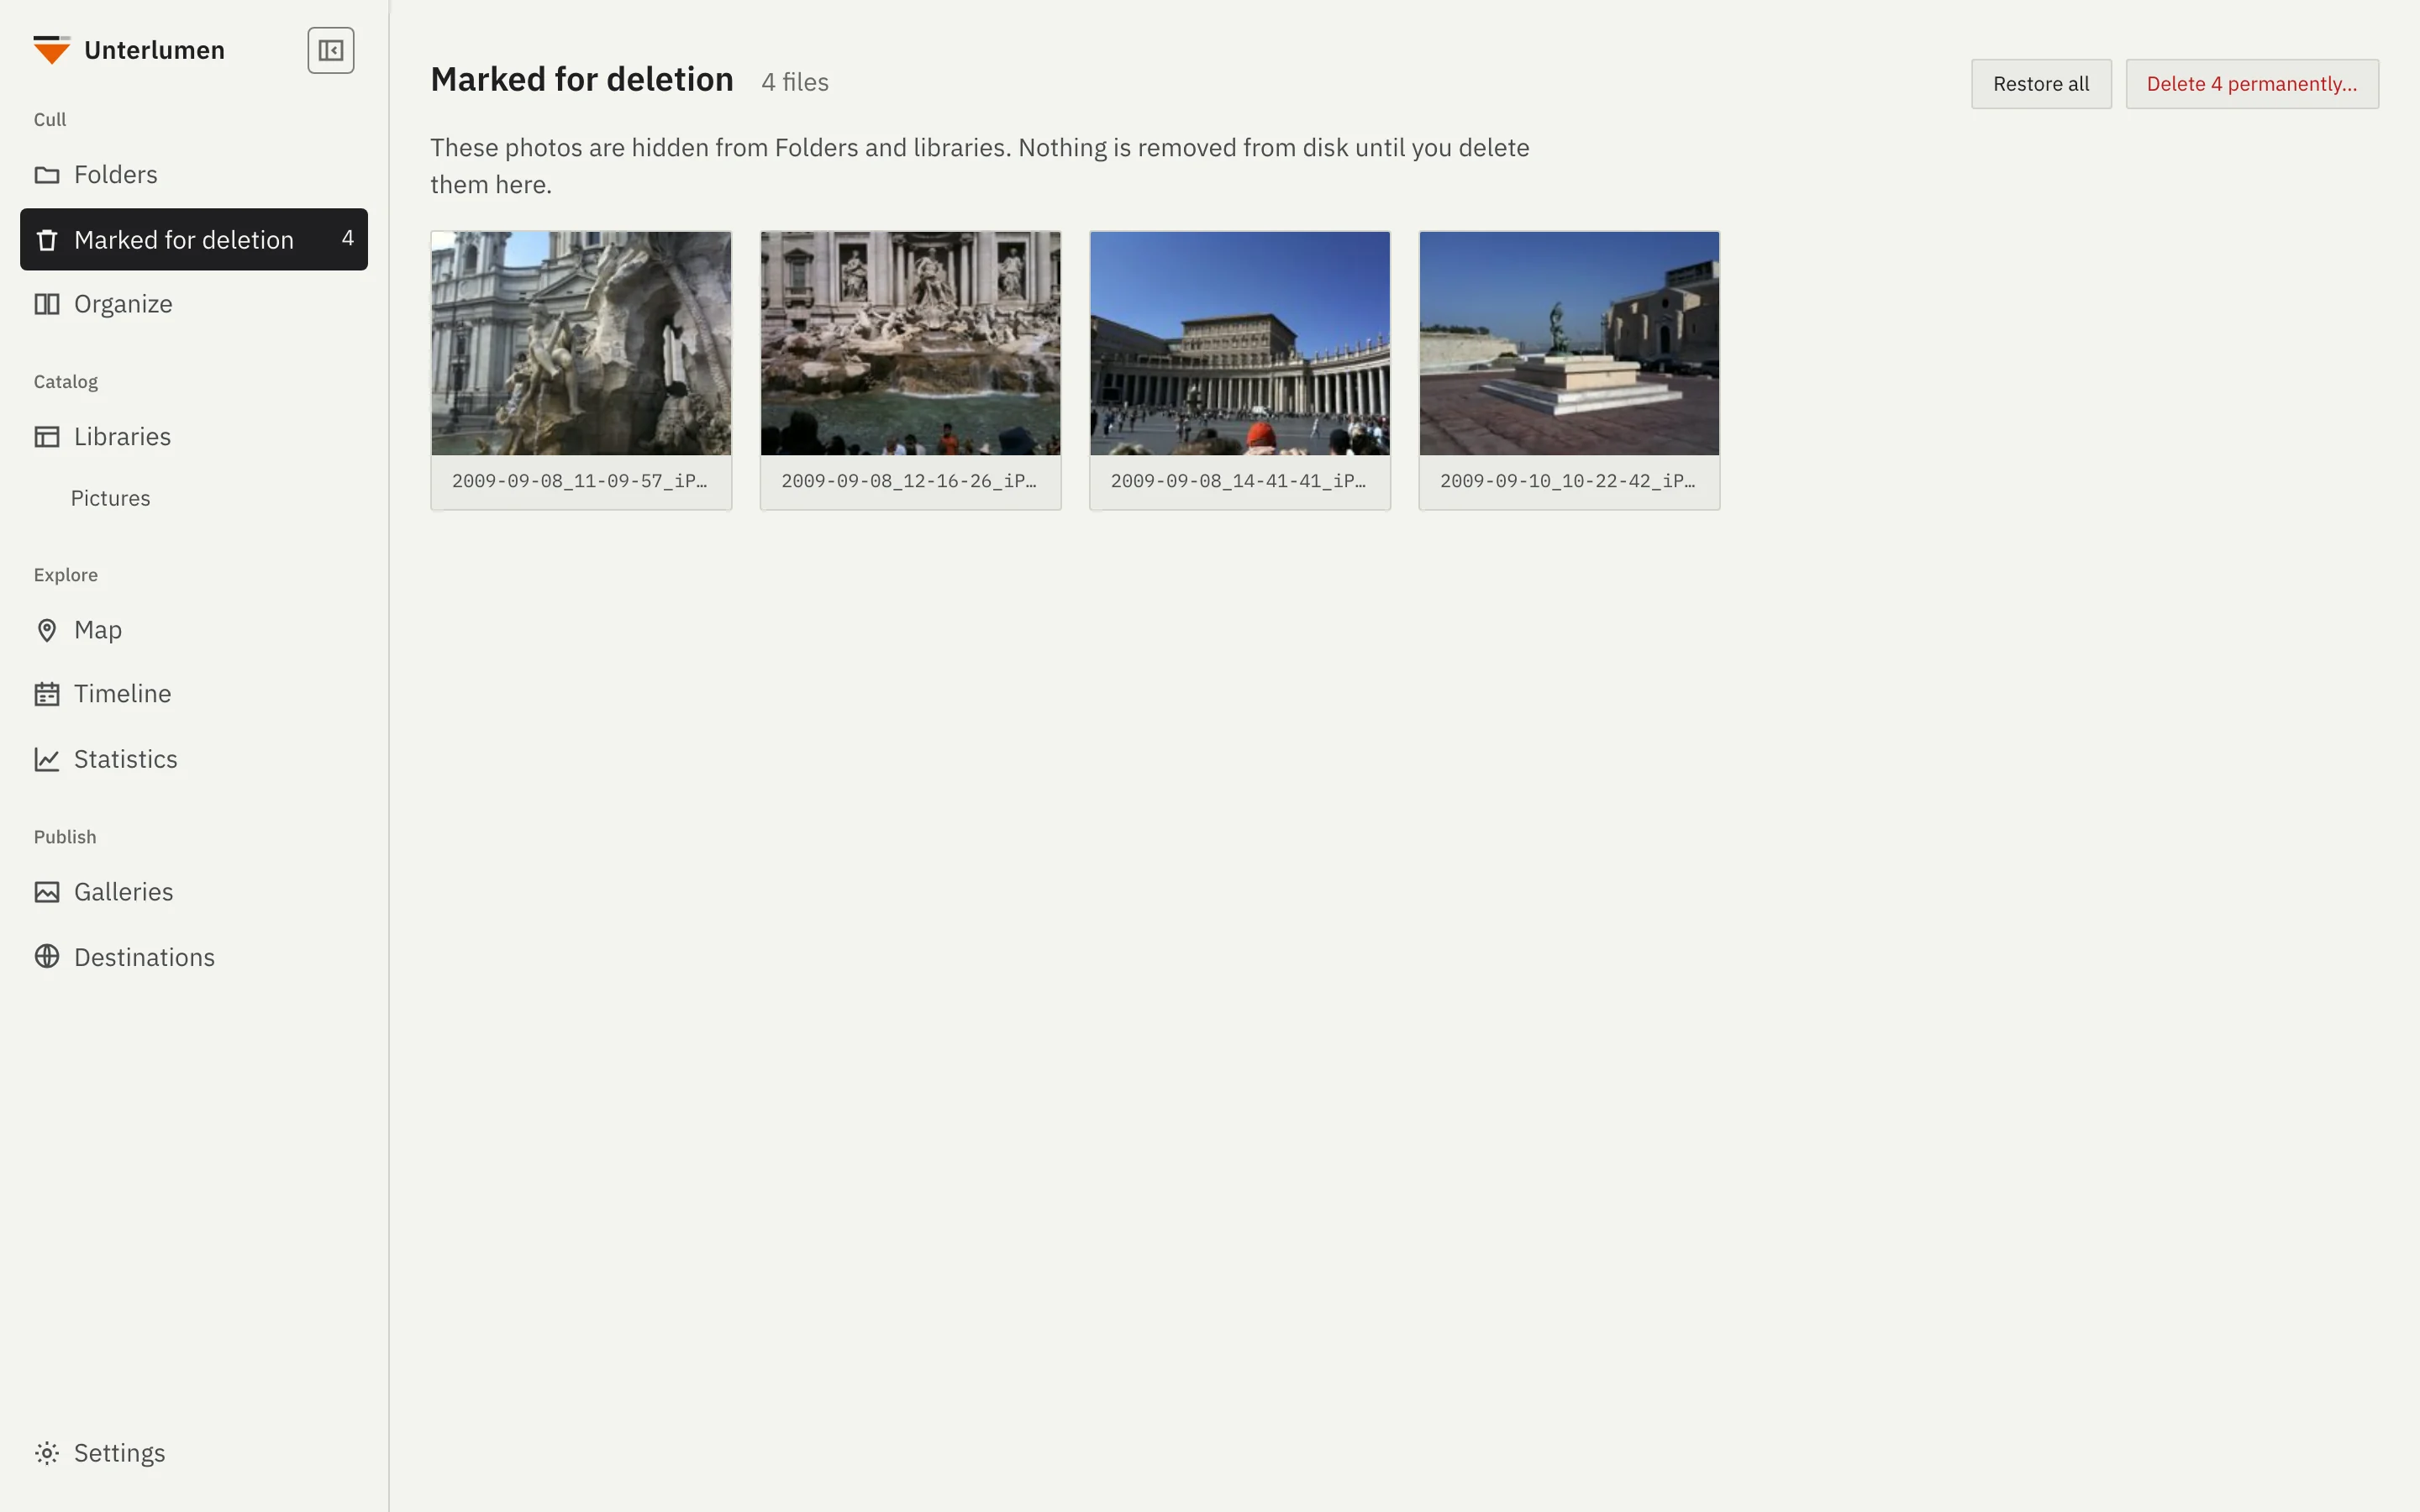
Photos you mark disappear from view but stay on disk. You look at them once more, then delete them or restore them.
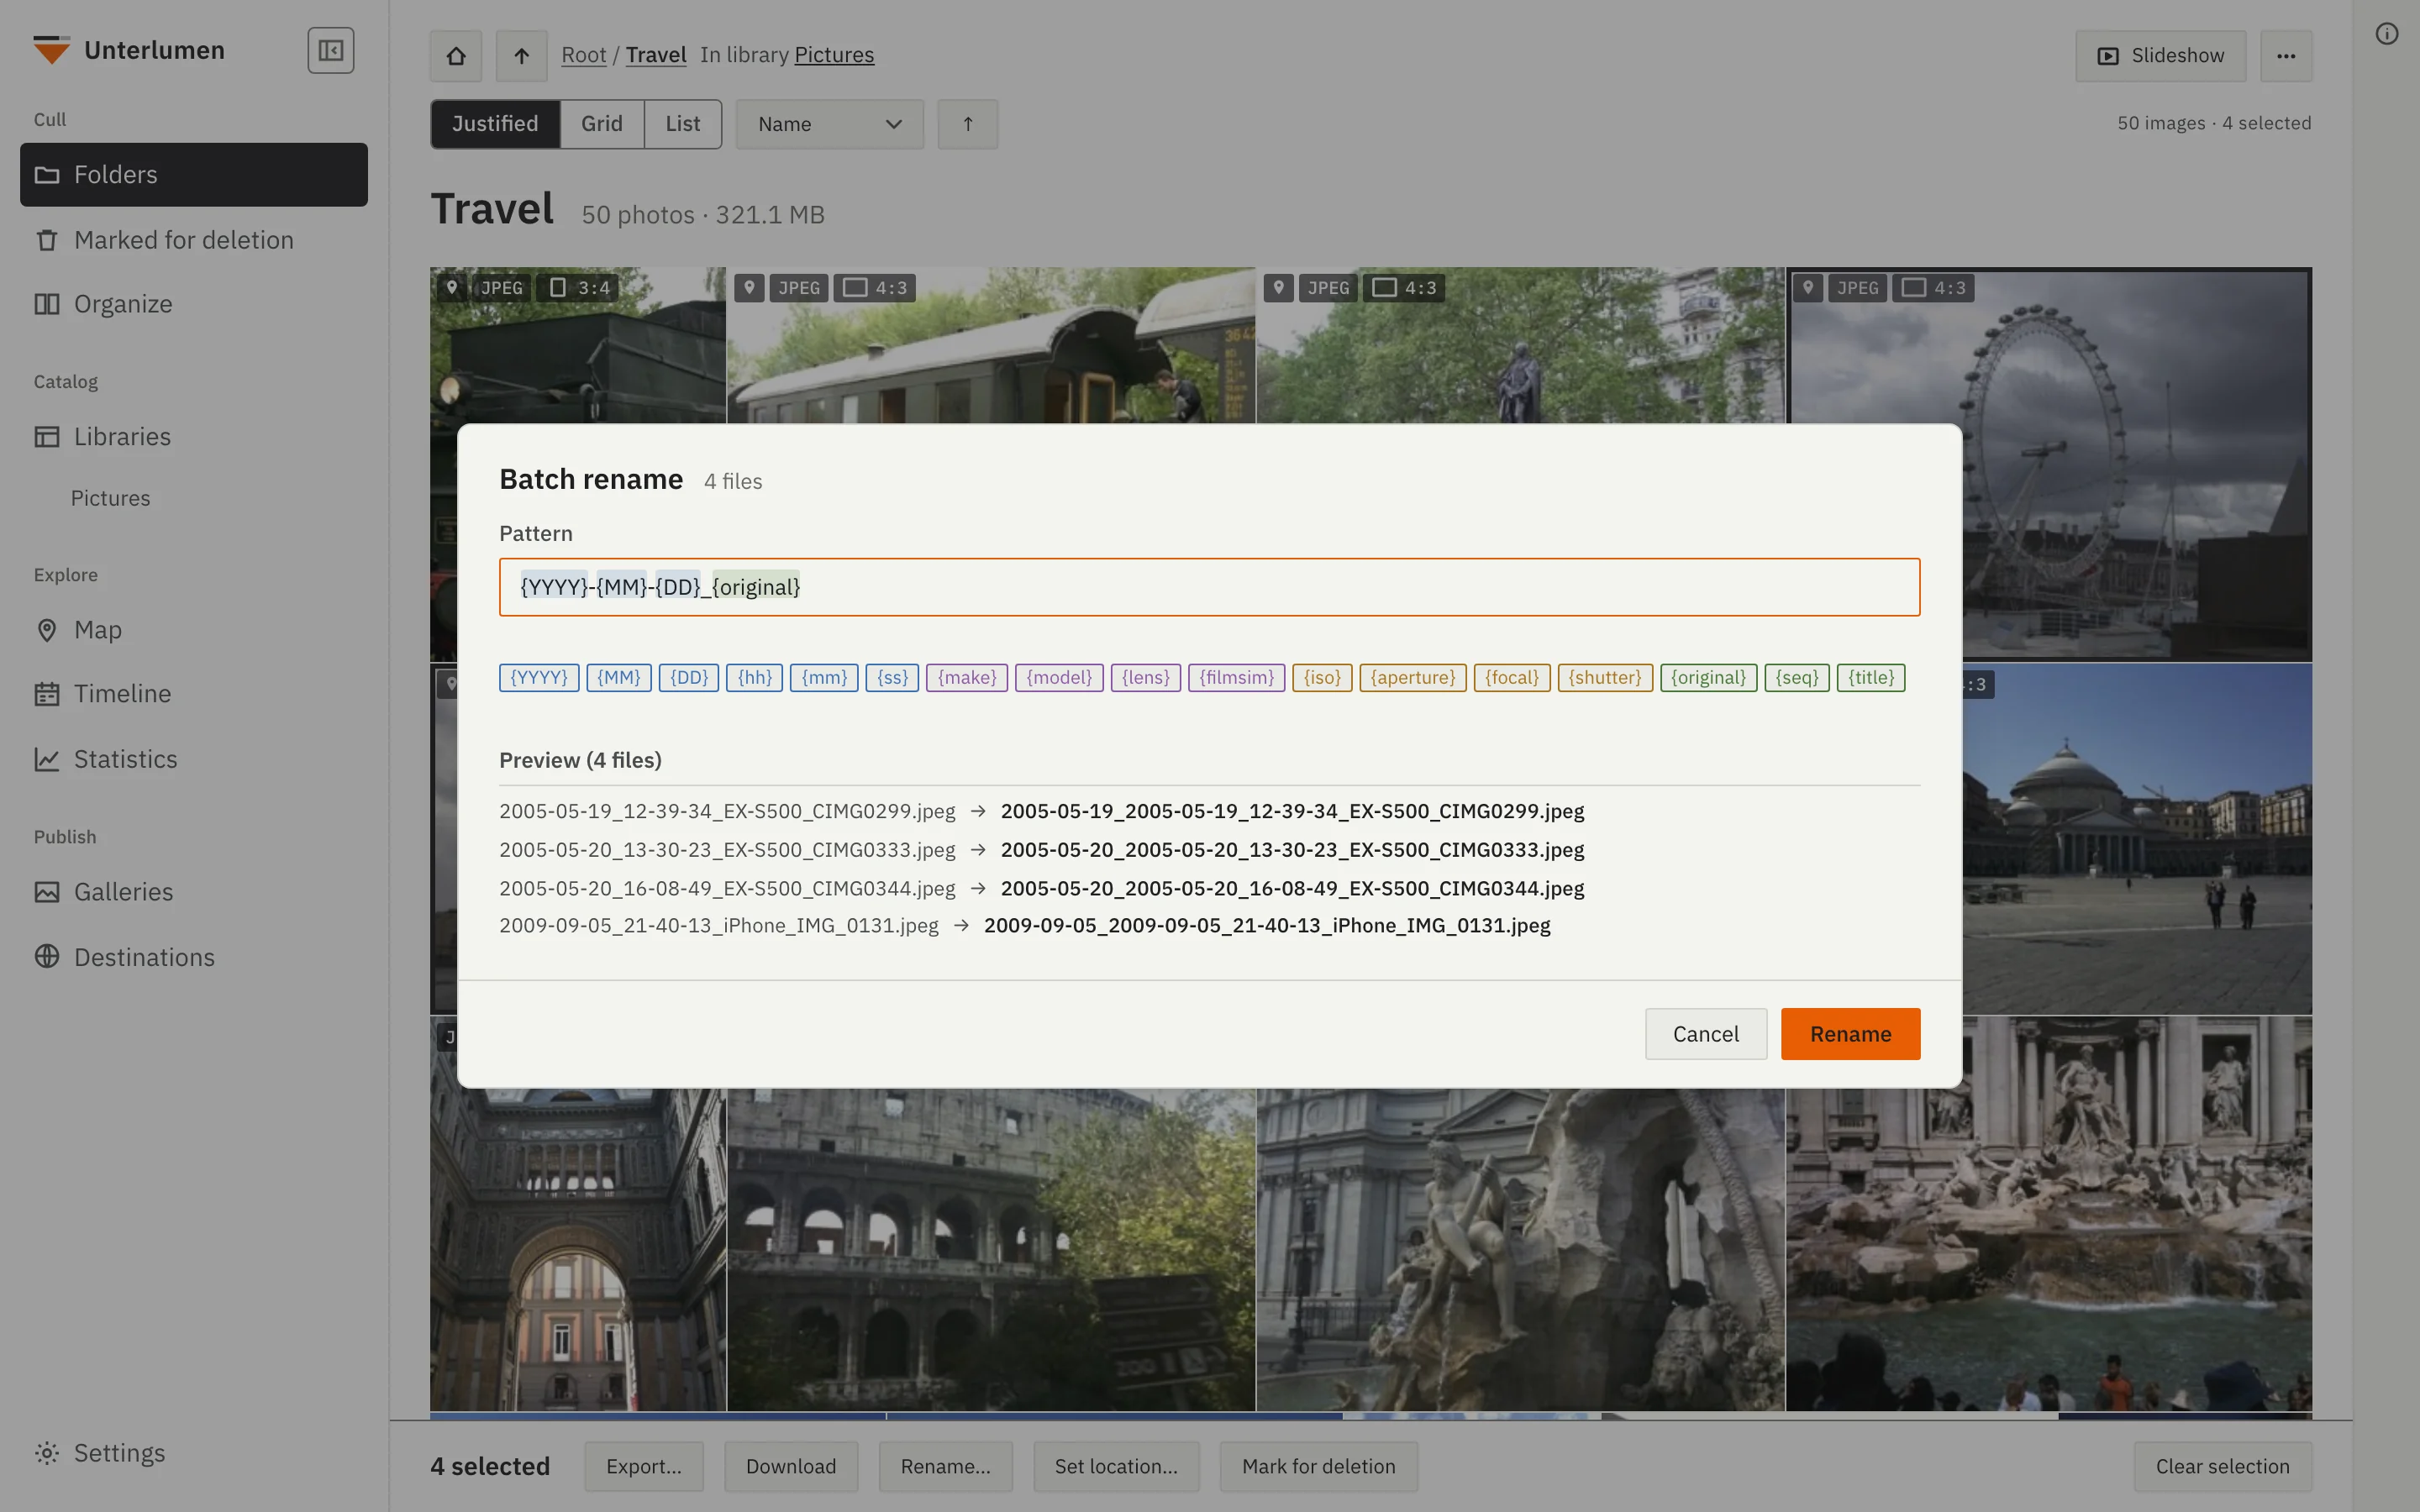
Rename many files at once with patterns built from EXIF data. A preview shows the new names and flags conflicts.
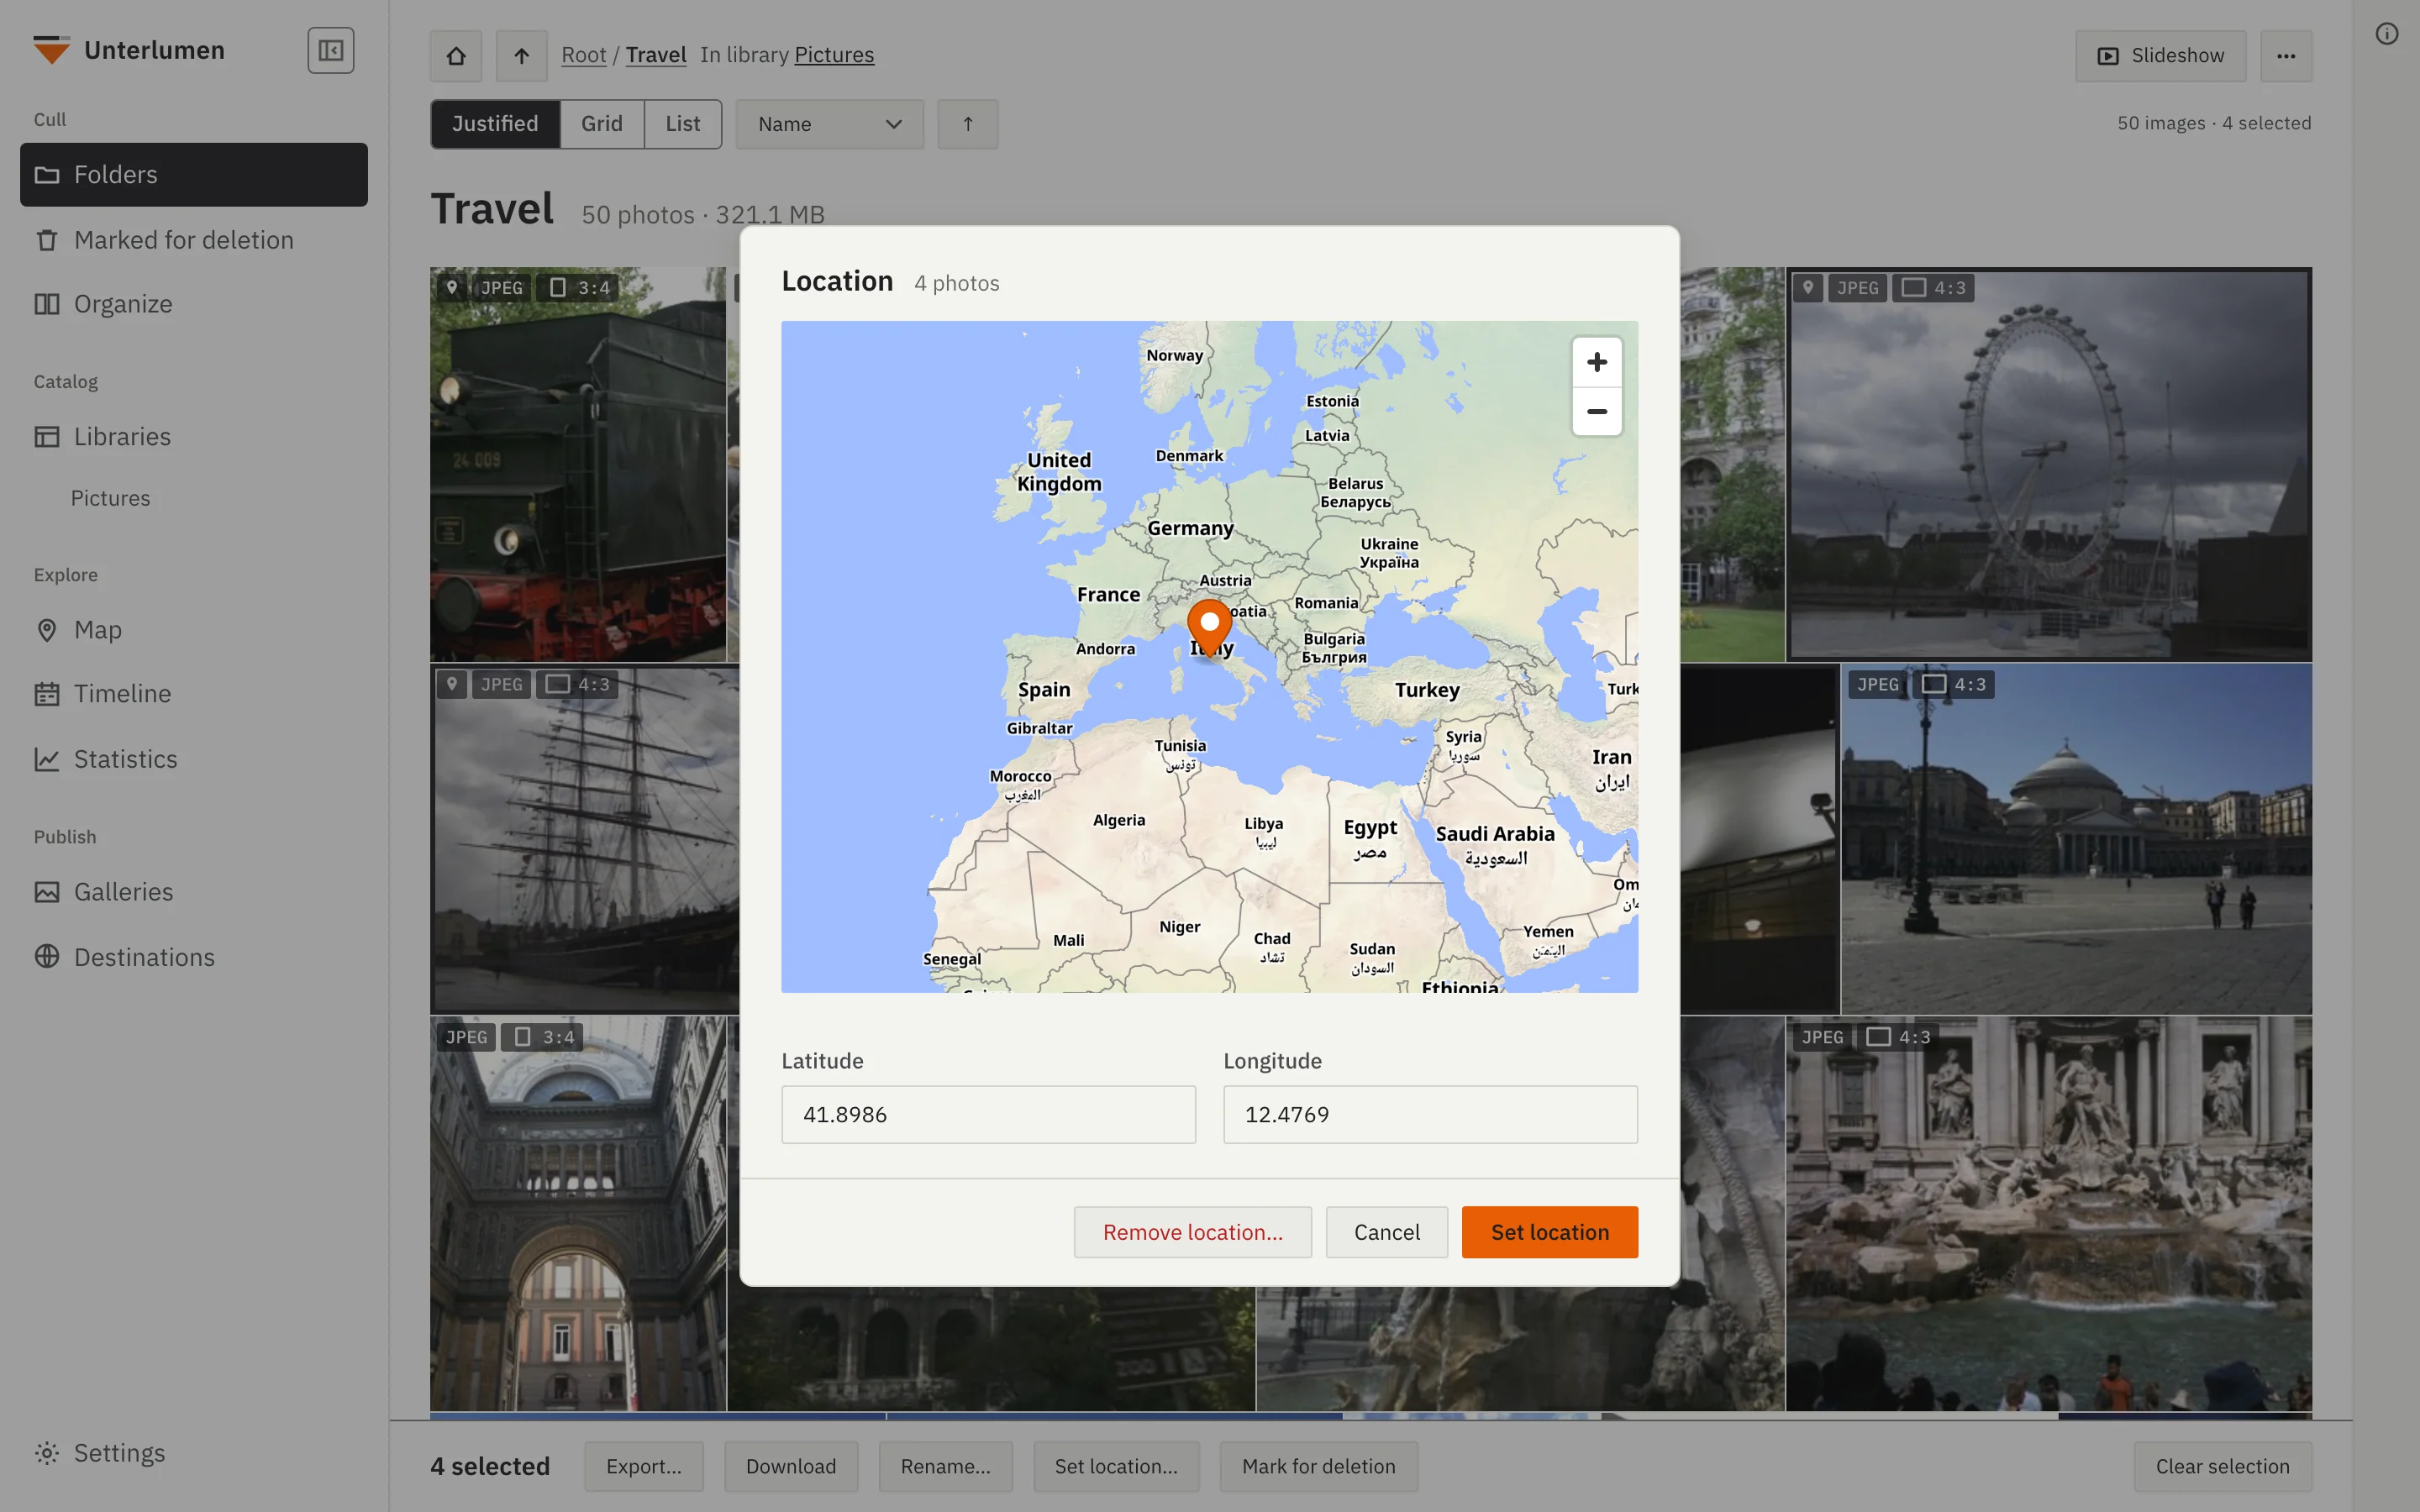
Set or remove the GPS coordinates of several photos at once, by typing them or picking a point on a map.
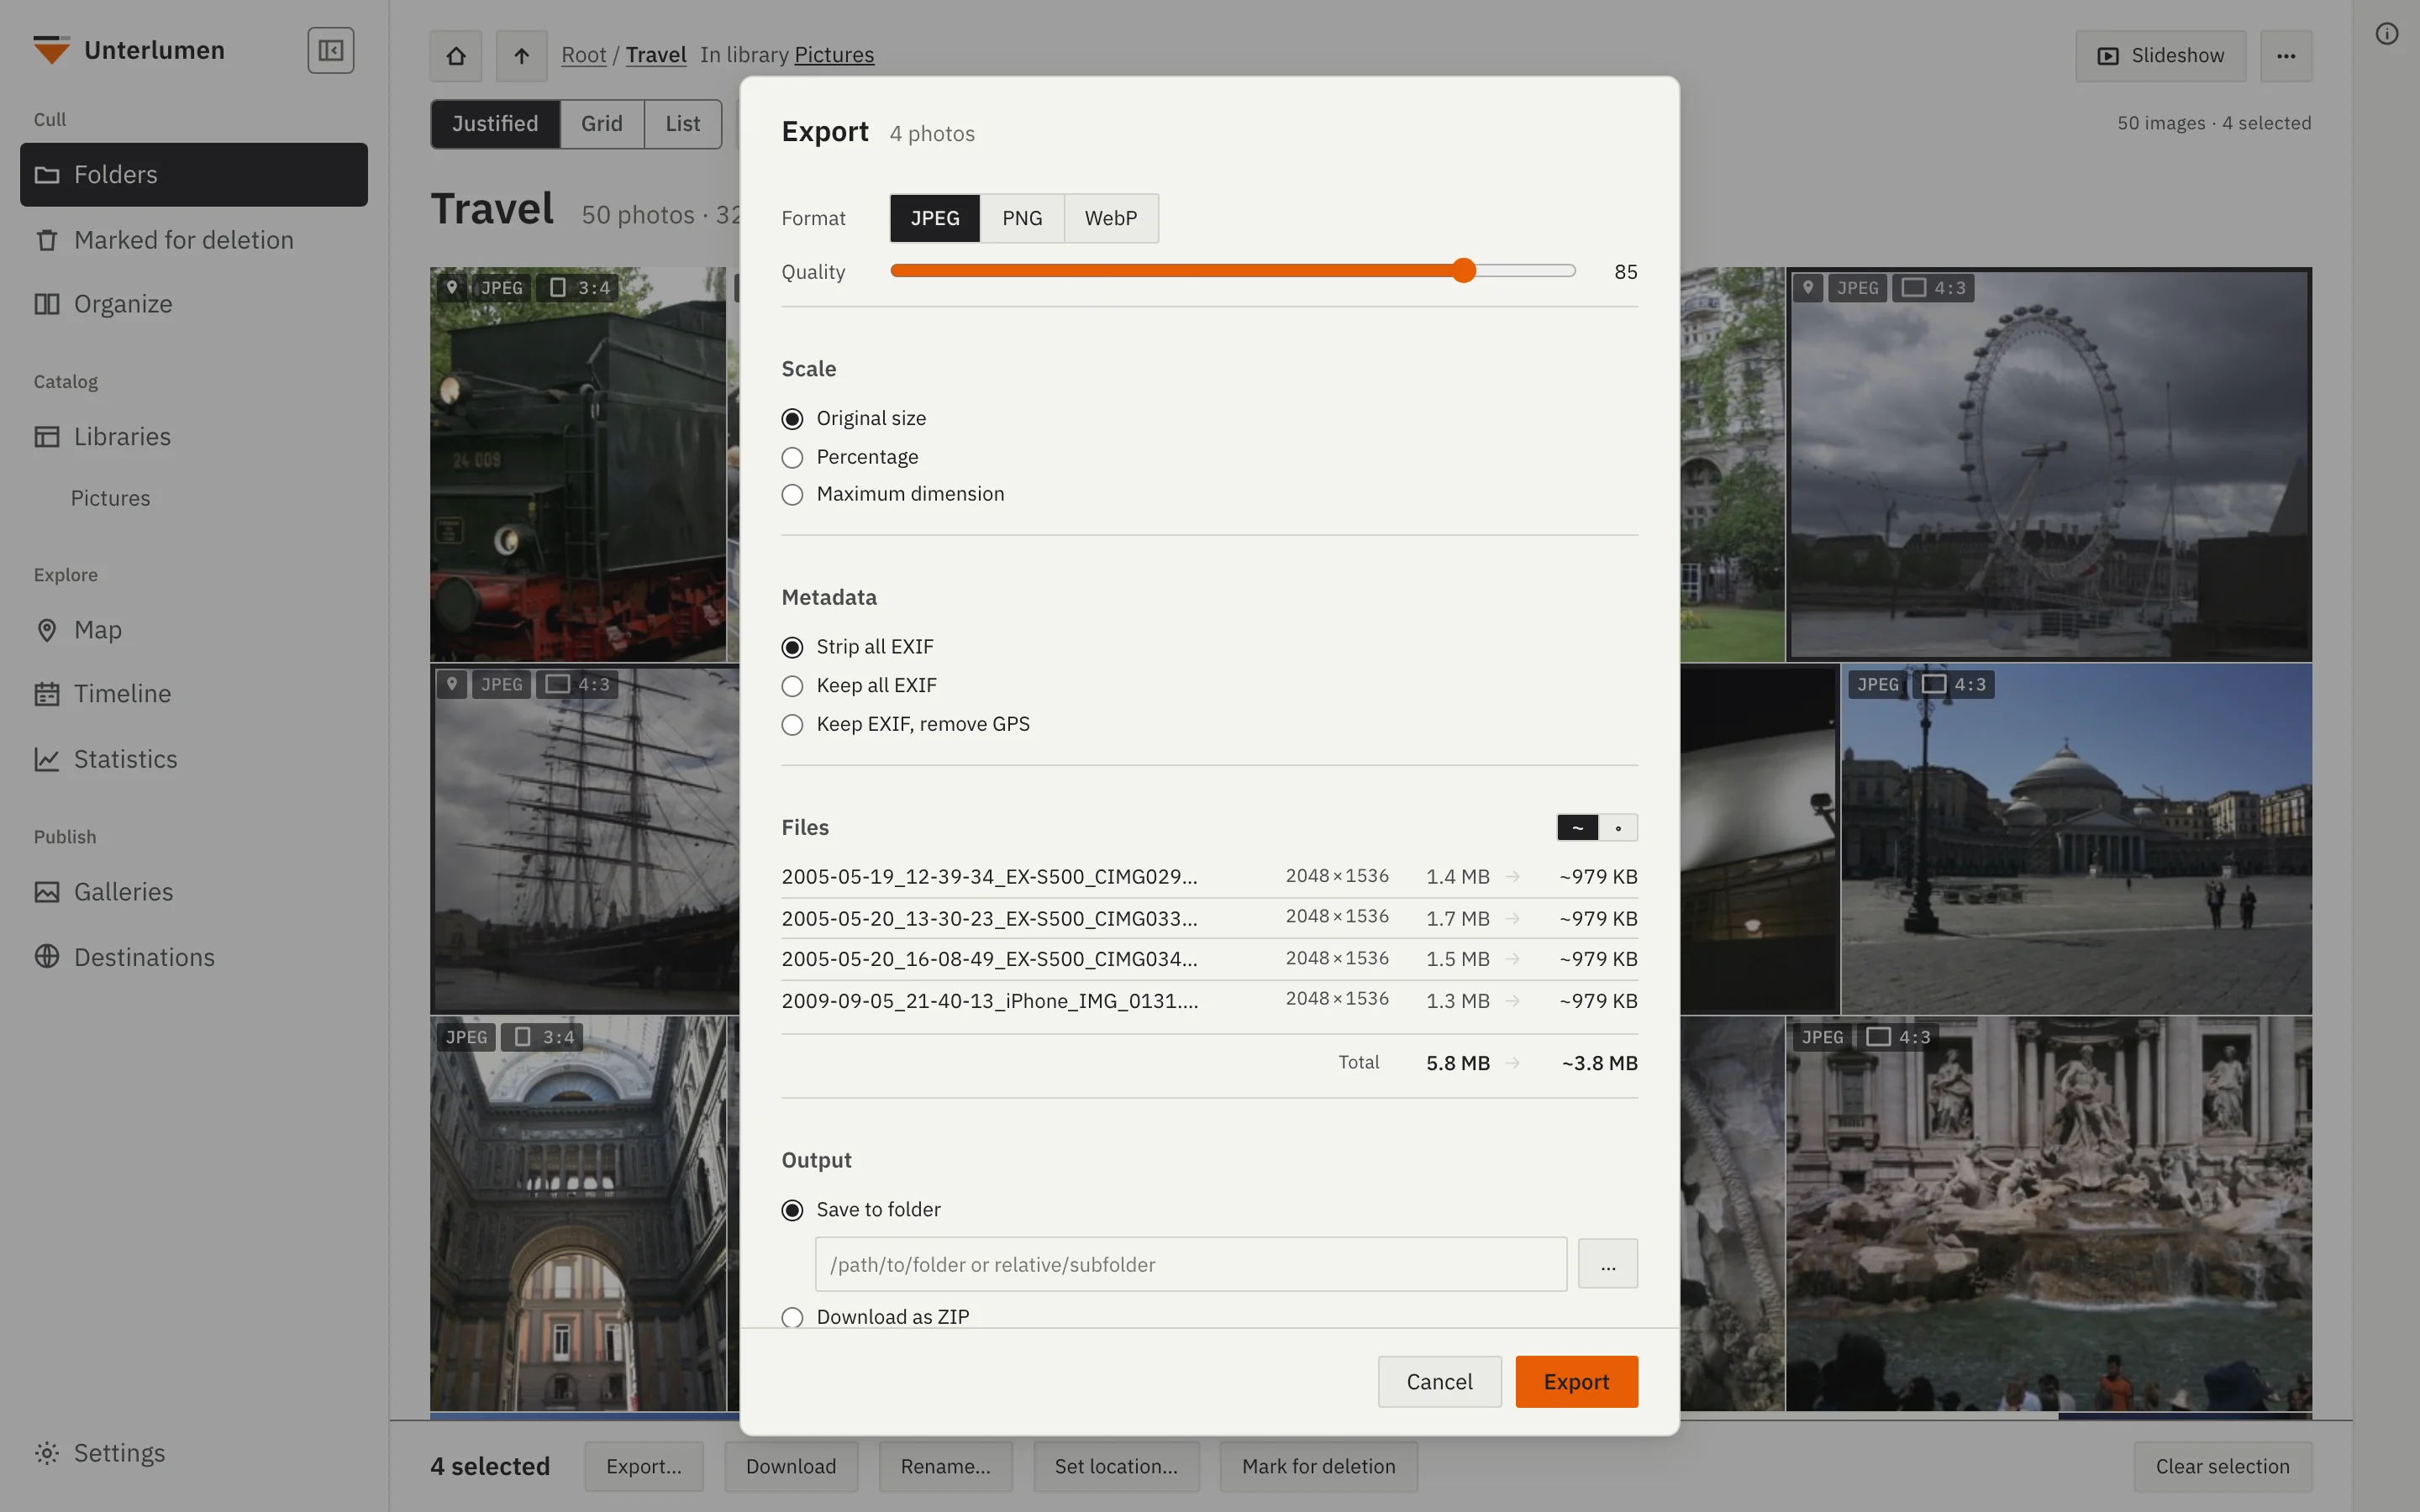
Export to JPEG, PNG or WebP with a chosen quality, size and amount of metadata, to a folder or as a ZIP file.
A searchable archive of everything you have shot, where you shot it, and when.
Each library is a folder of your choice — on your computer, a disk or a NAS — indexed into a local SQLite library; libraries need no folder in common. Filter across all of them by date, shutter speed, aperture, focal length, ISO, camera, lens or film simulation.
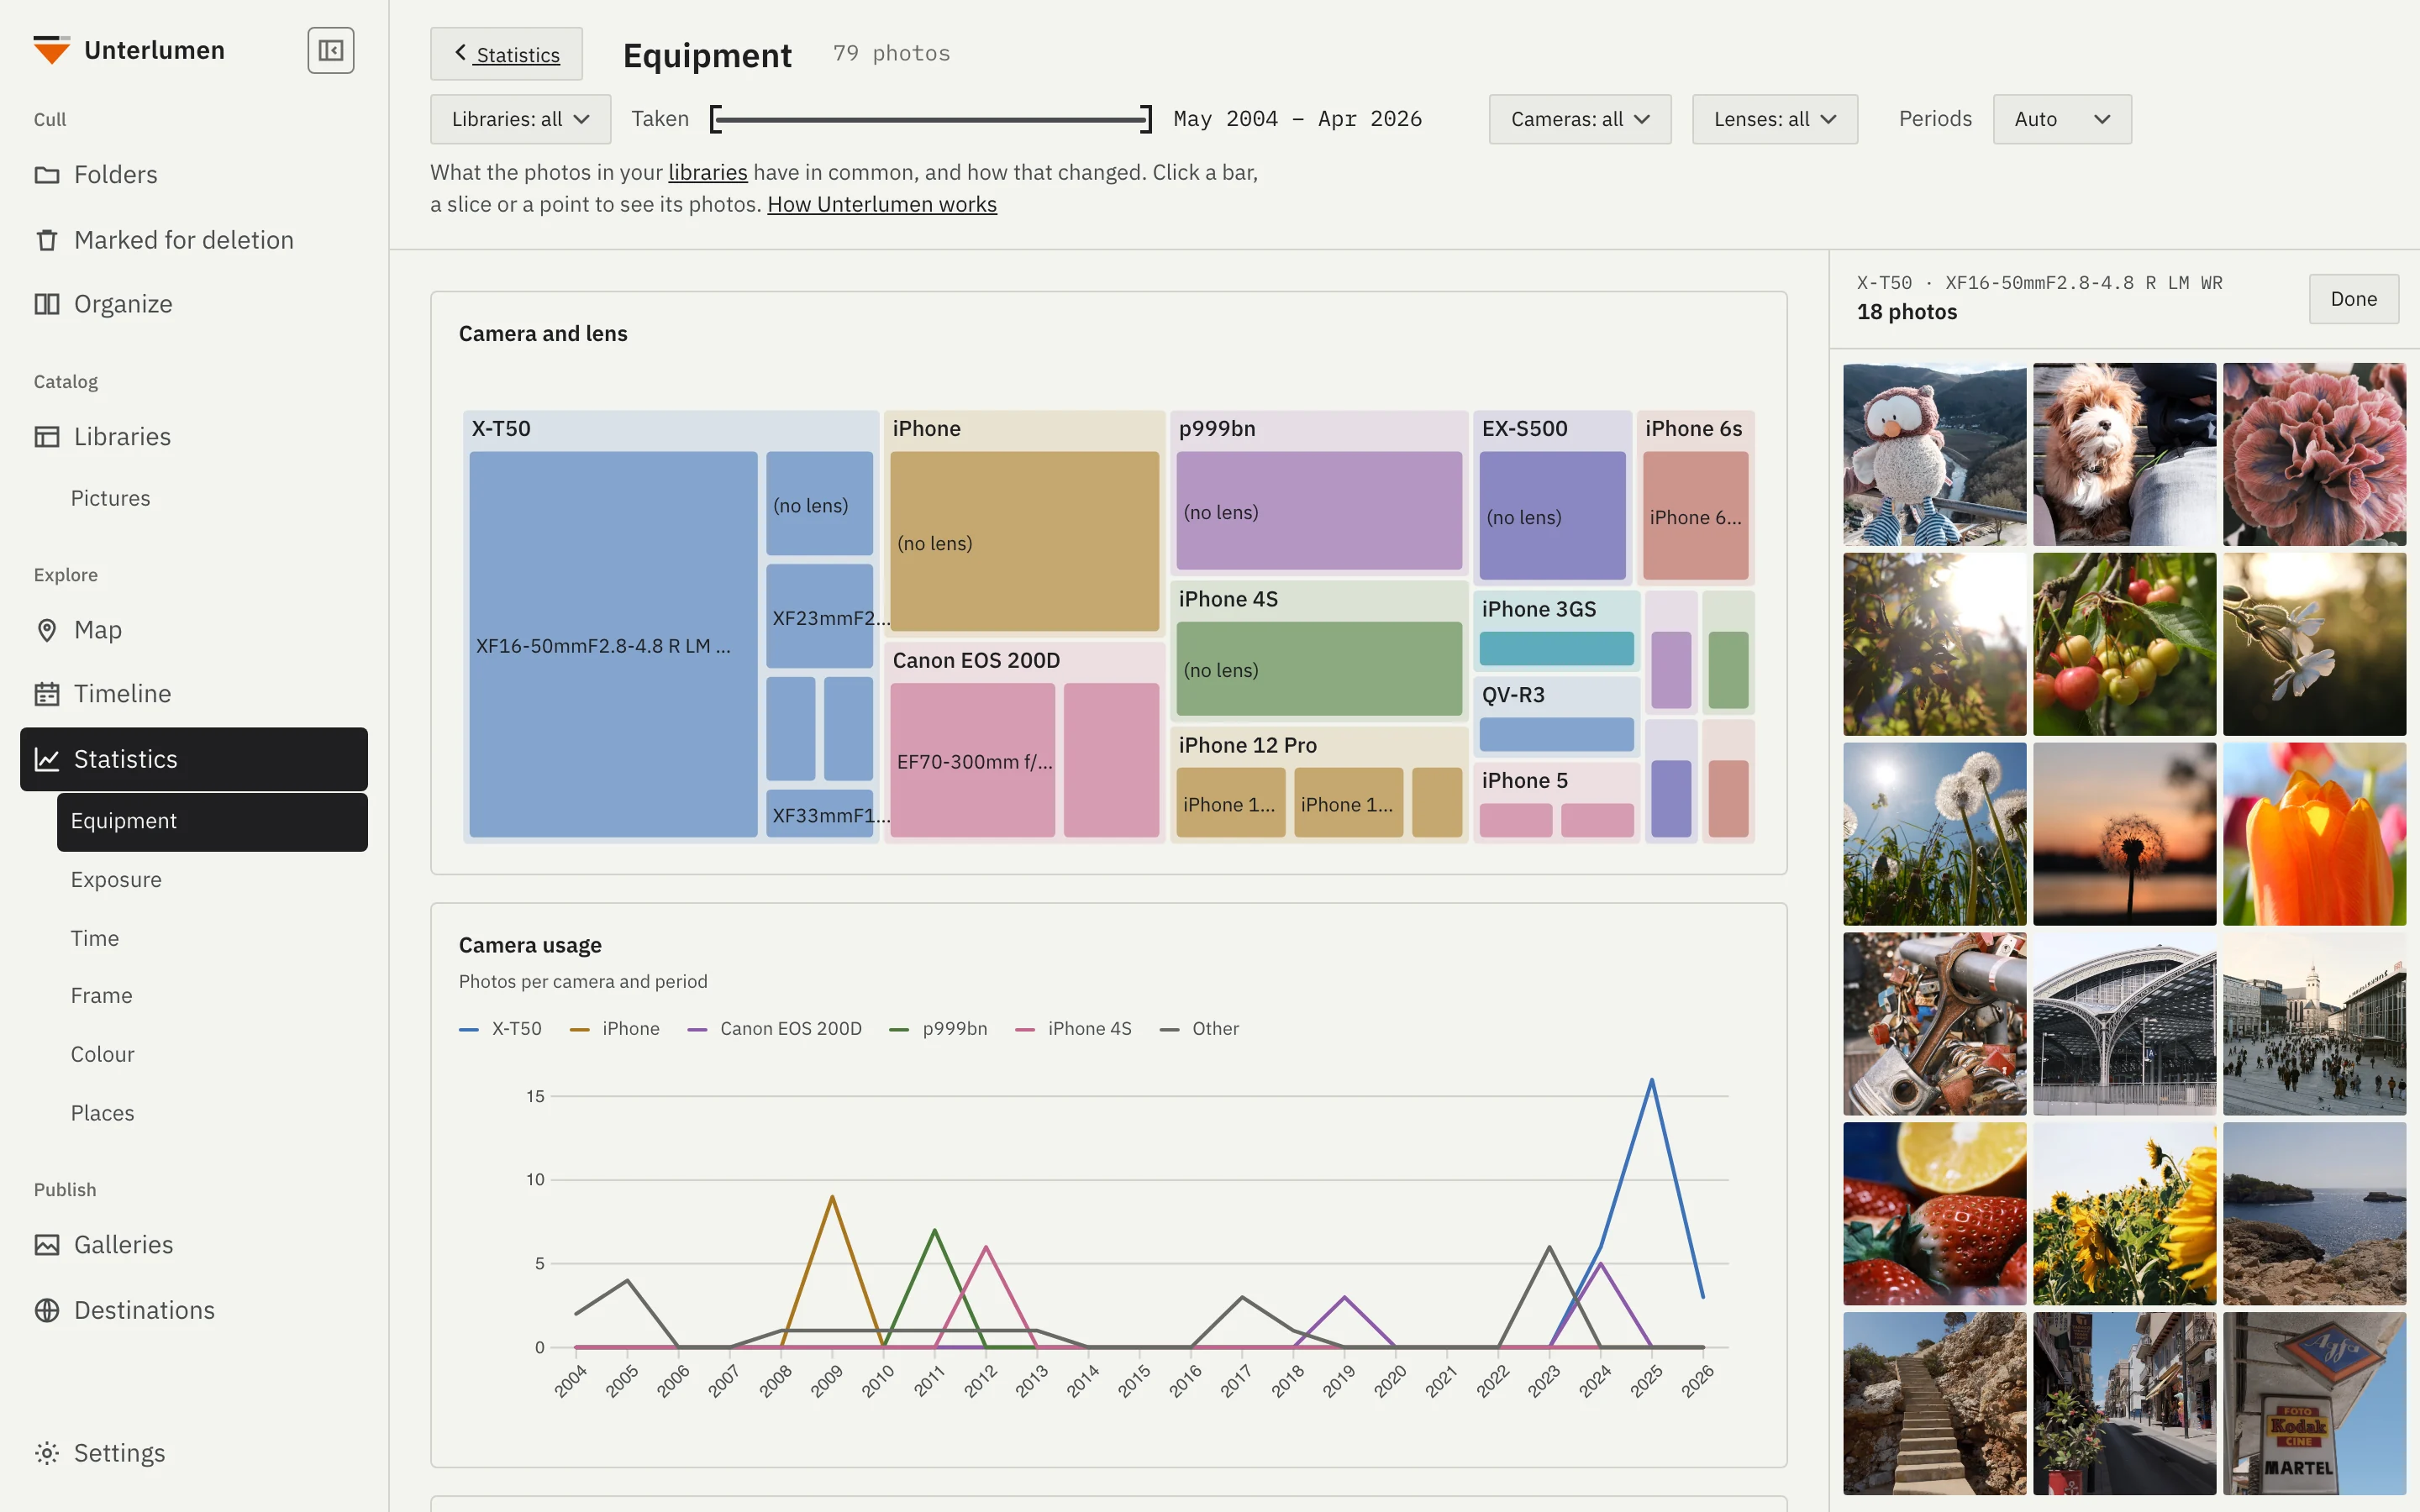
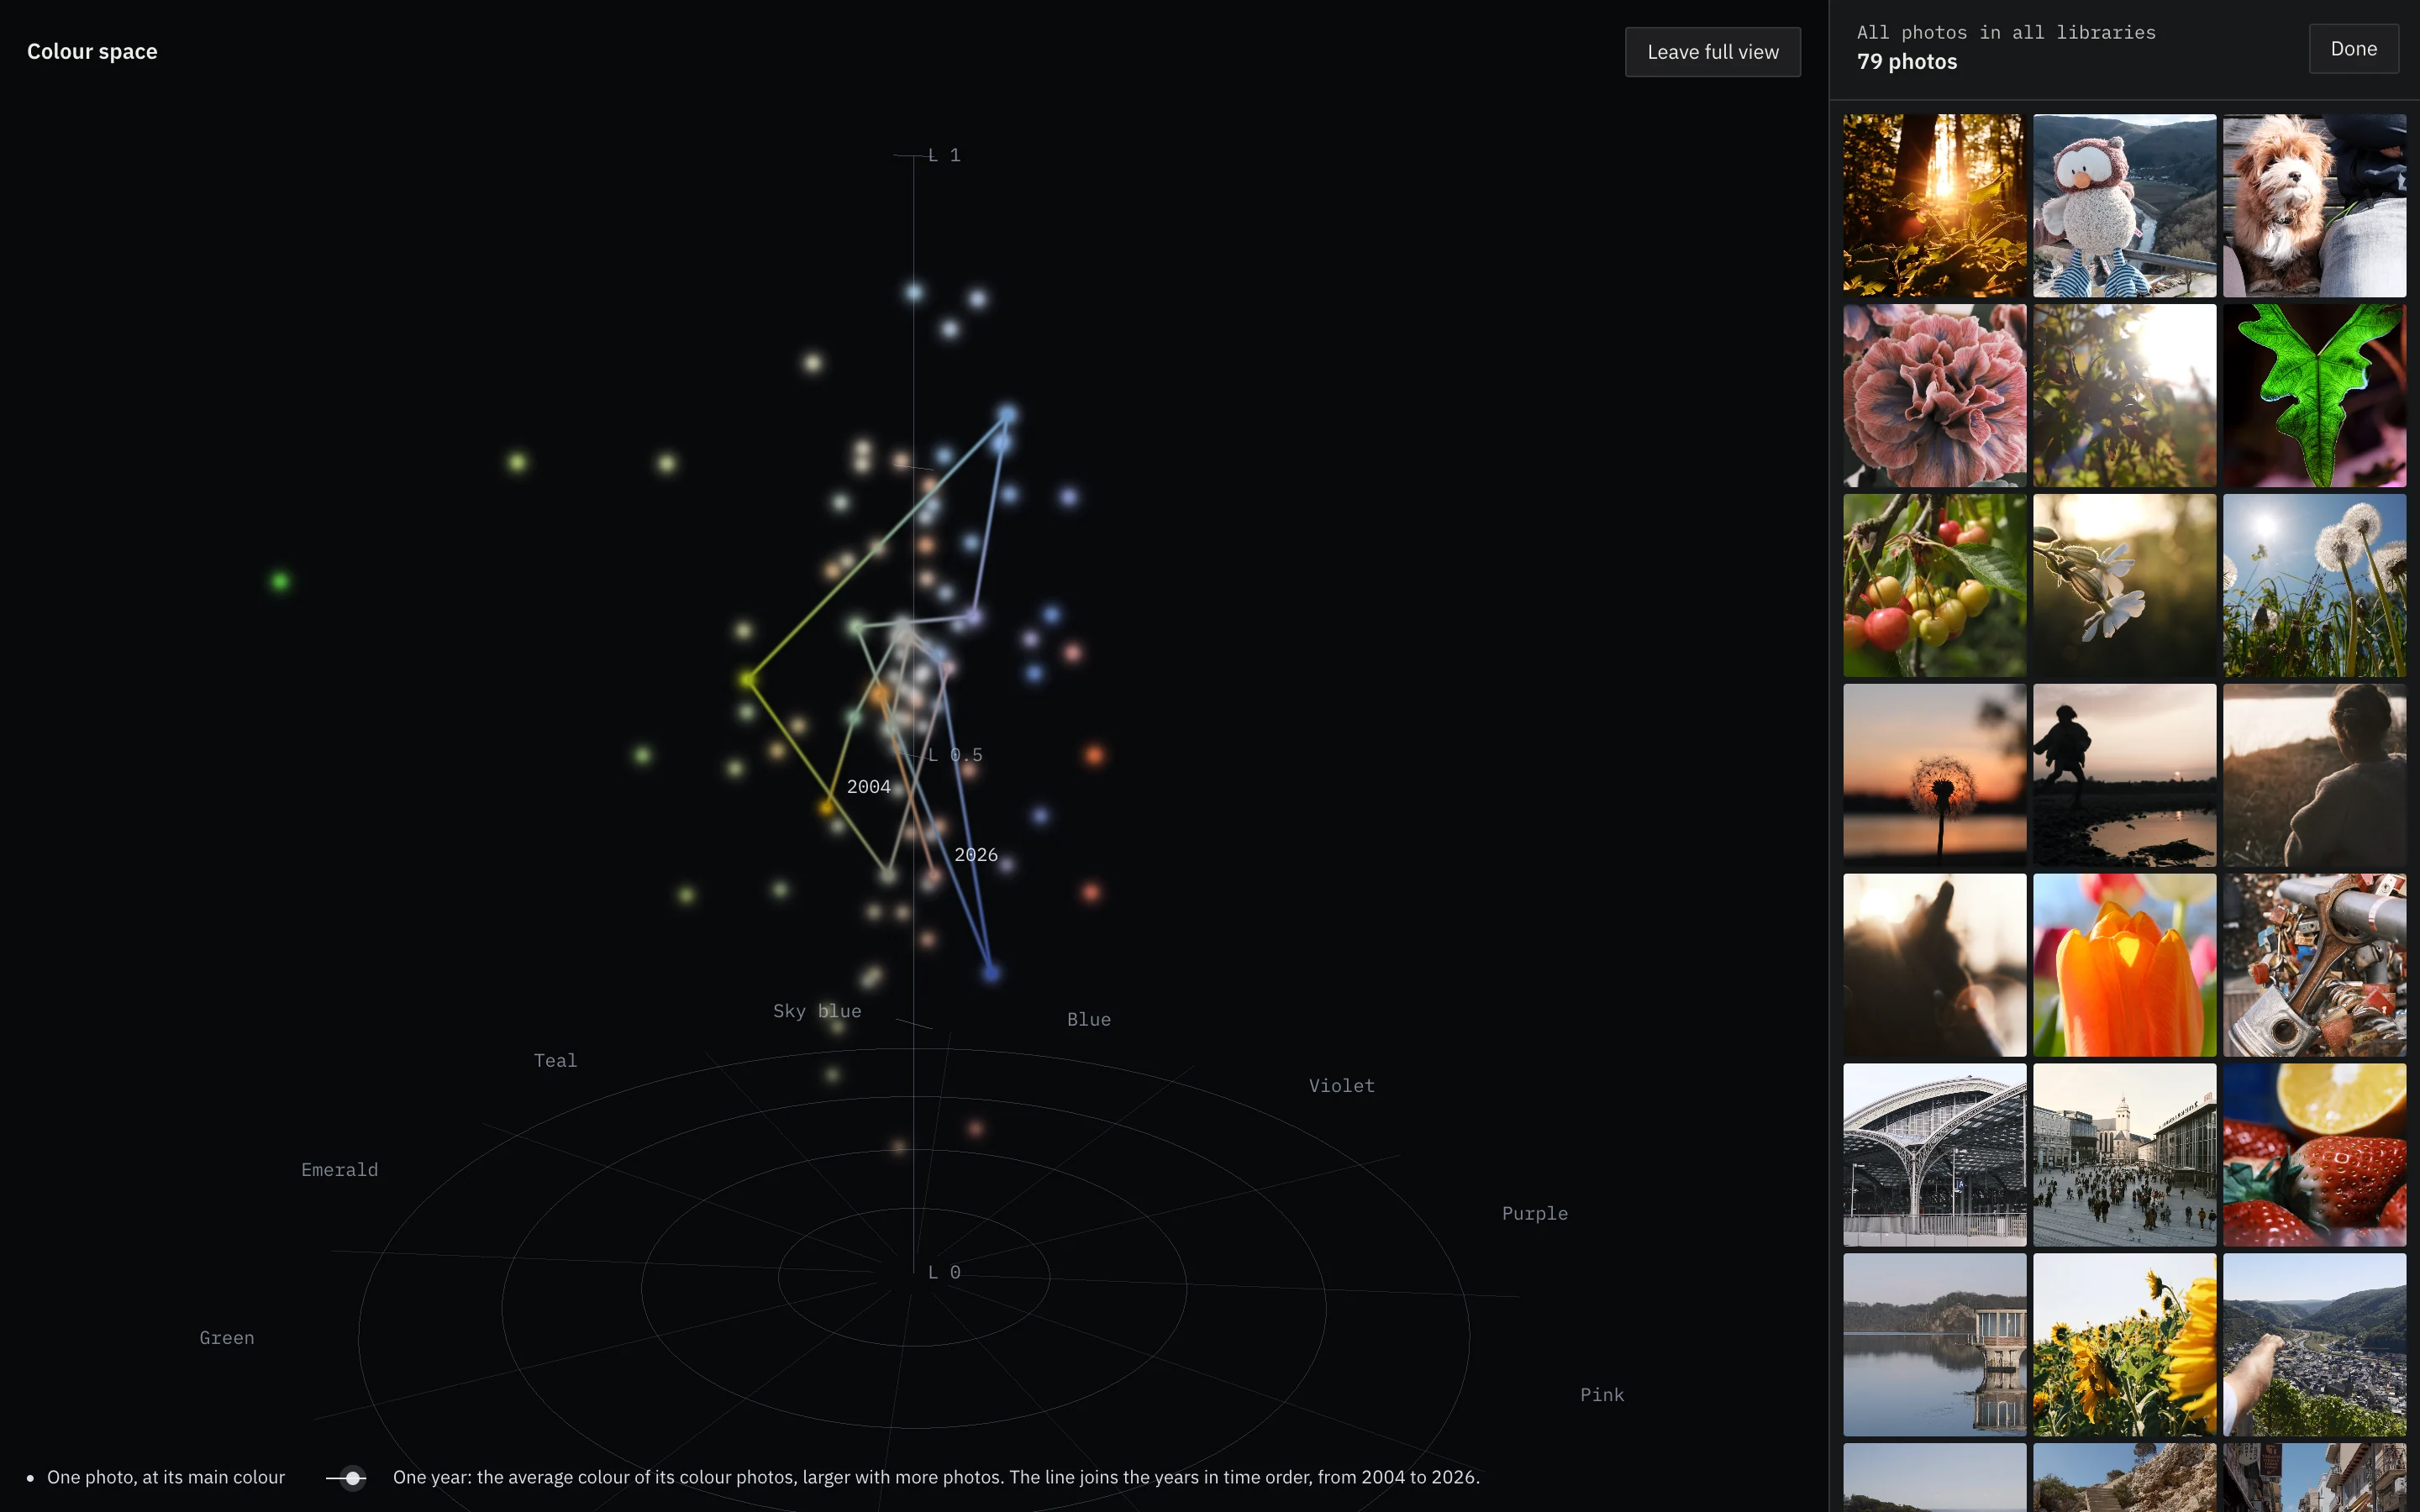
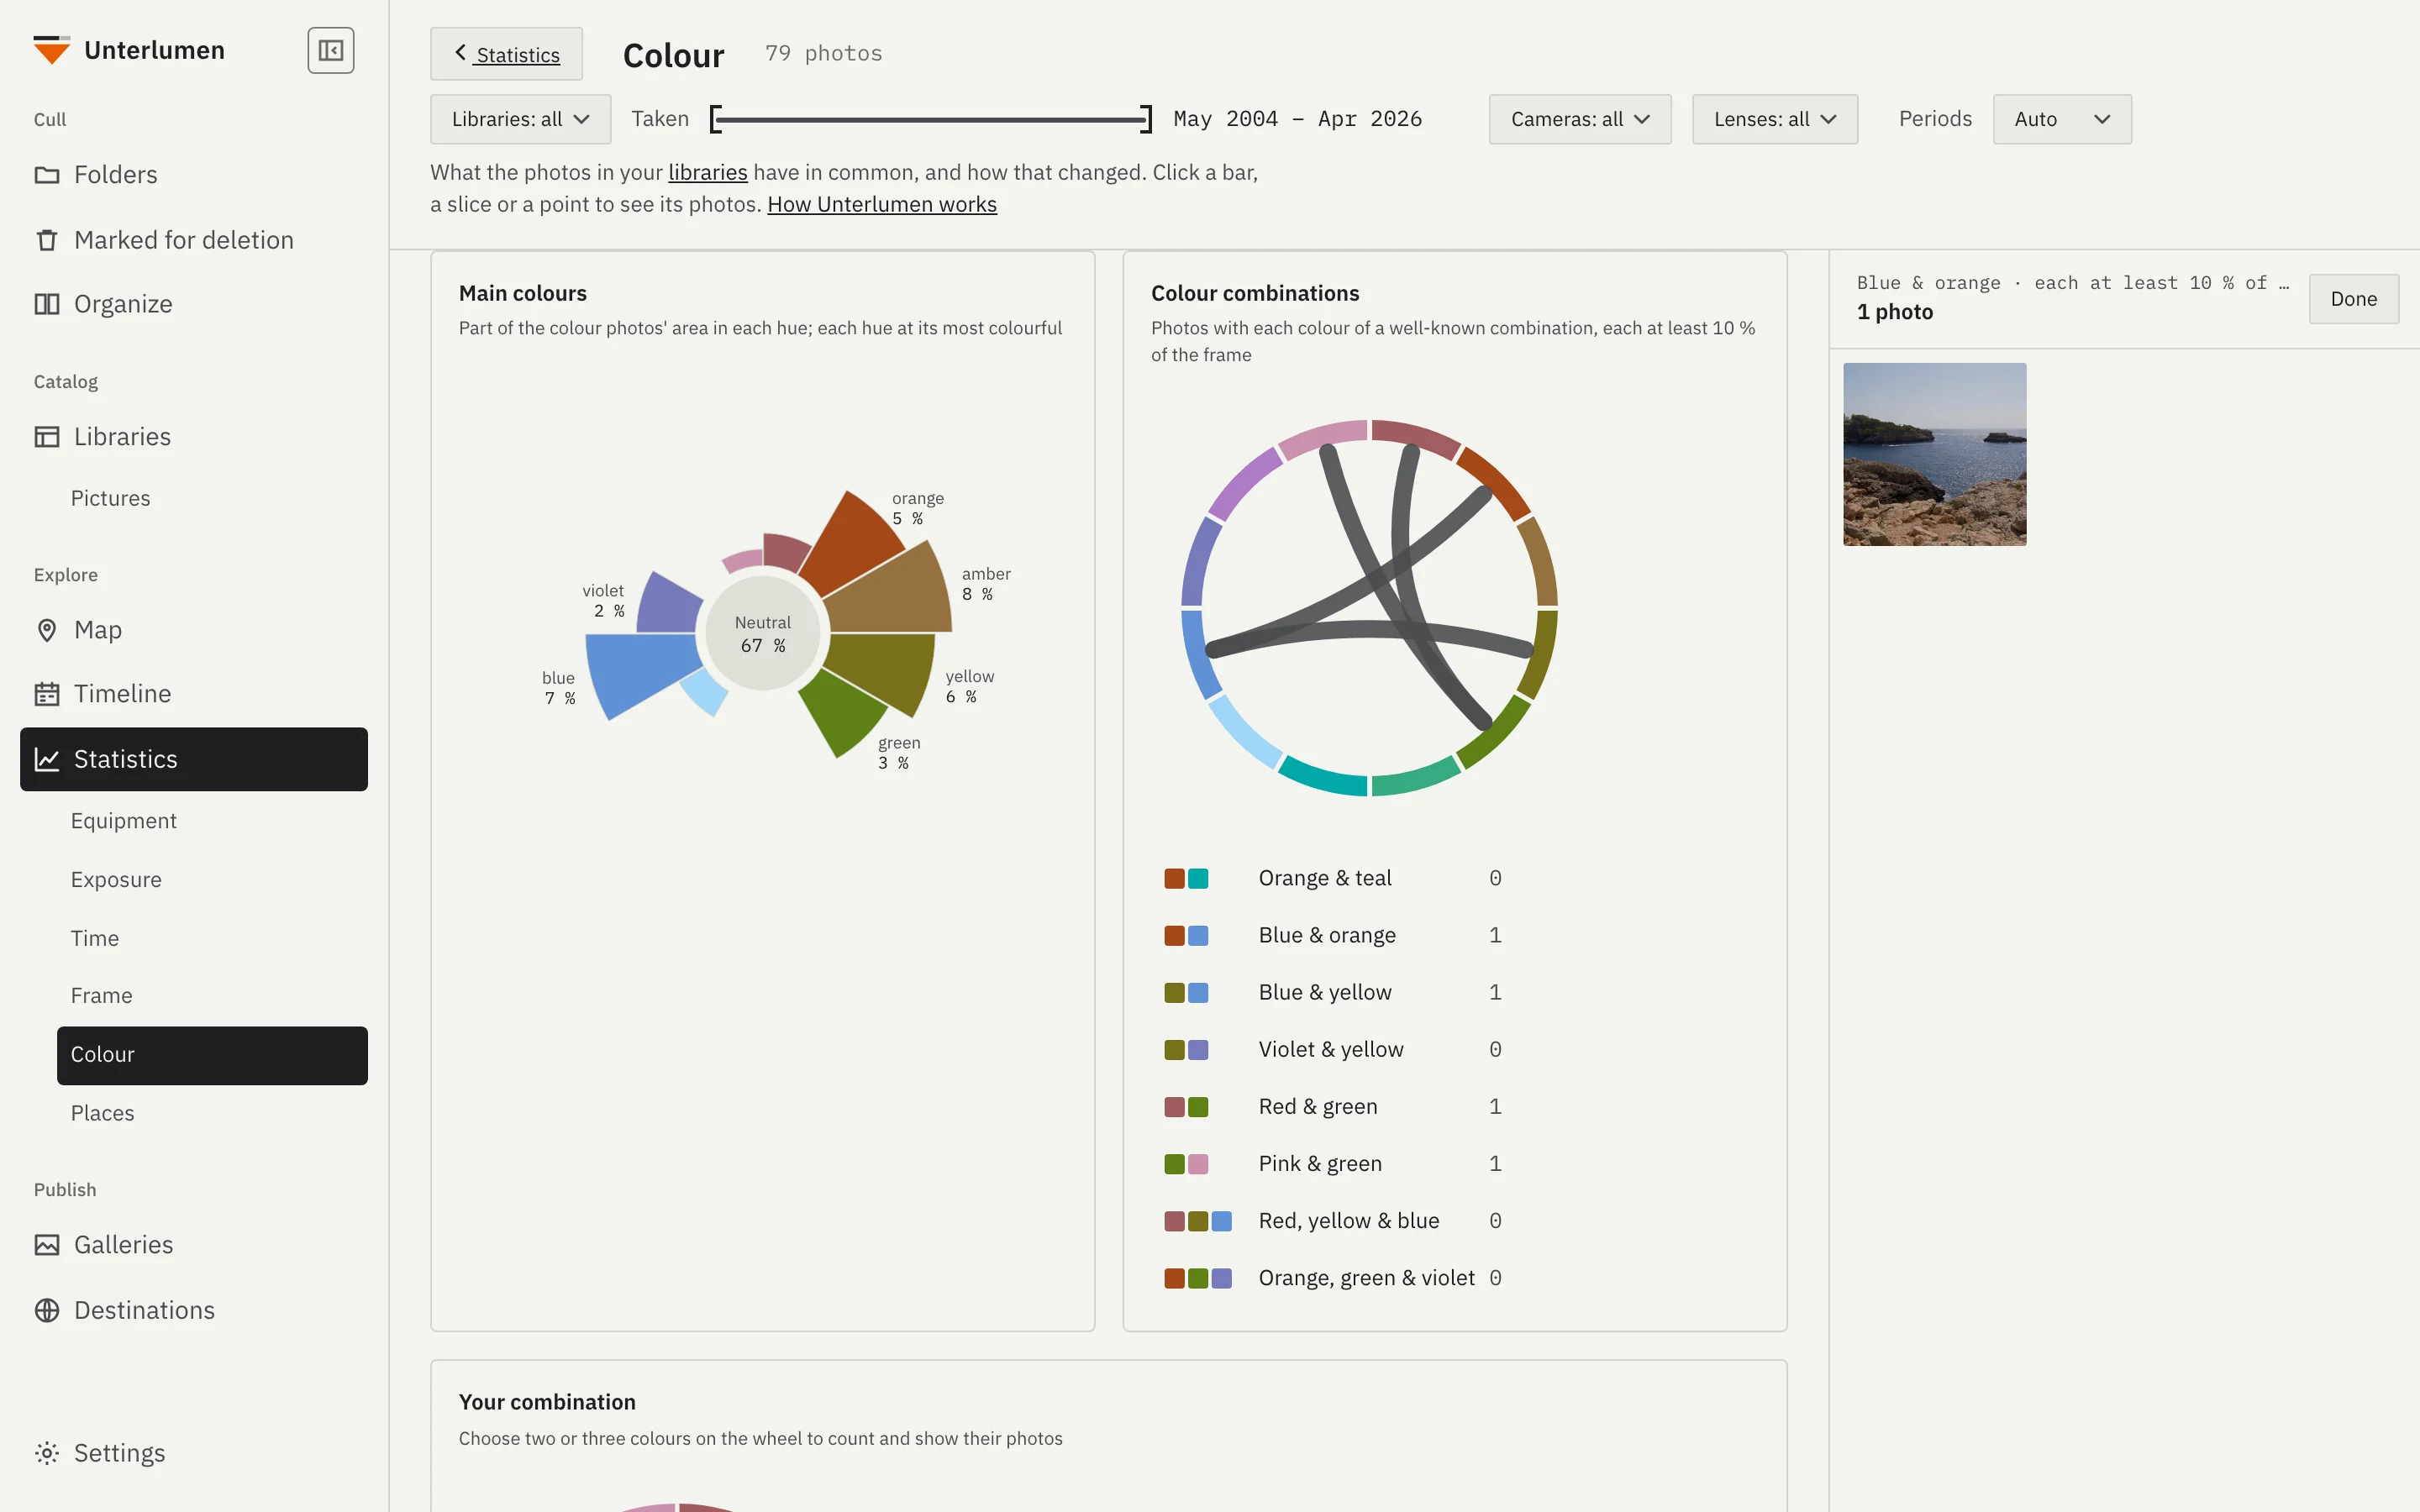
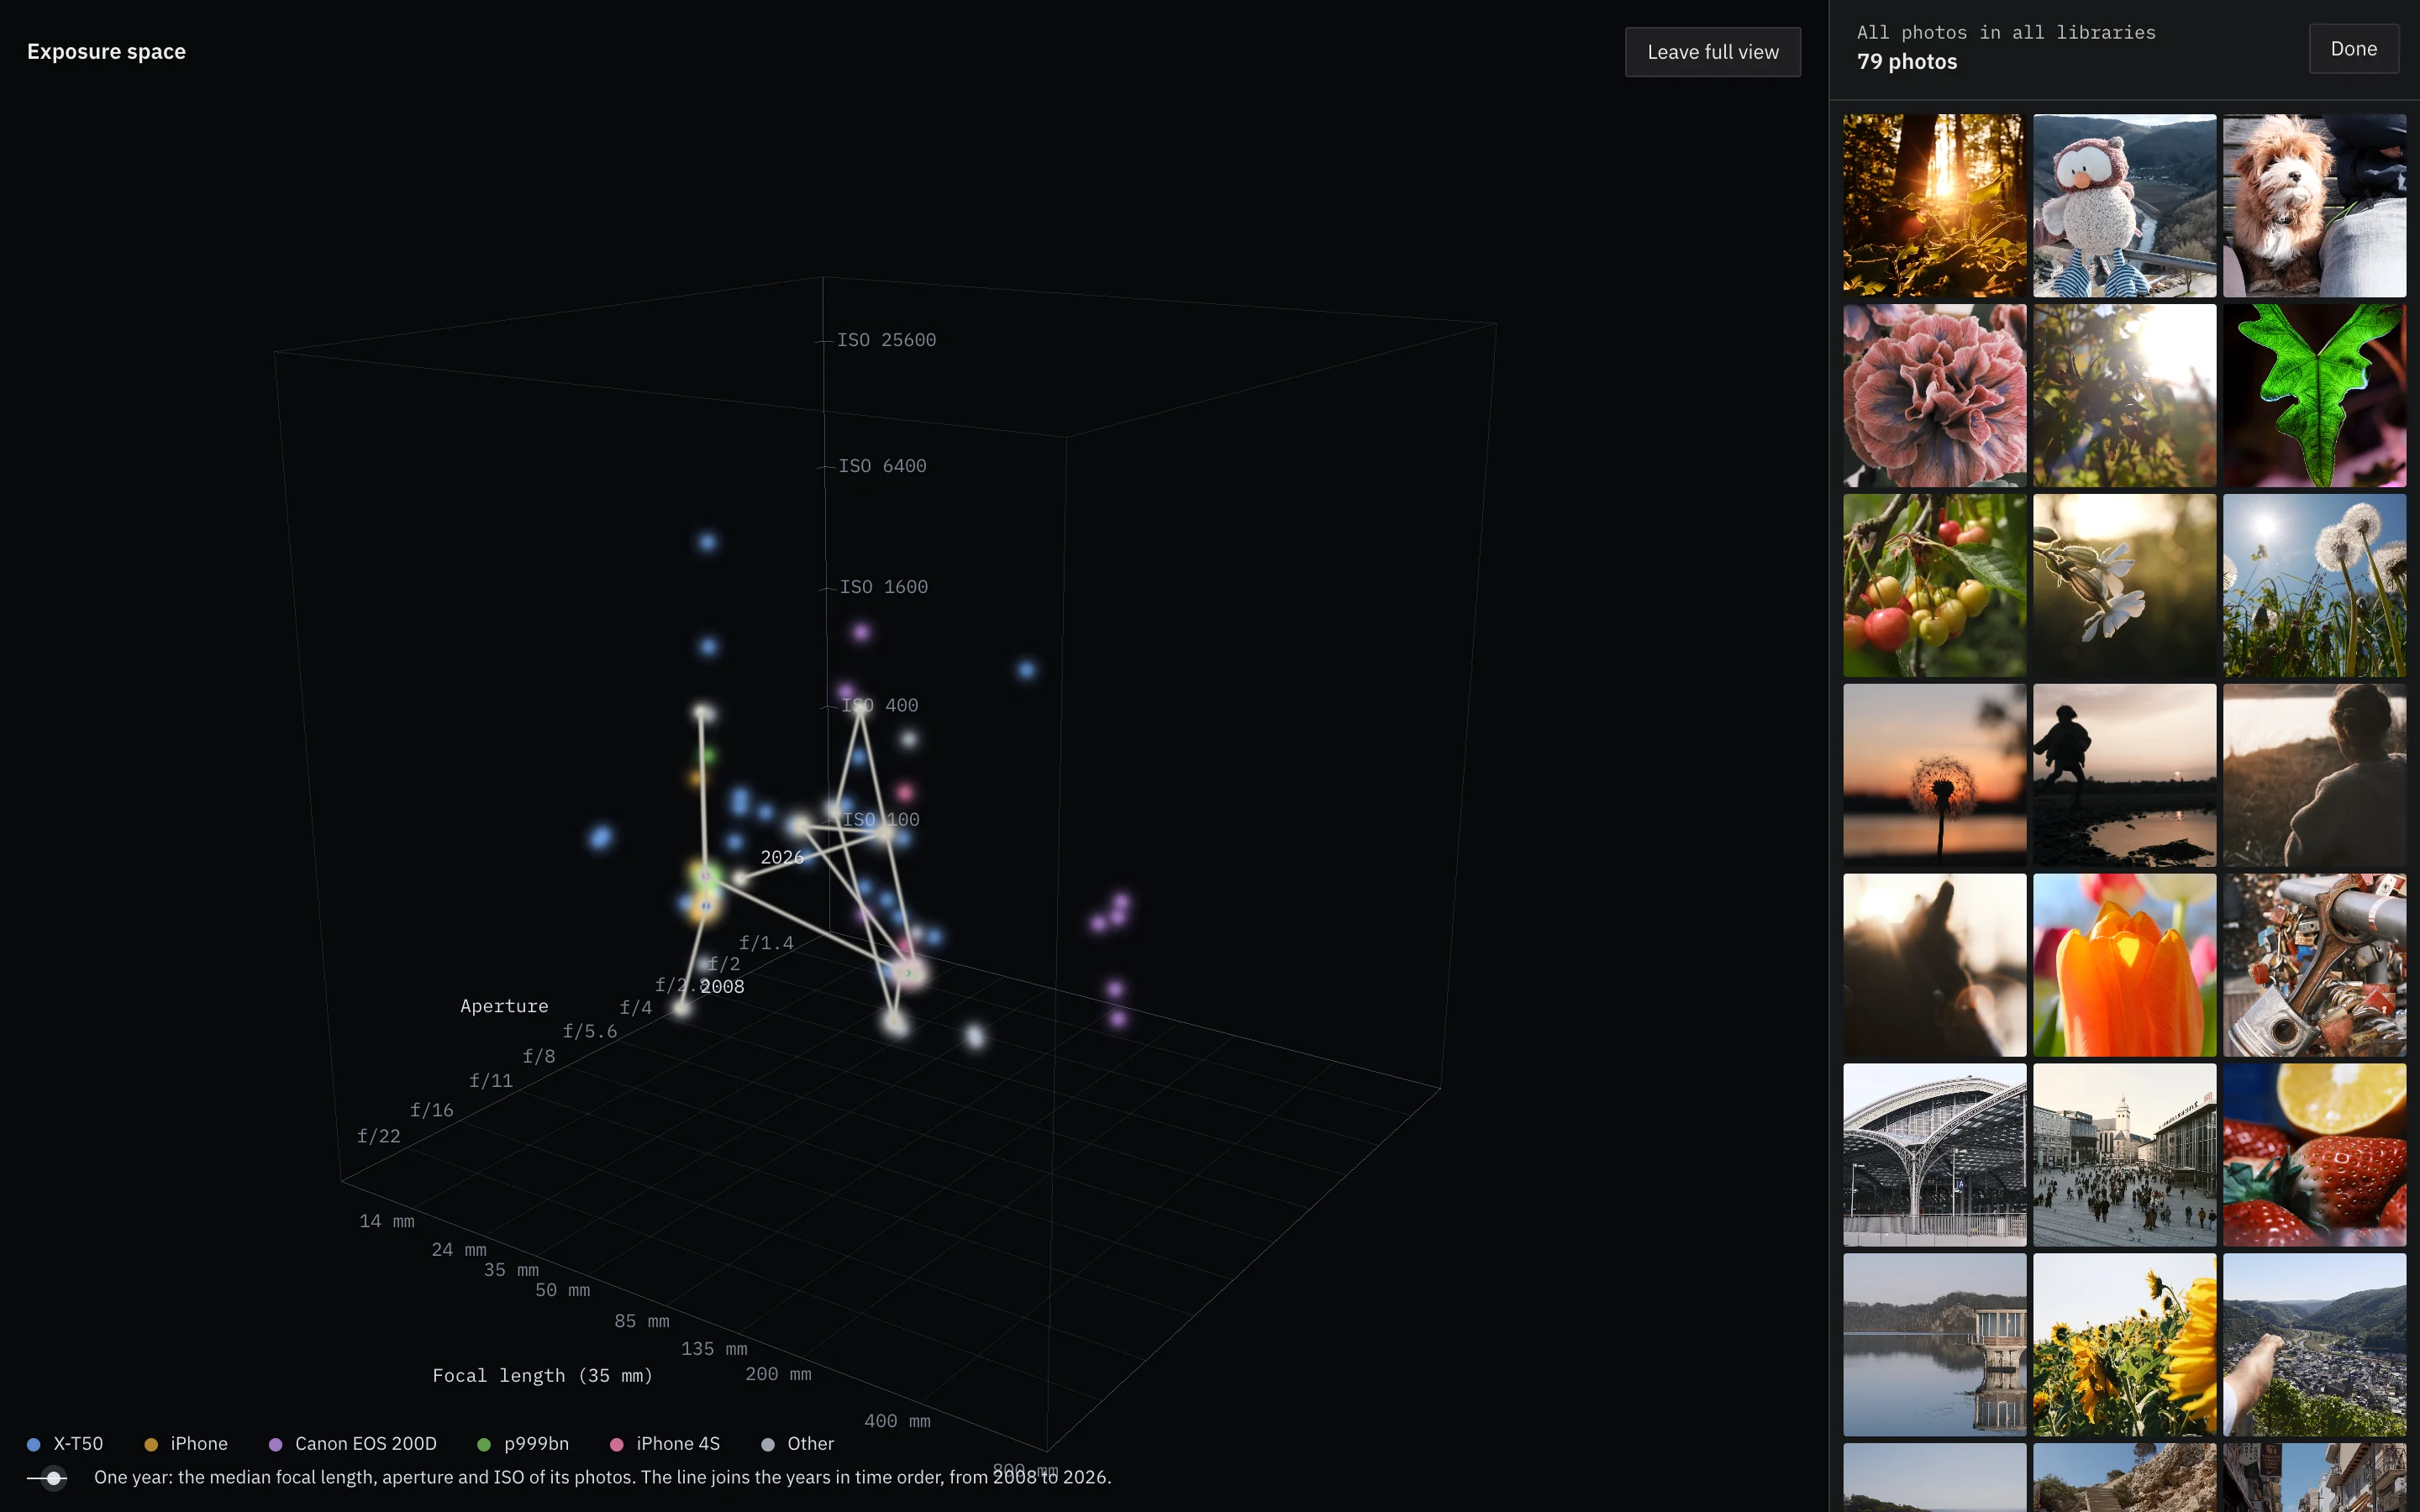
What you shoot with and when, by topic: equipment, exposure, time, frame, colour and places, each with how it changed over the years. Click a bar or a point and its photos appear beside the charts. 3D views show the whole library as points of light, by colour, by exposure or by where and when.
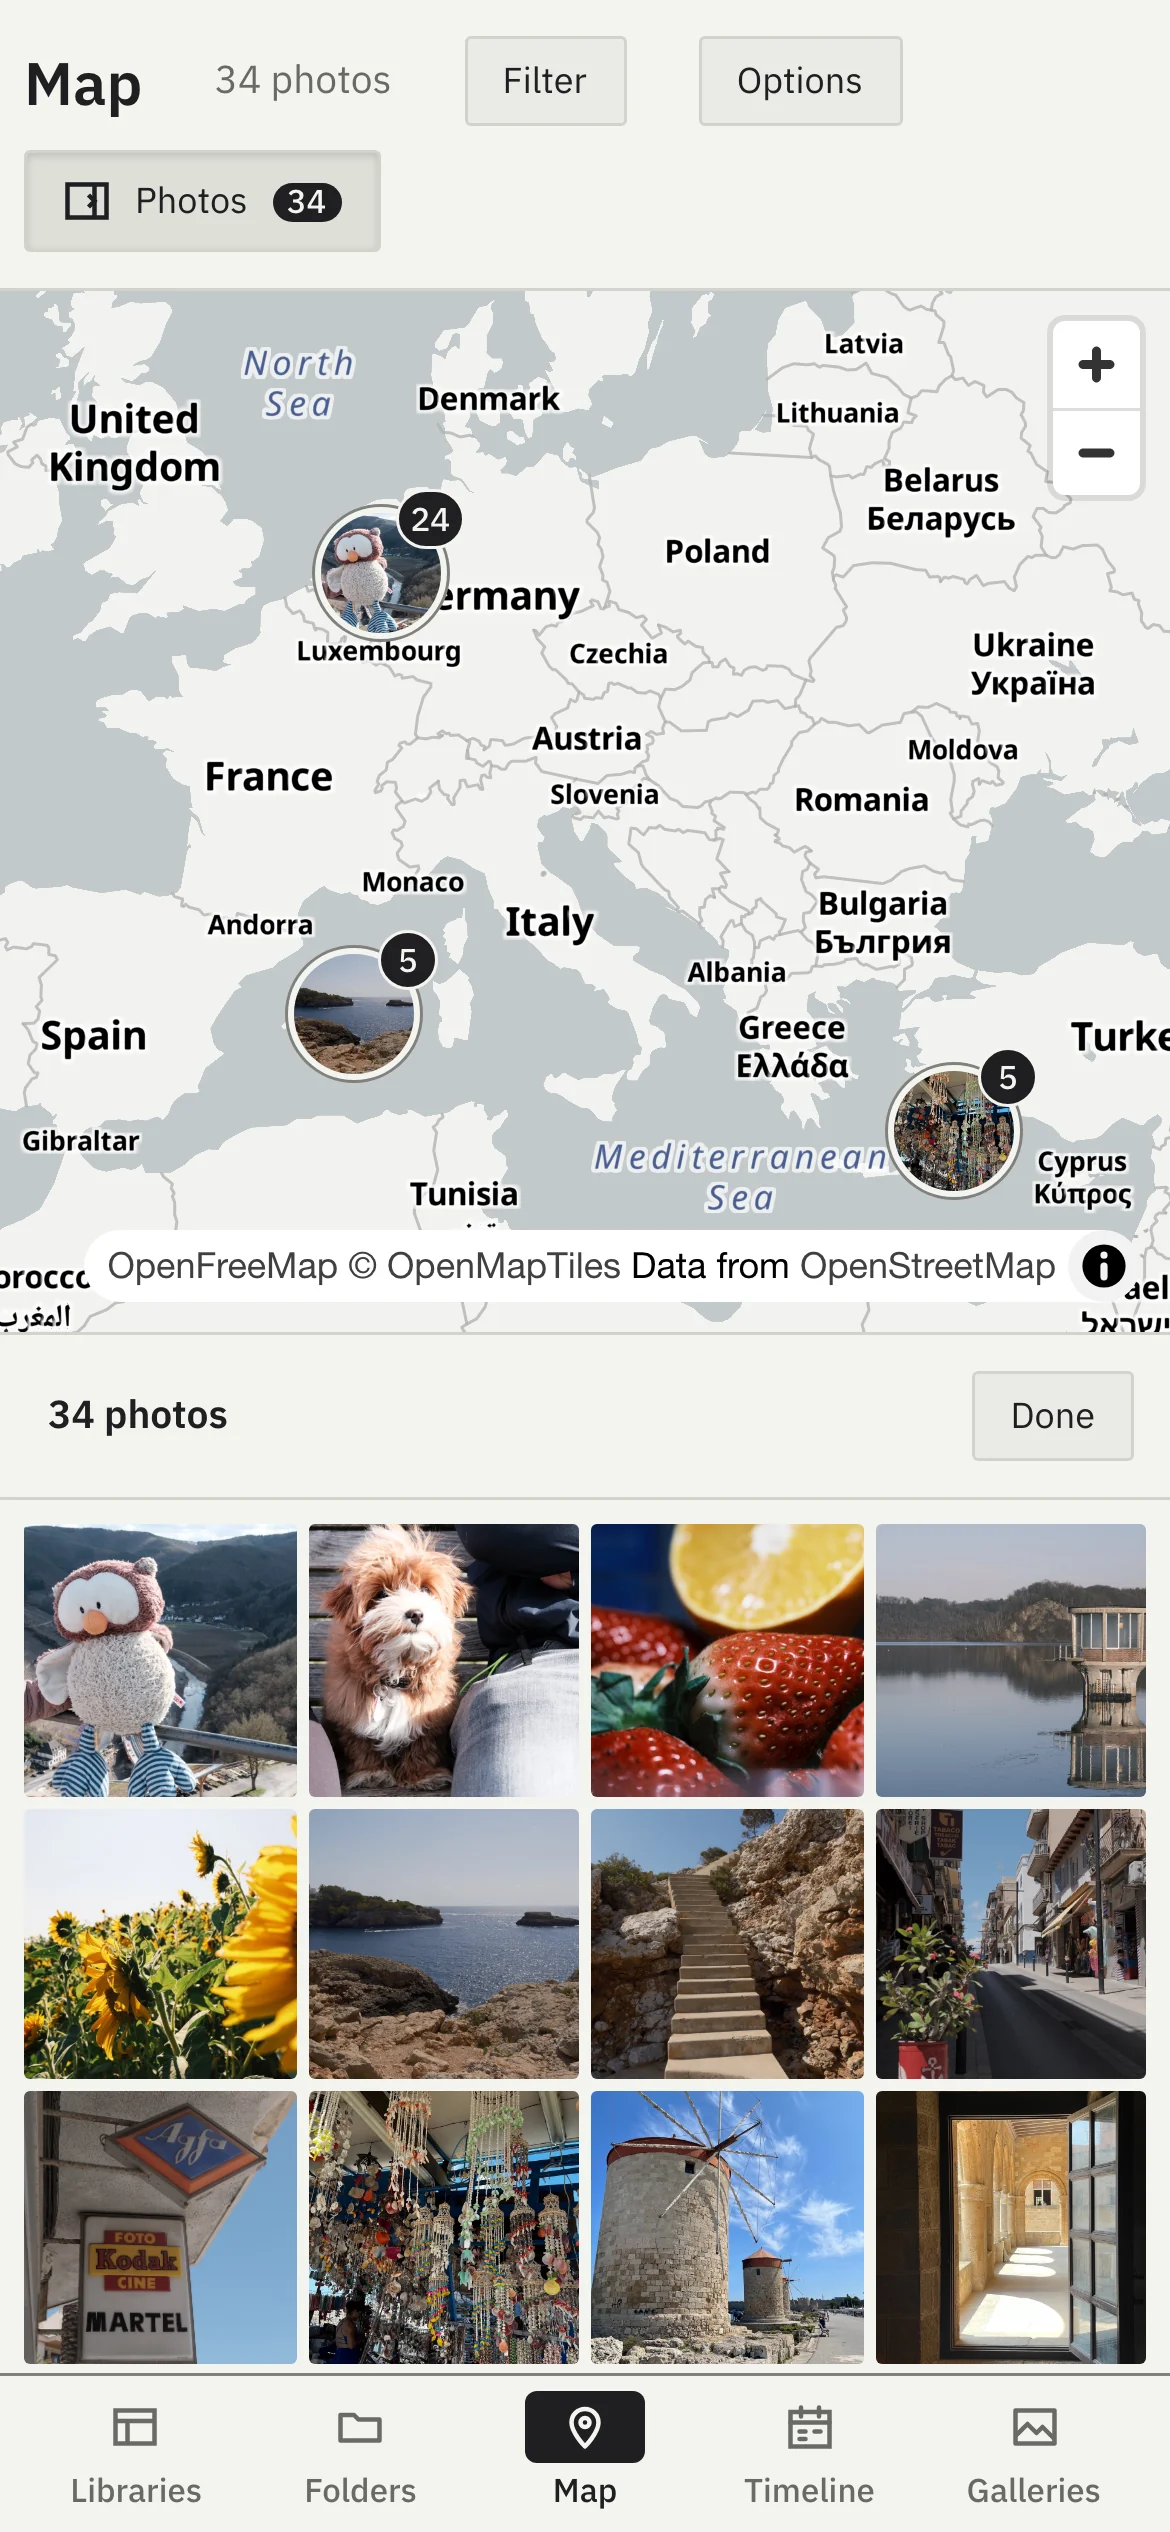
Every photo with a location on one map, grouped by place with the newest photo on top. Zoom in and the groups fan out; the Photos column shows what is in view. Grey or in colour.
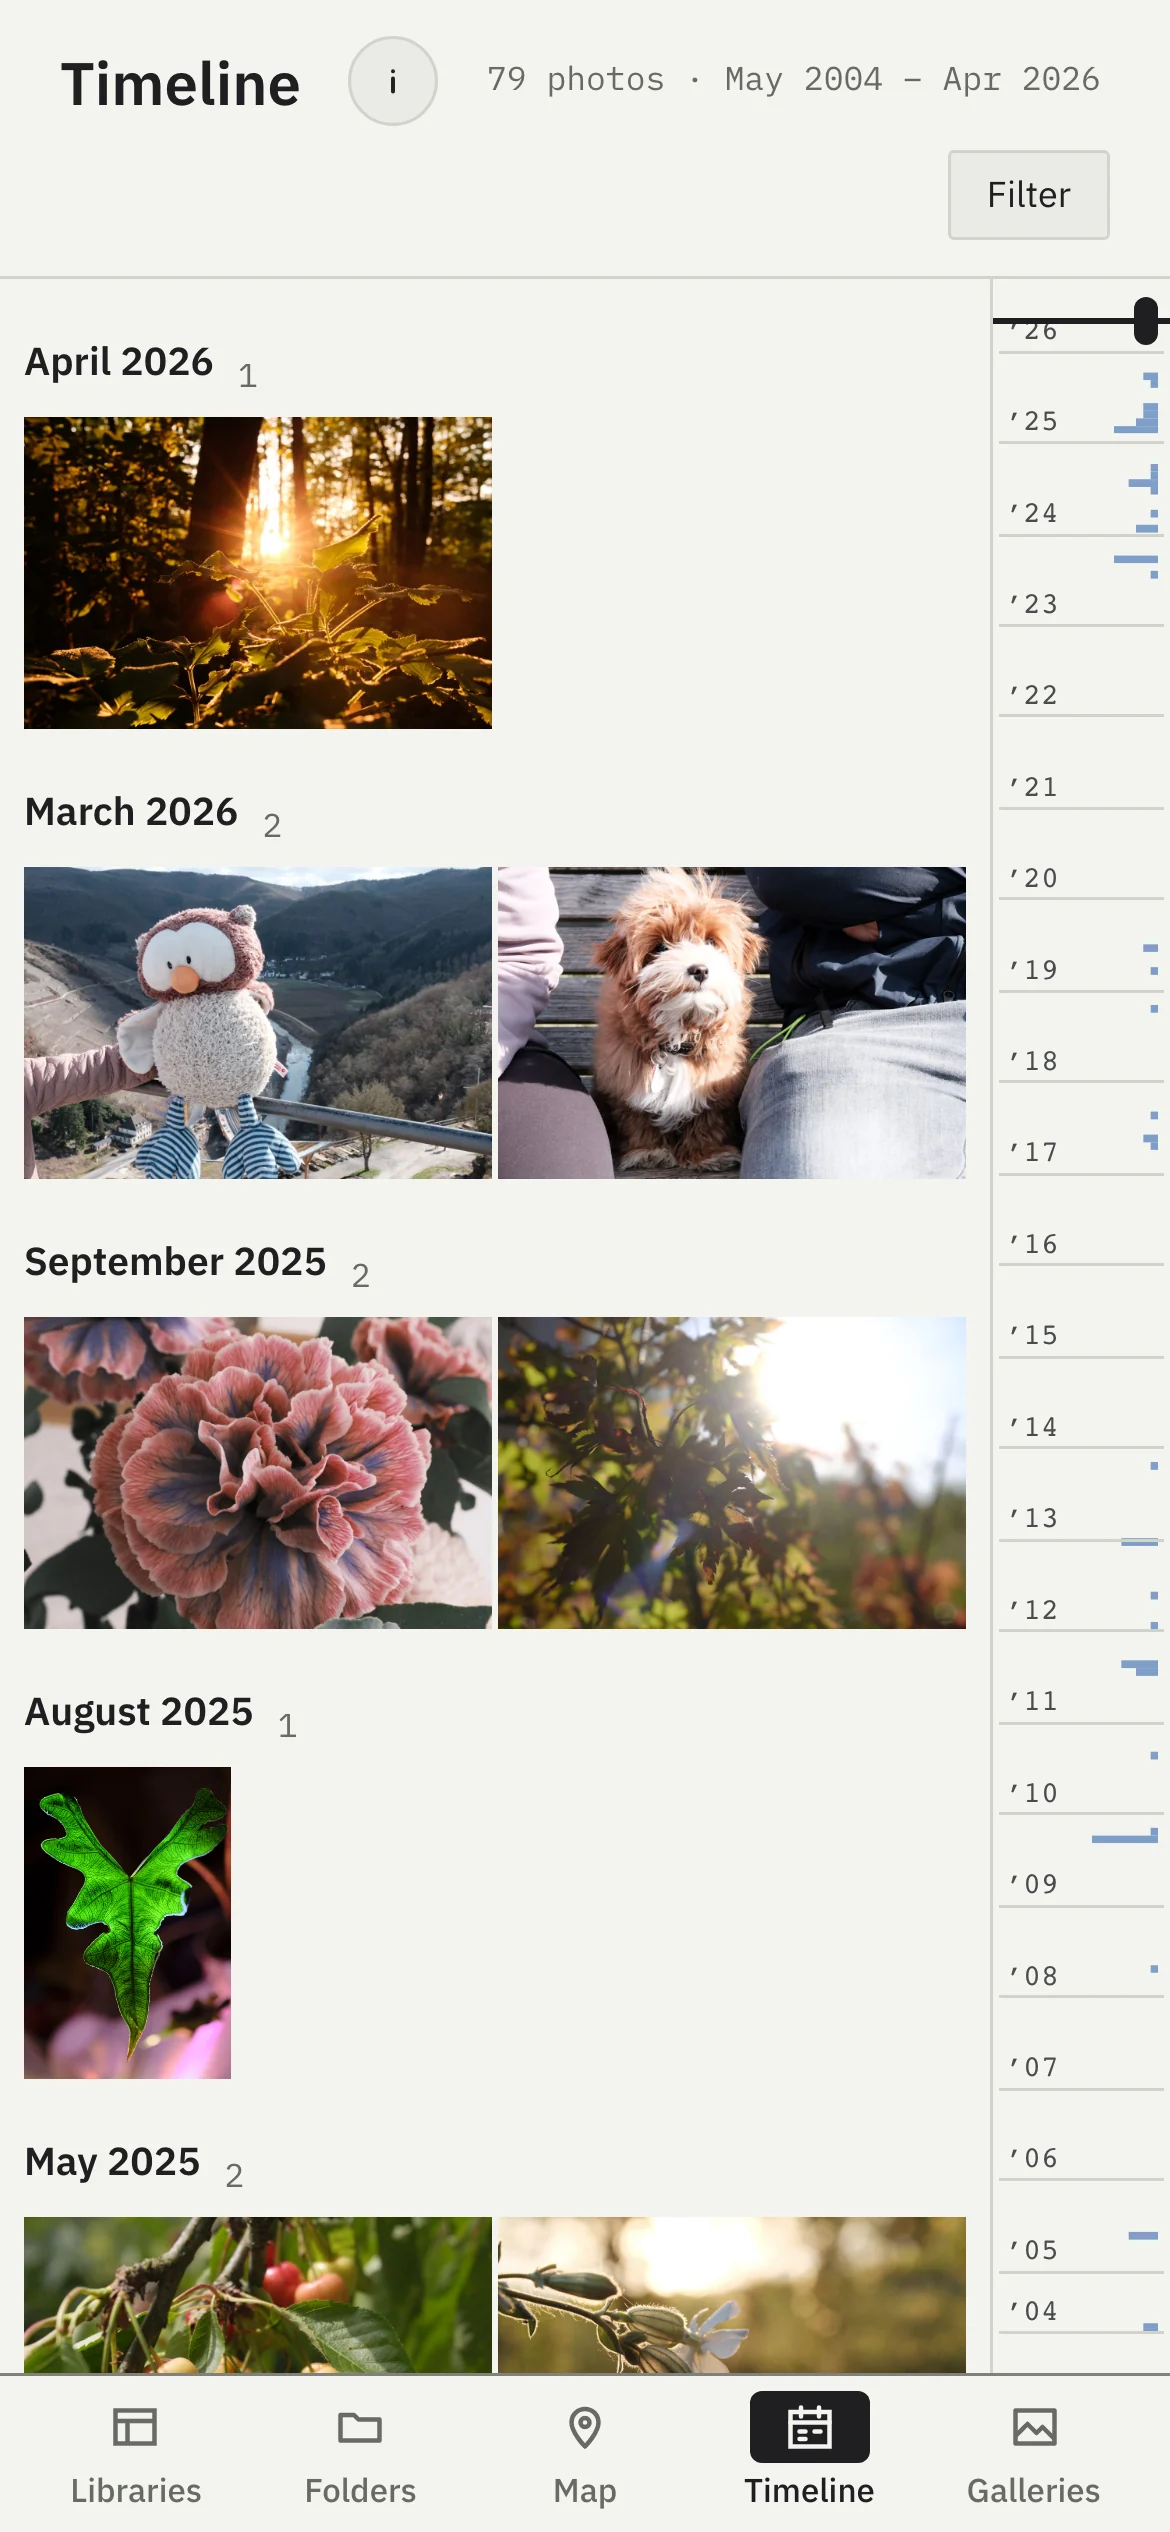
Every dated photo of every library on one time axis, oldest on the left. A graph shows when you took them; drag the frame along it, or limit it to a span like 2020–2025. Only what is on screen is loaded.
The map, the statistics and the timeline share one filter: libraries, a span of time, cameras and lenses, the lenses following the cameras chosen. Nothing is filtered until you narrow it, and Reset widens it again.
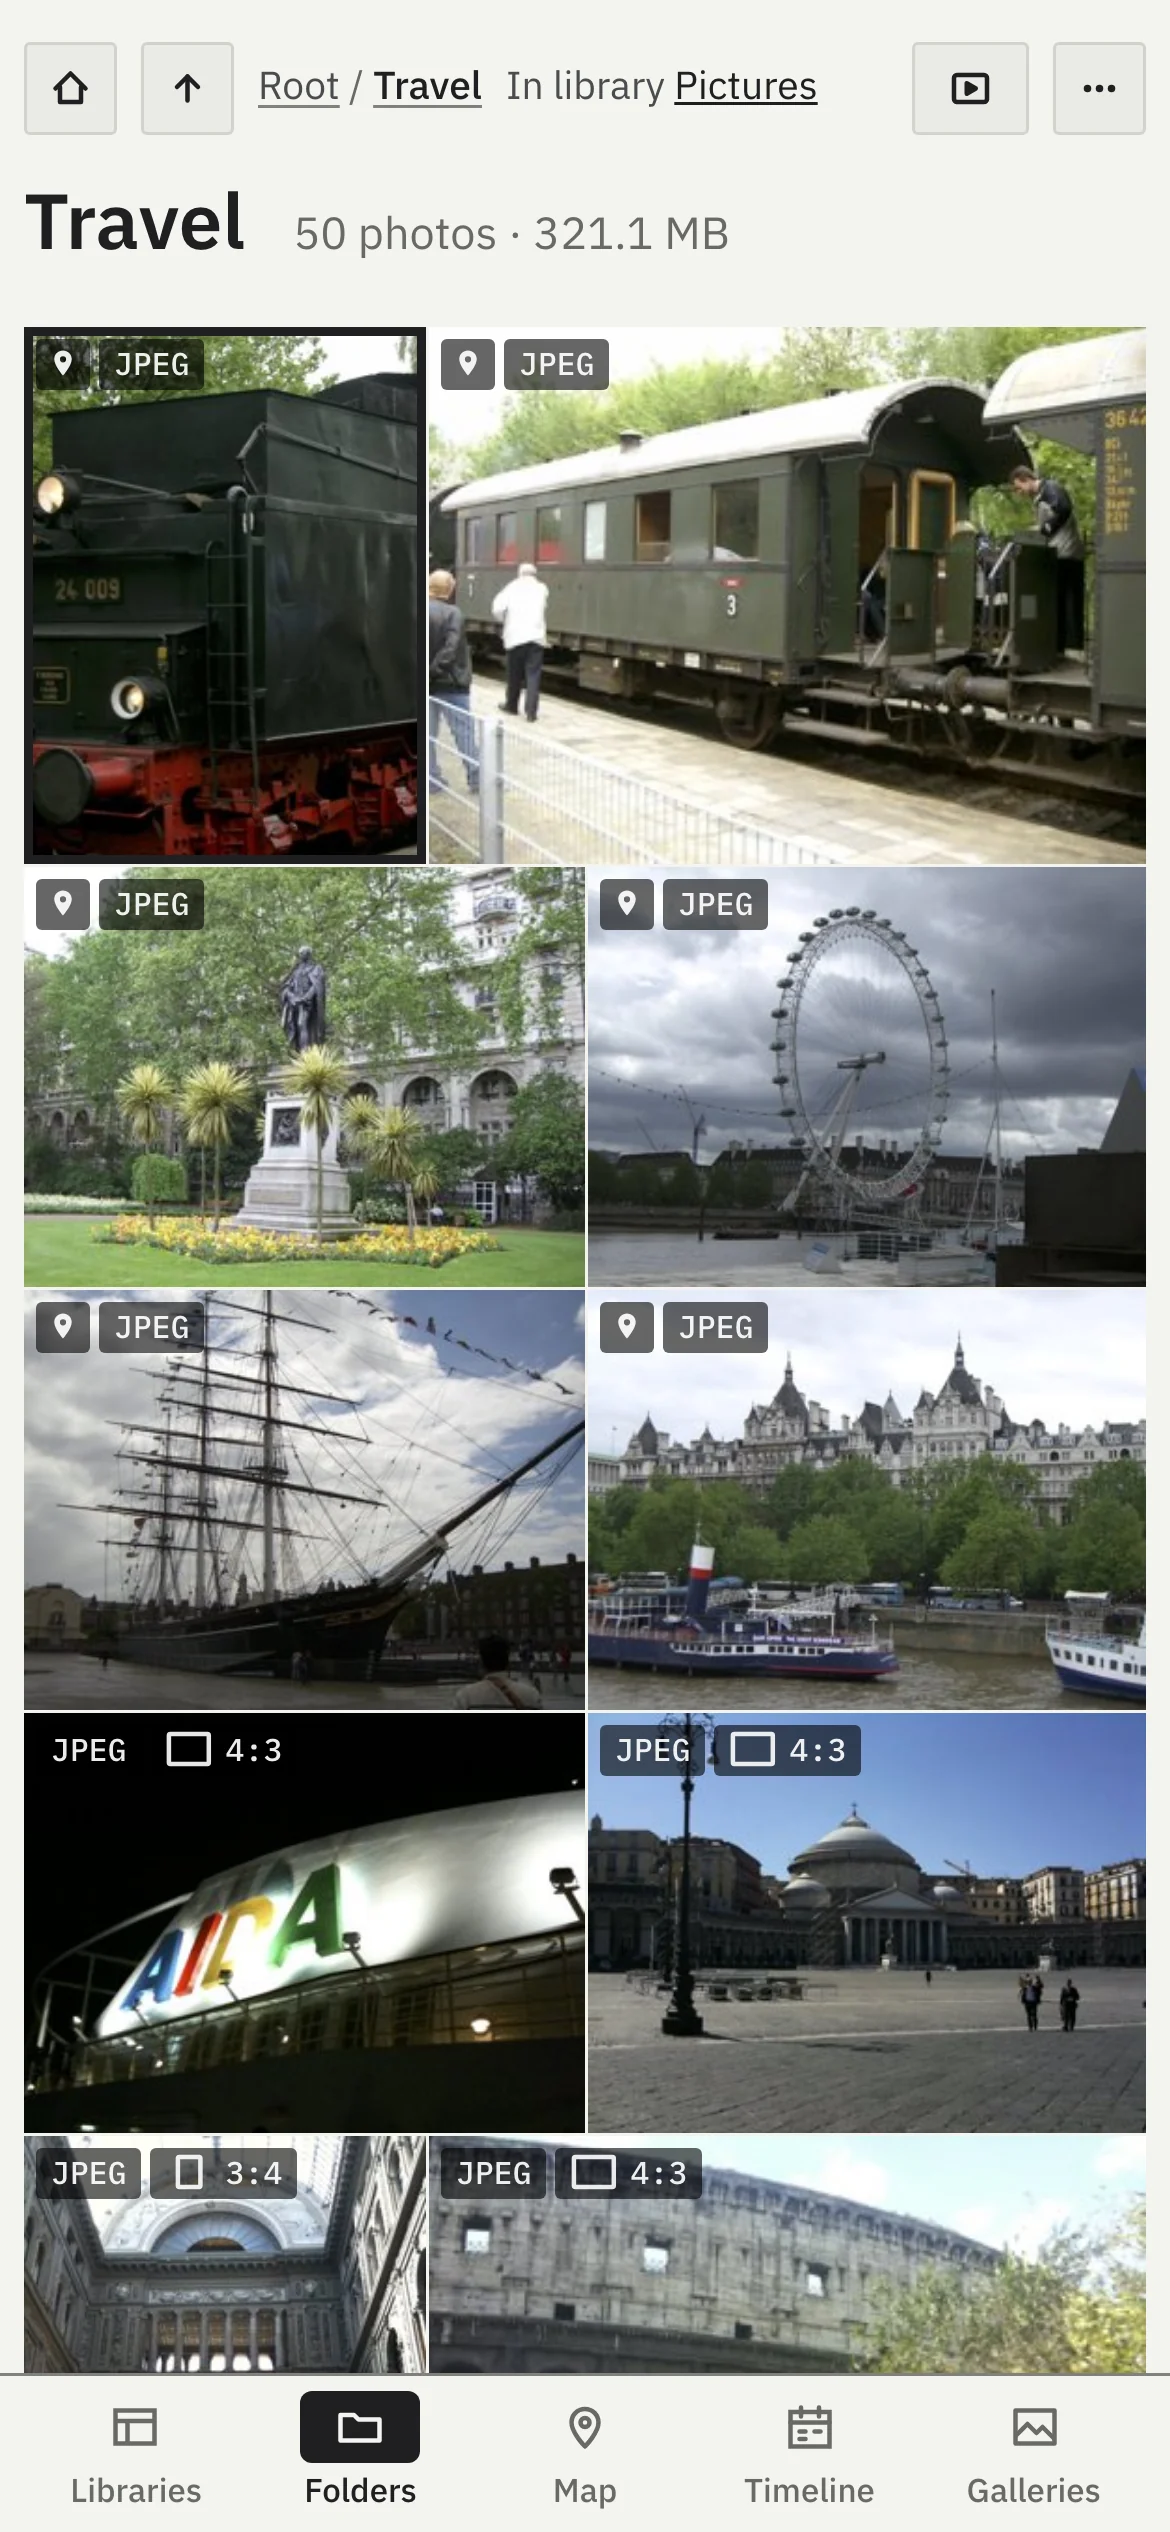
Browse your libraries, folders, the map, the timeline and your galleries from a phone on your network, with a tab bar at the bottom.
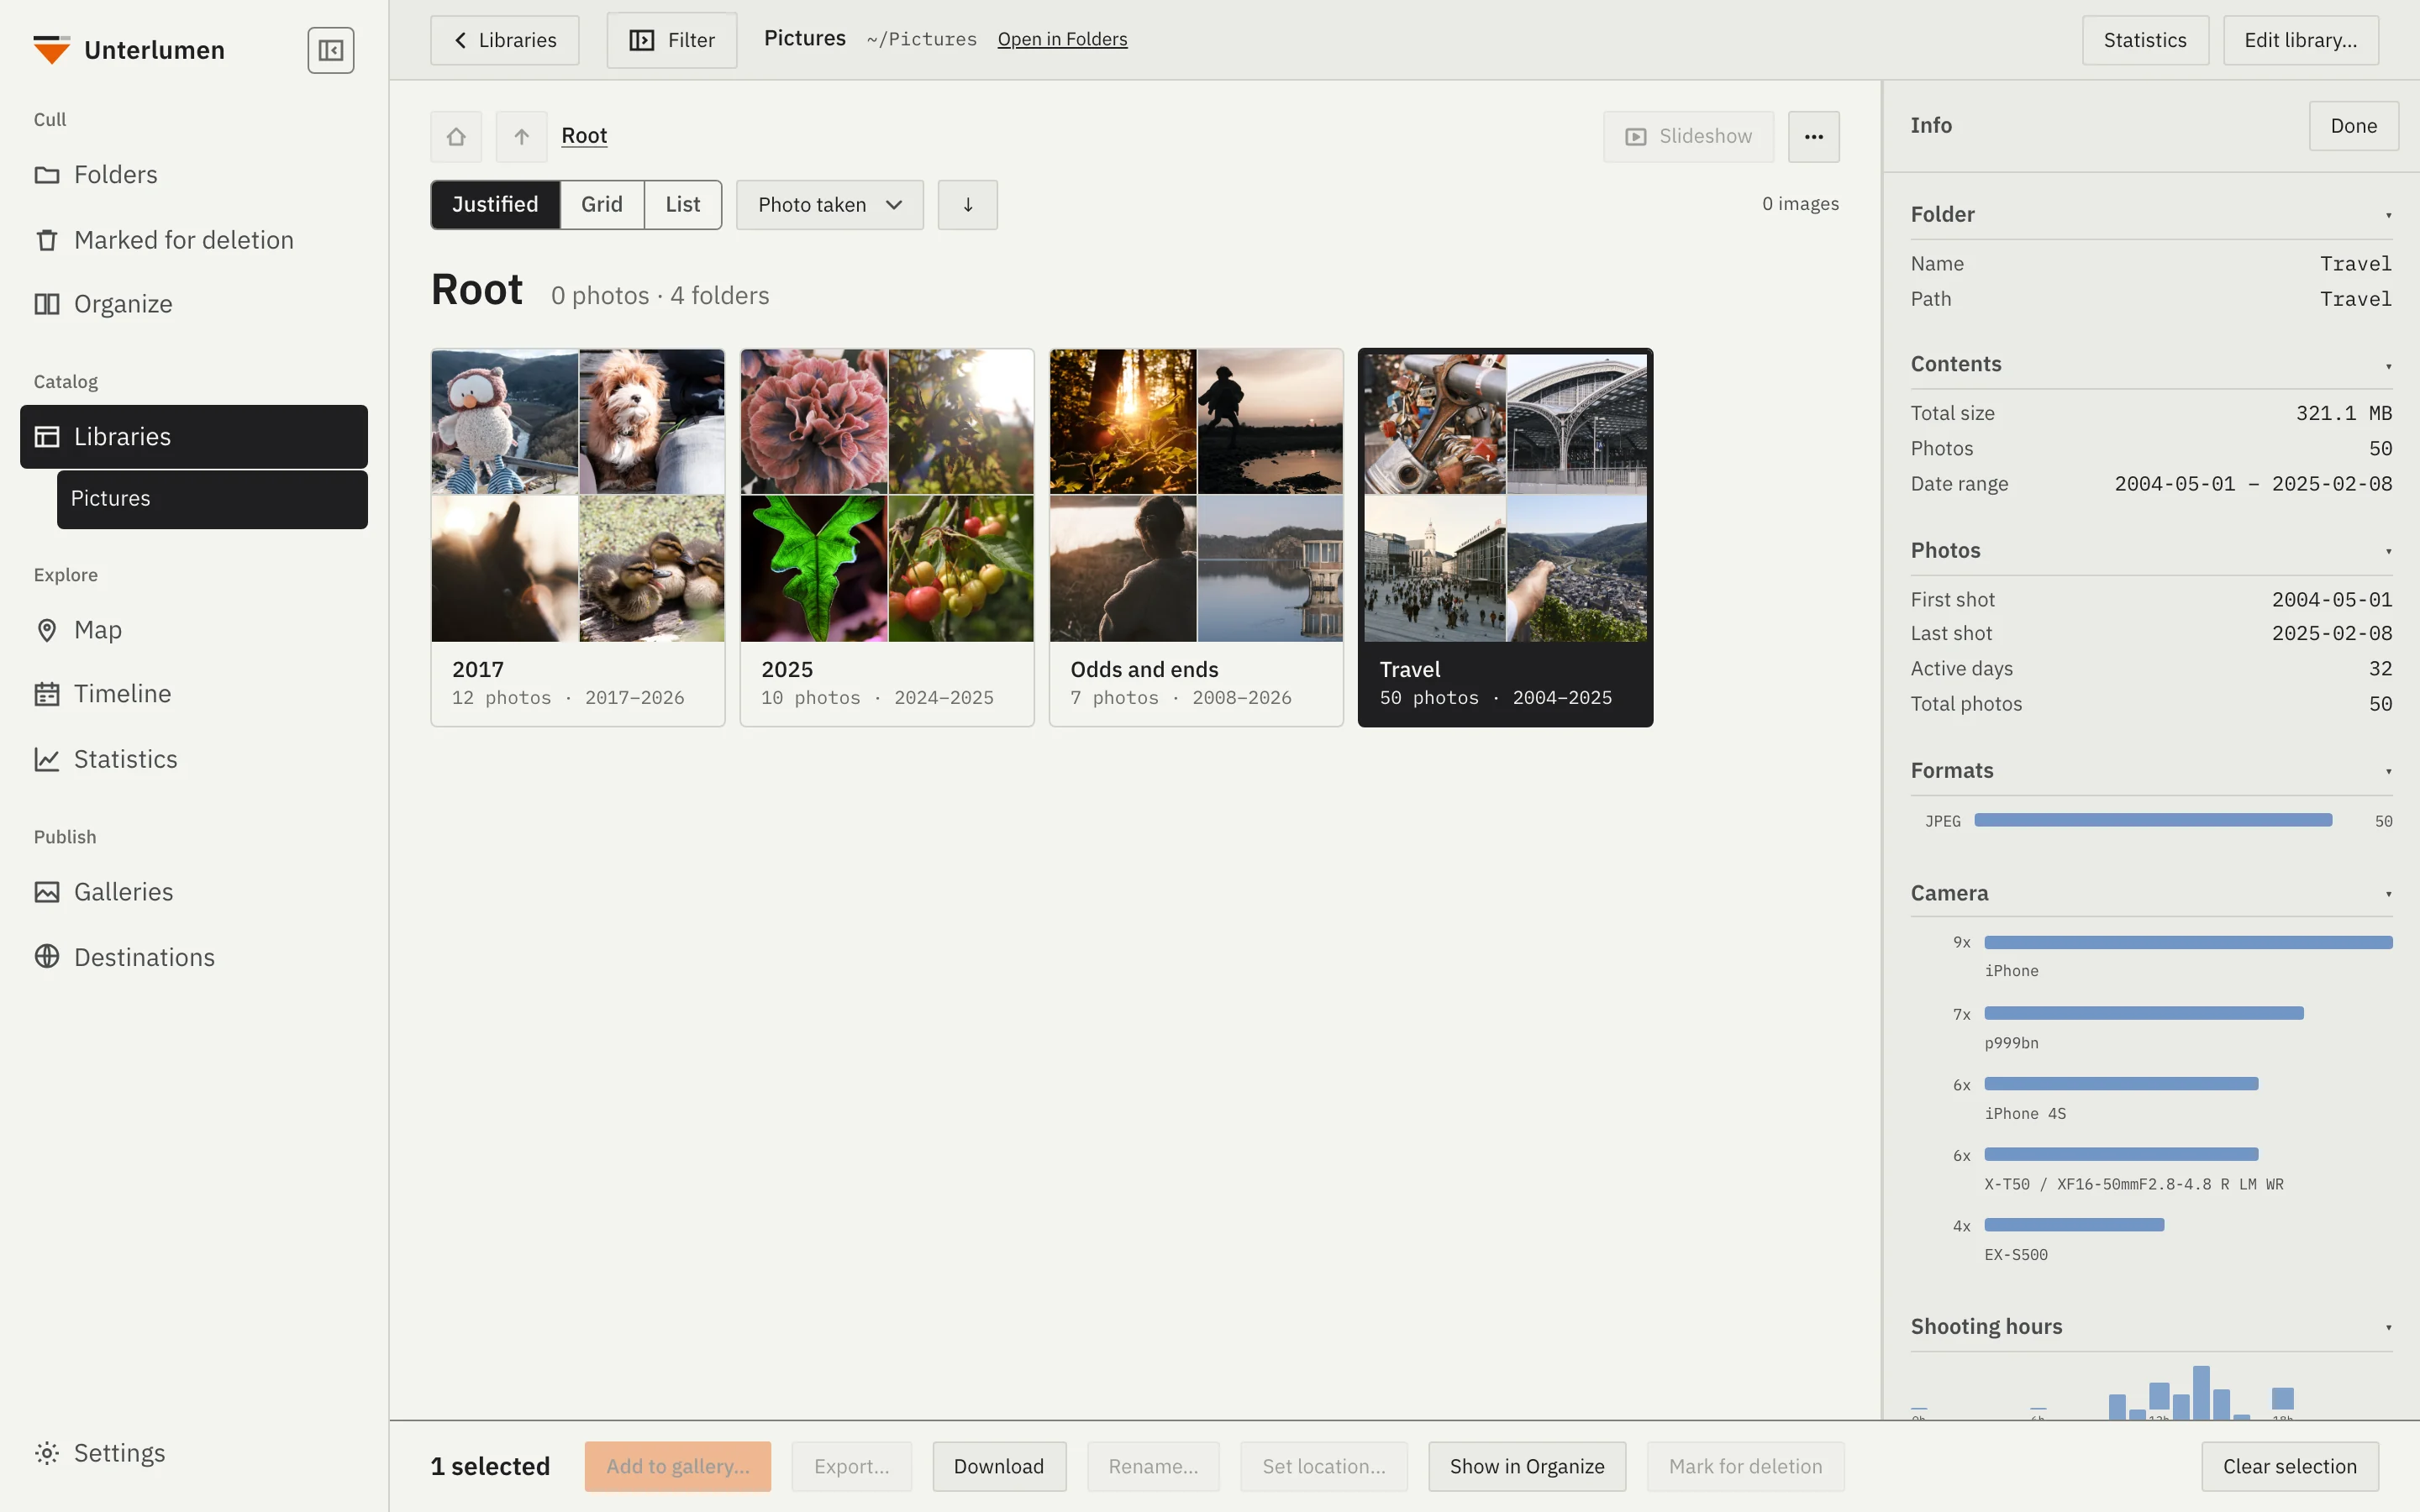
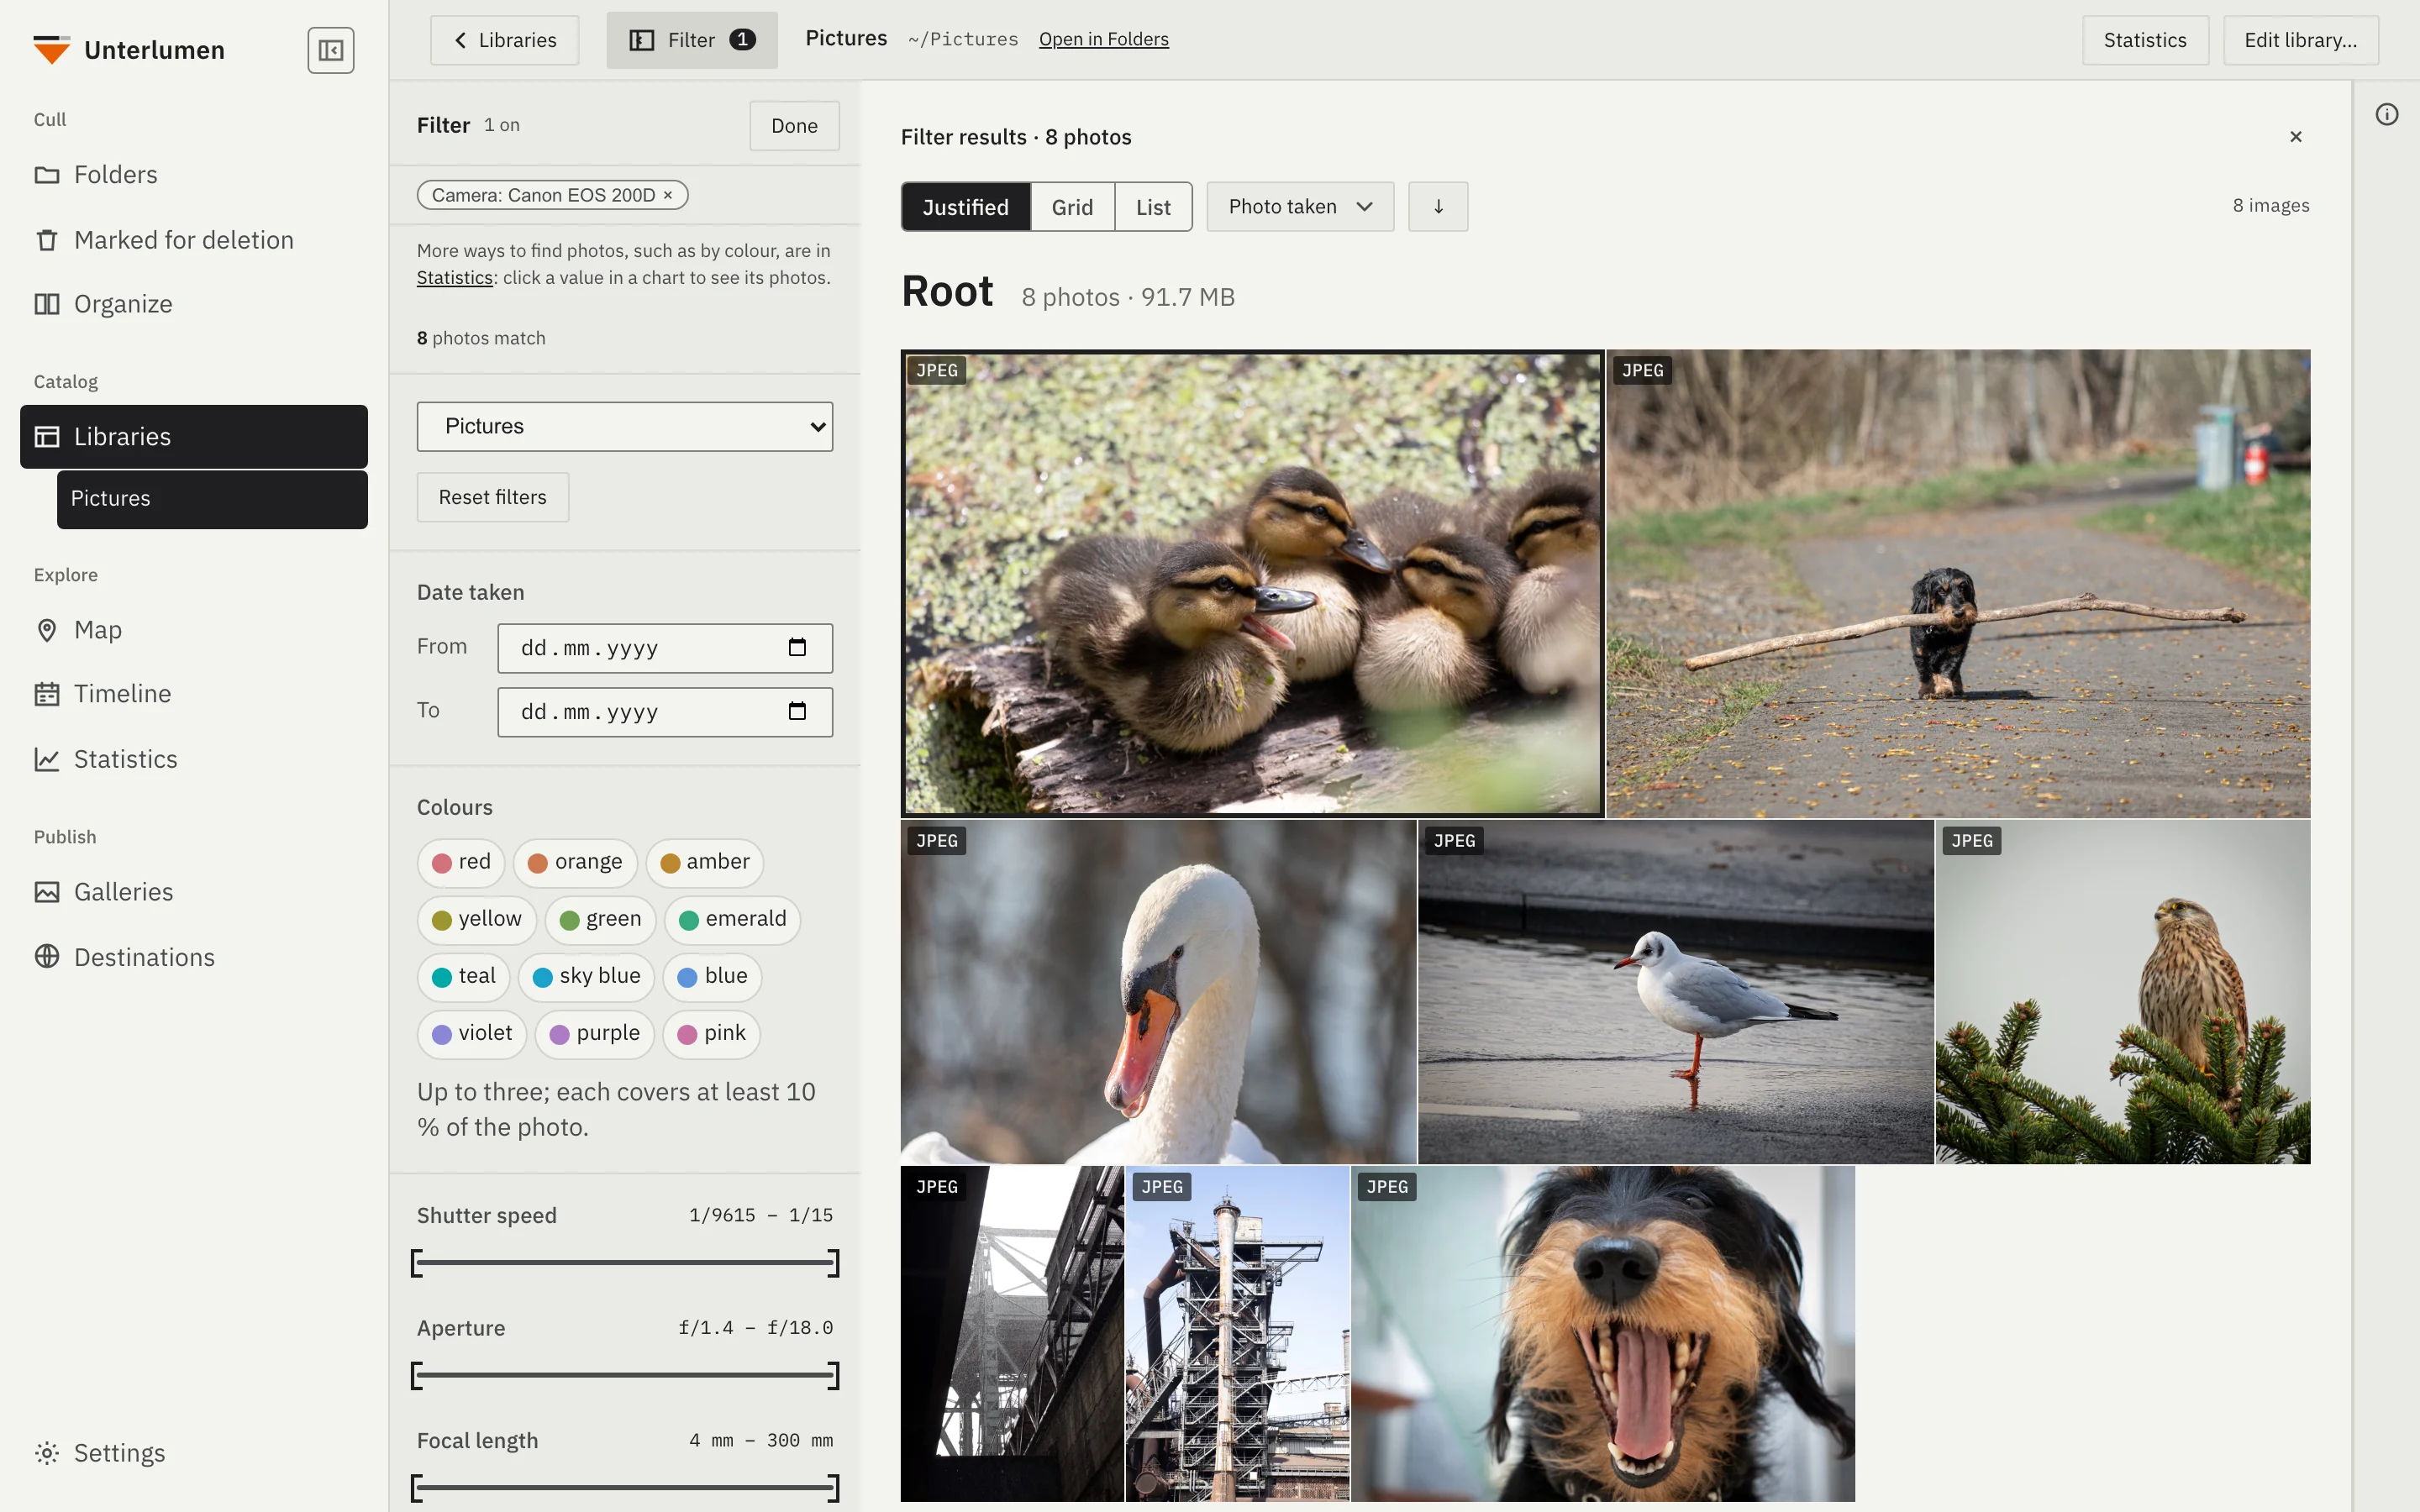
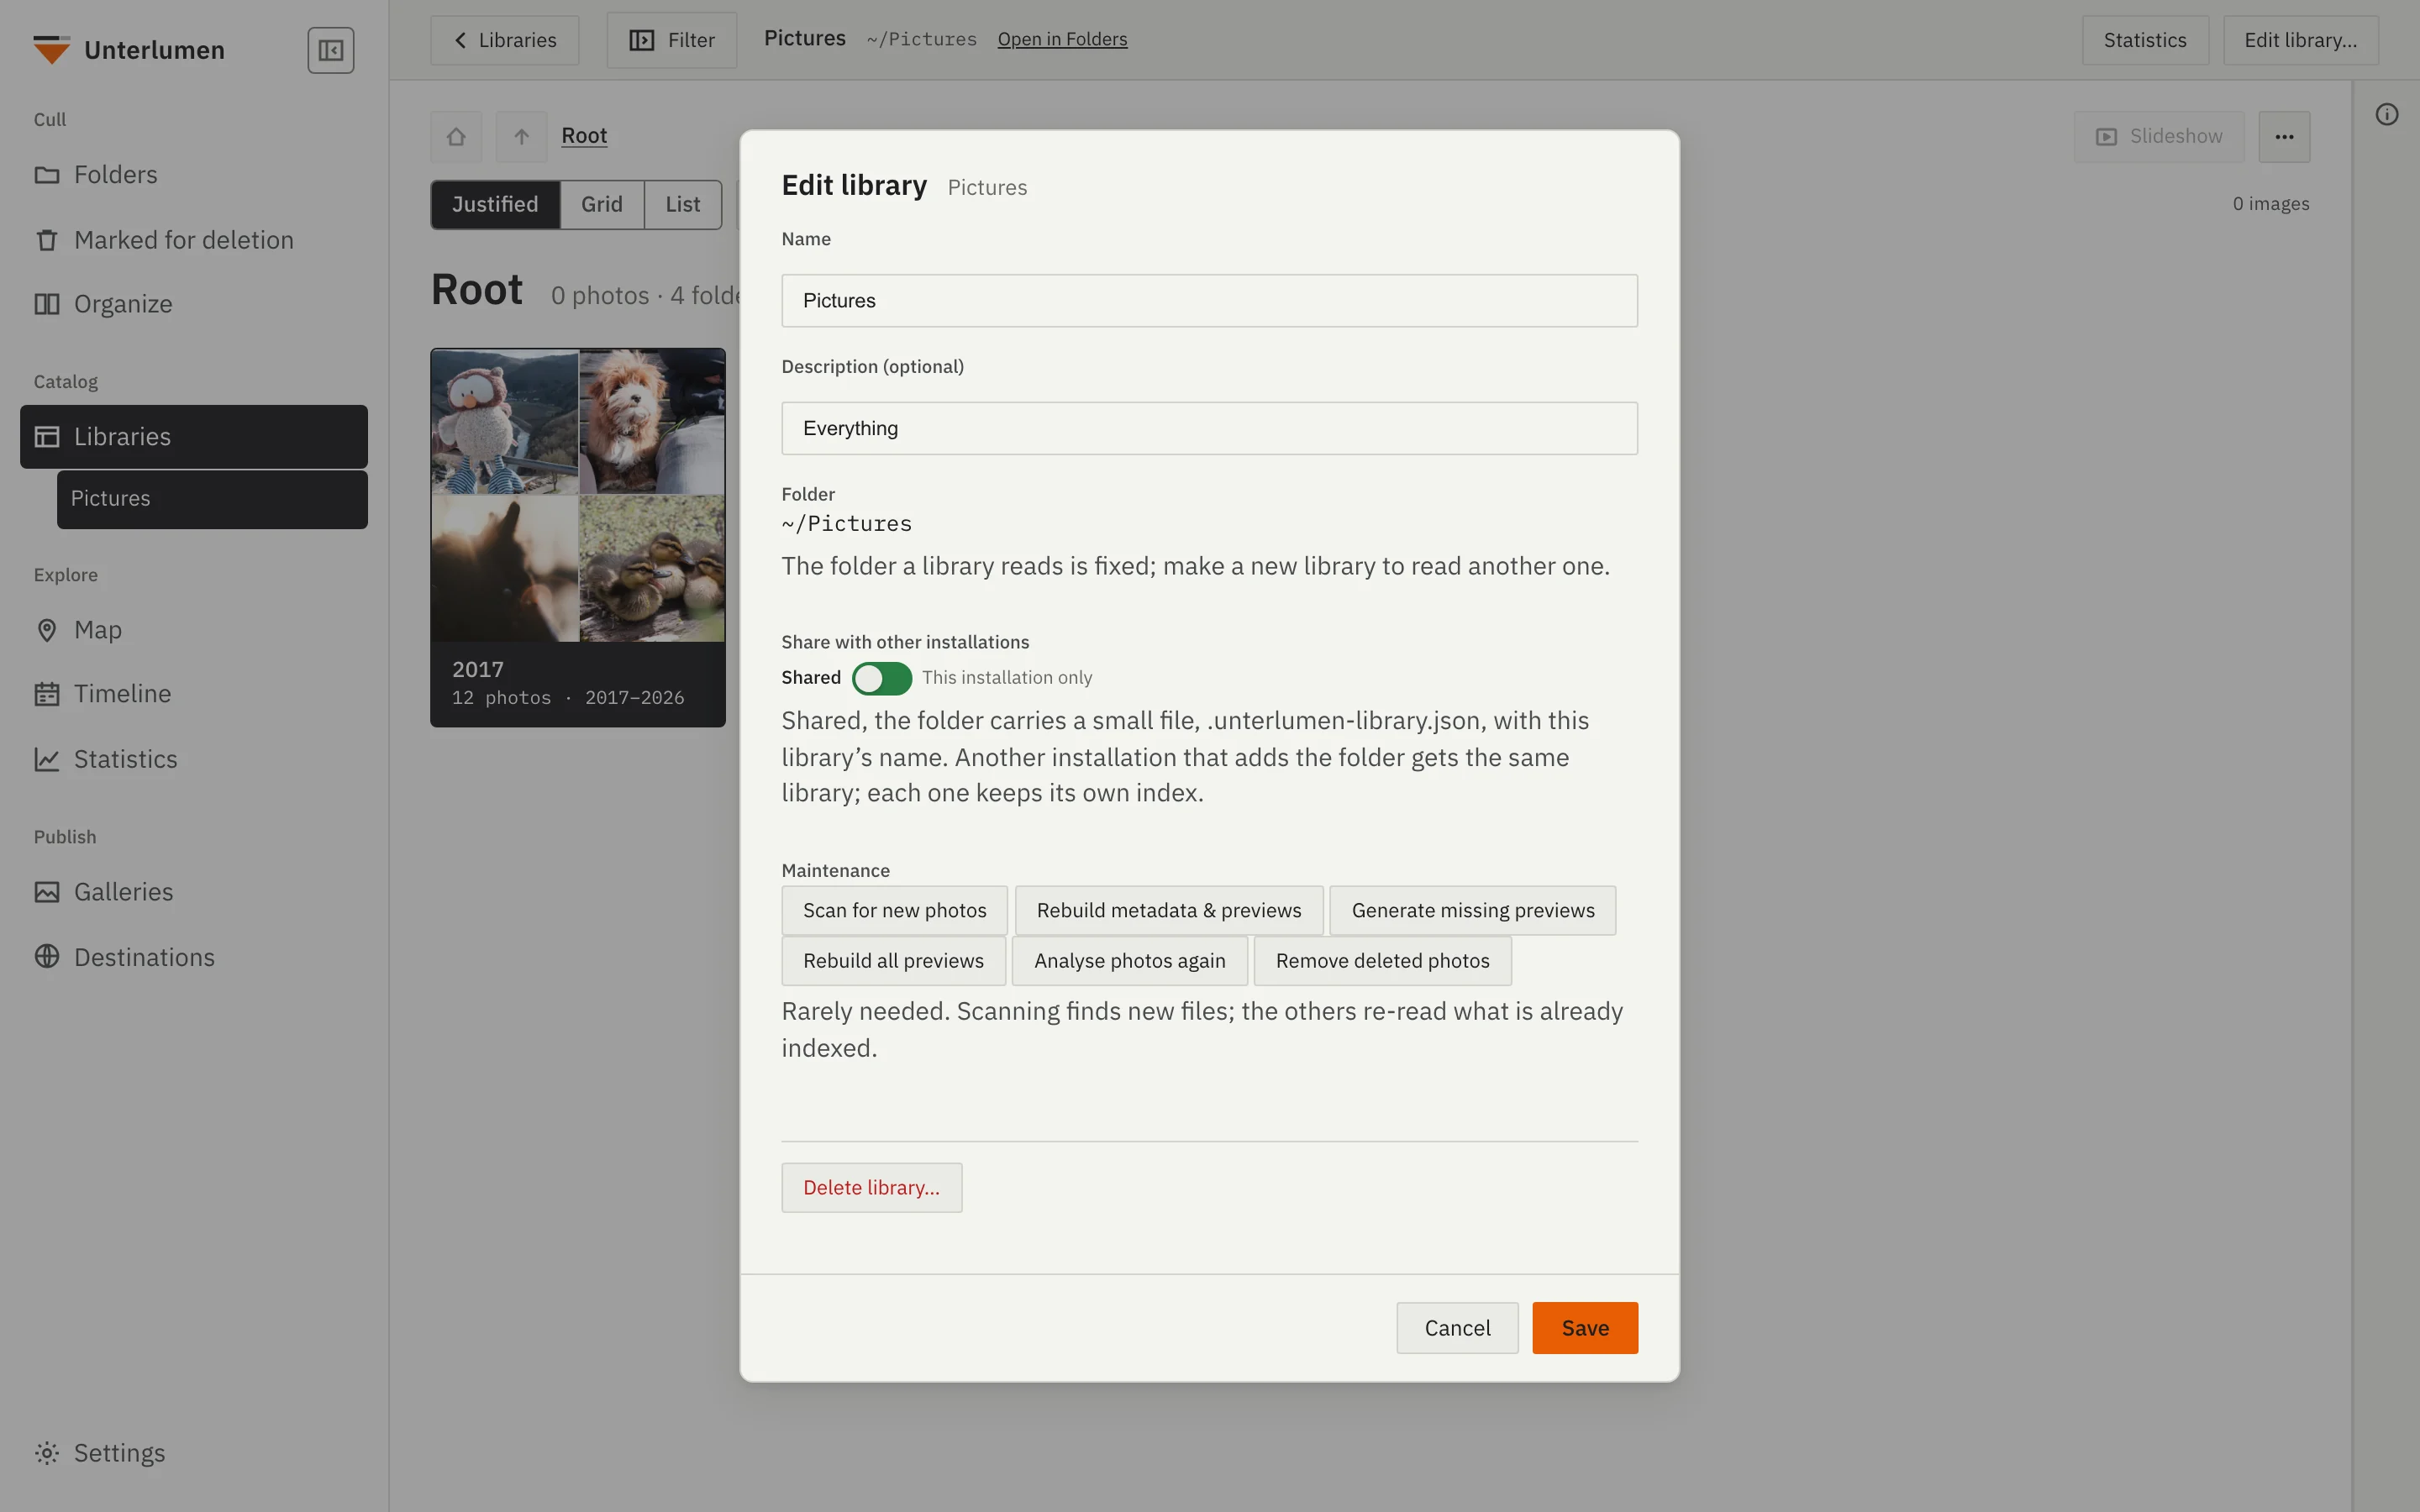
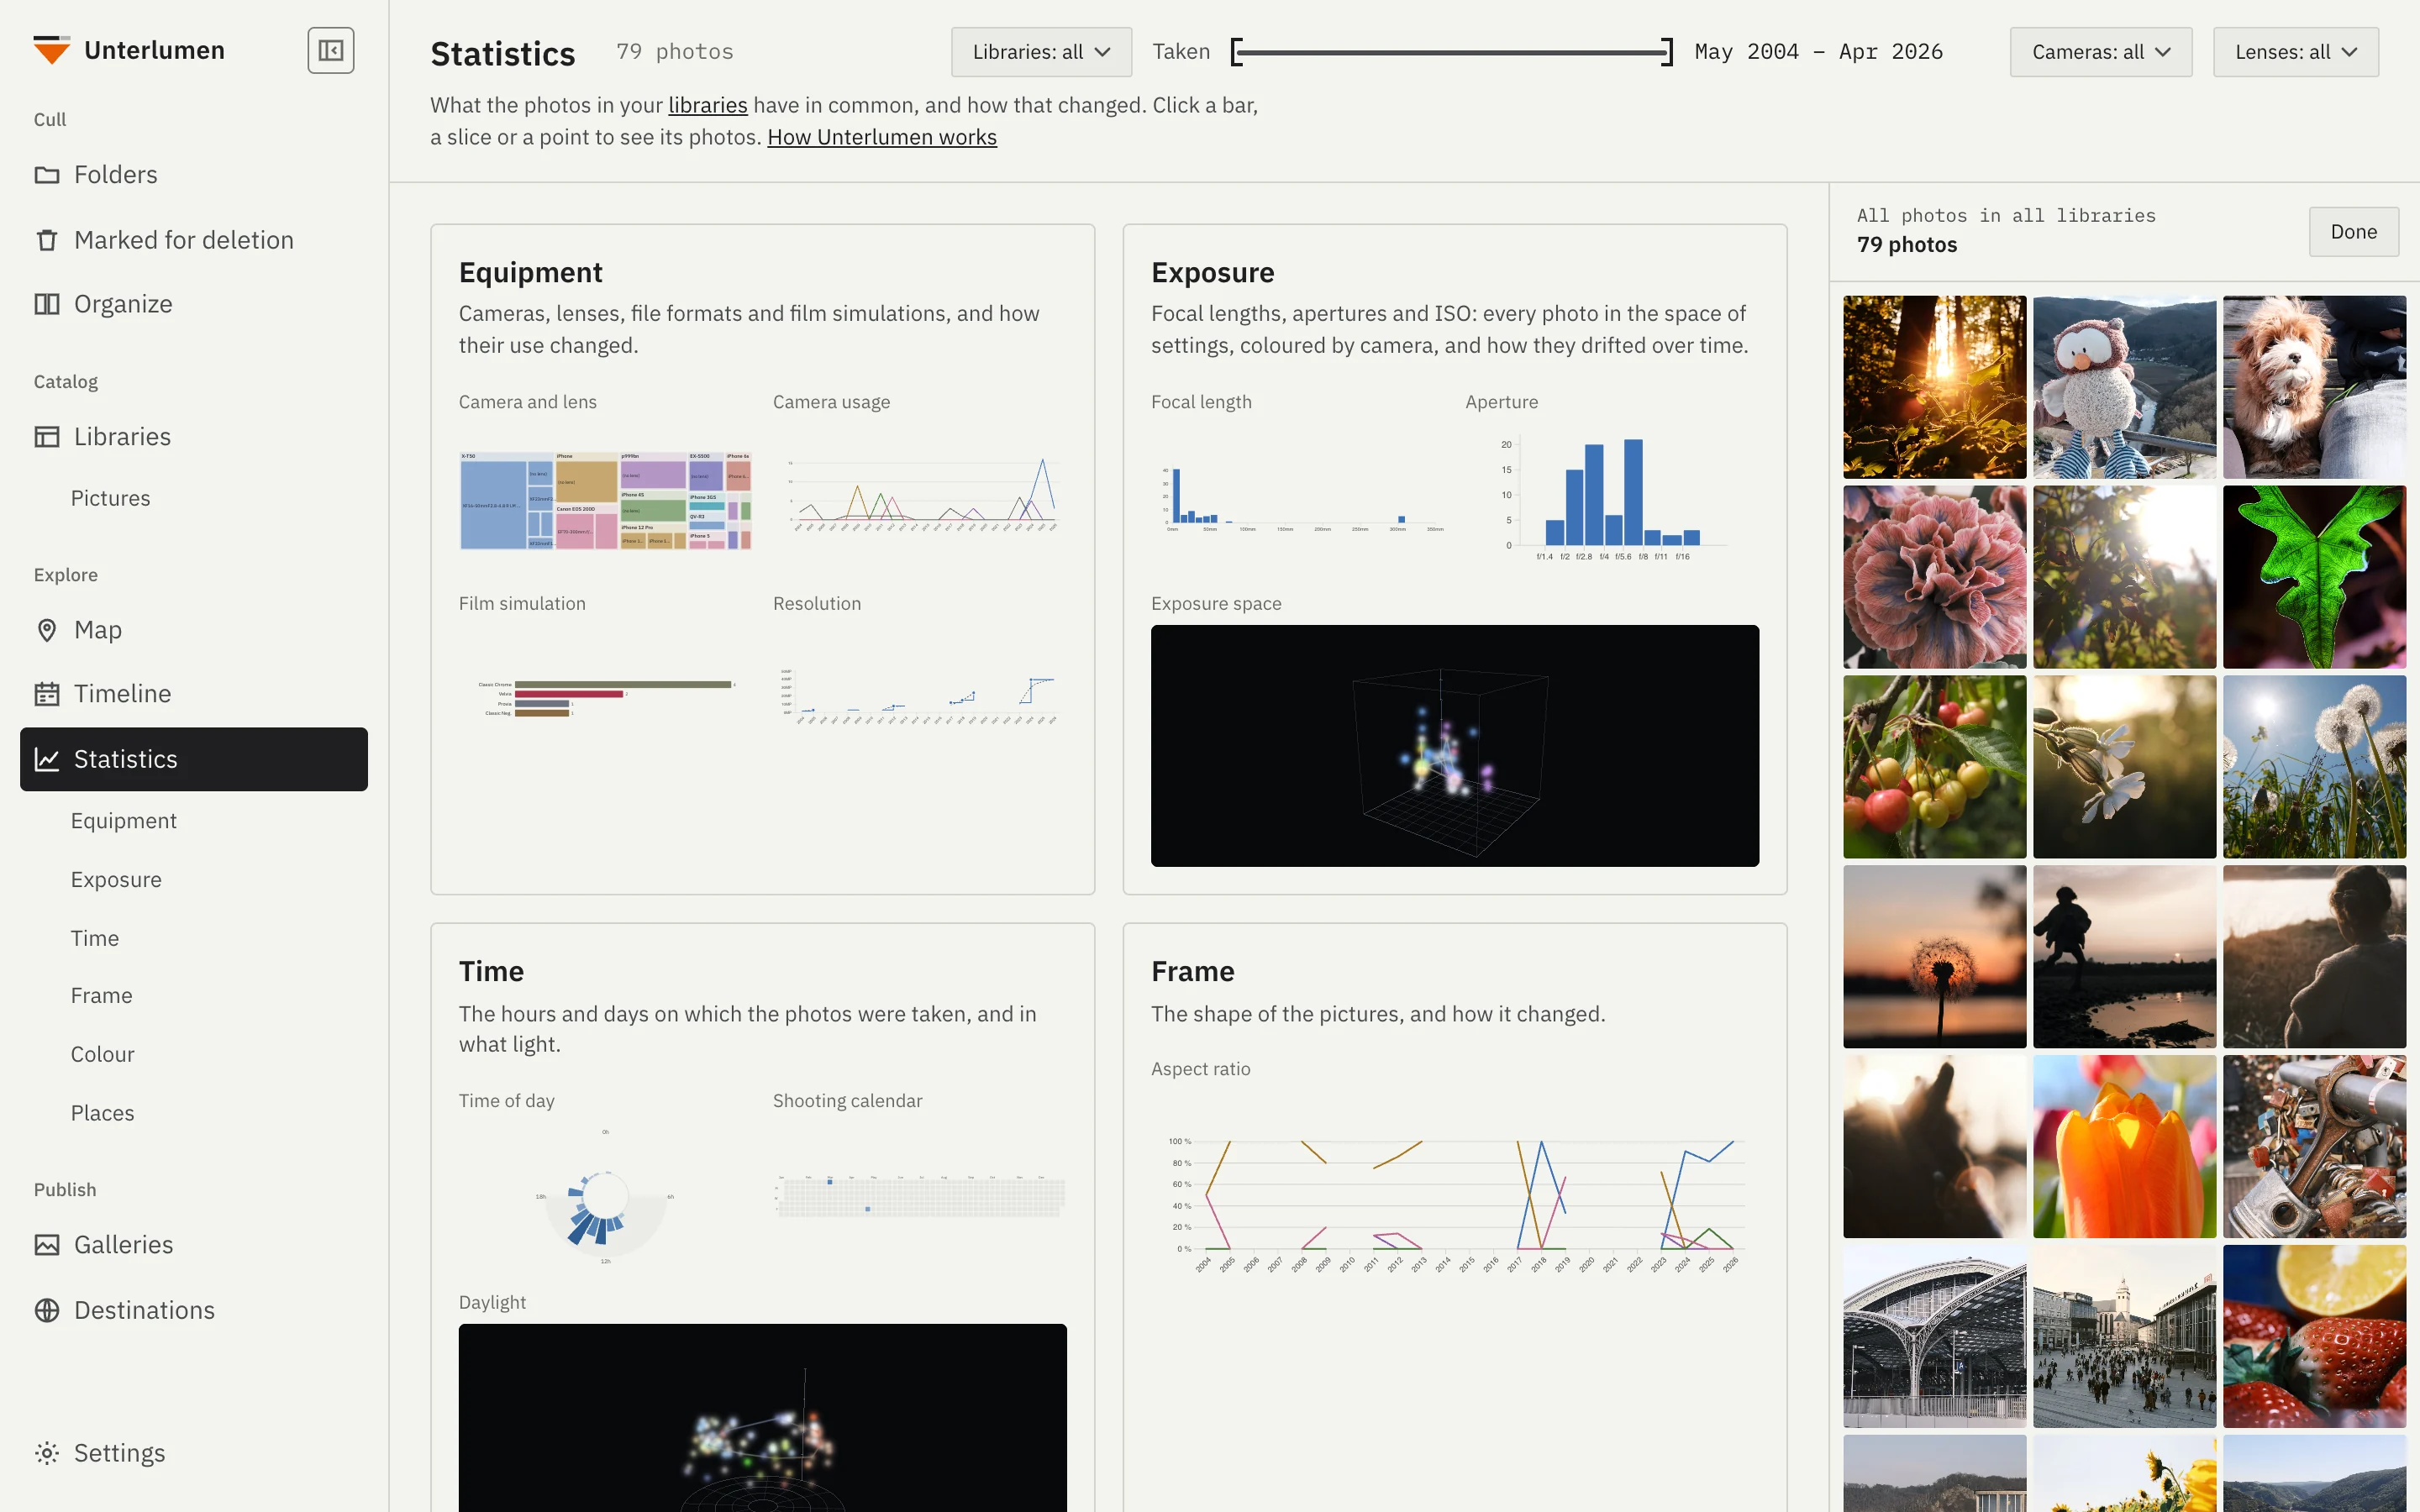
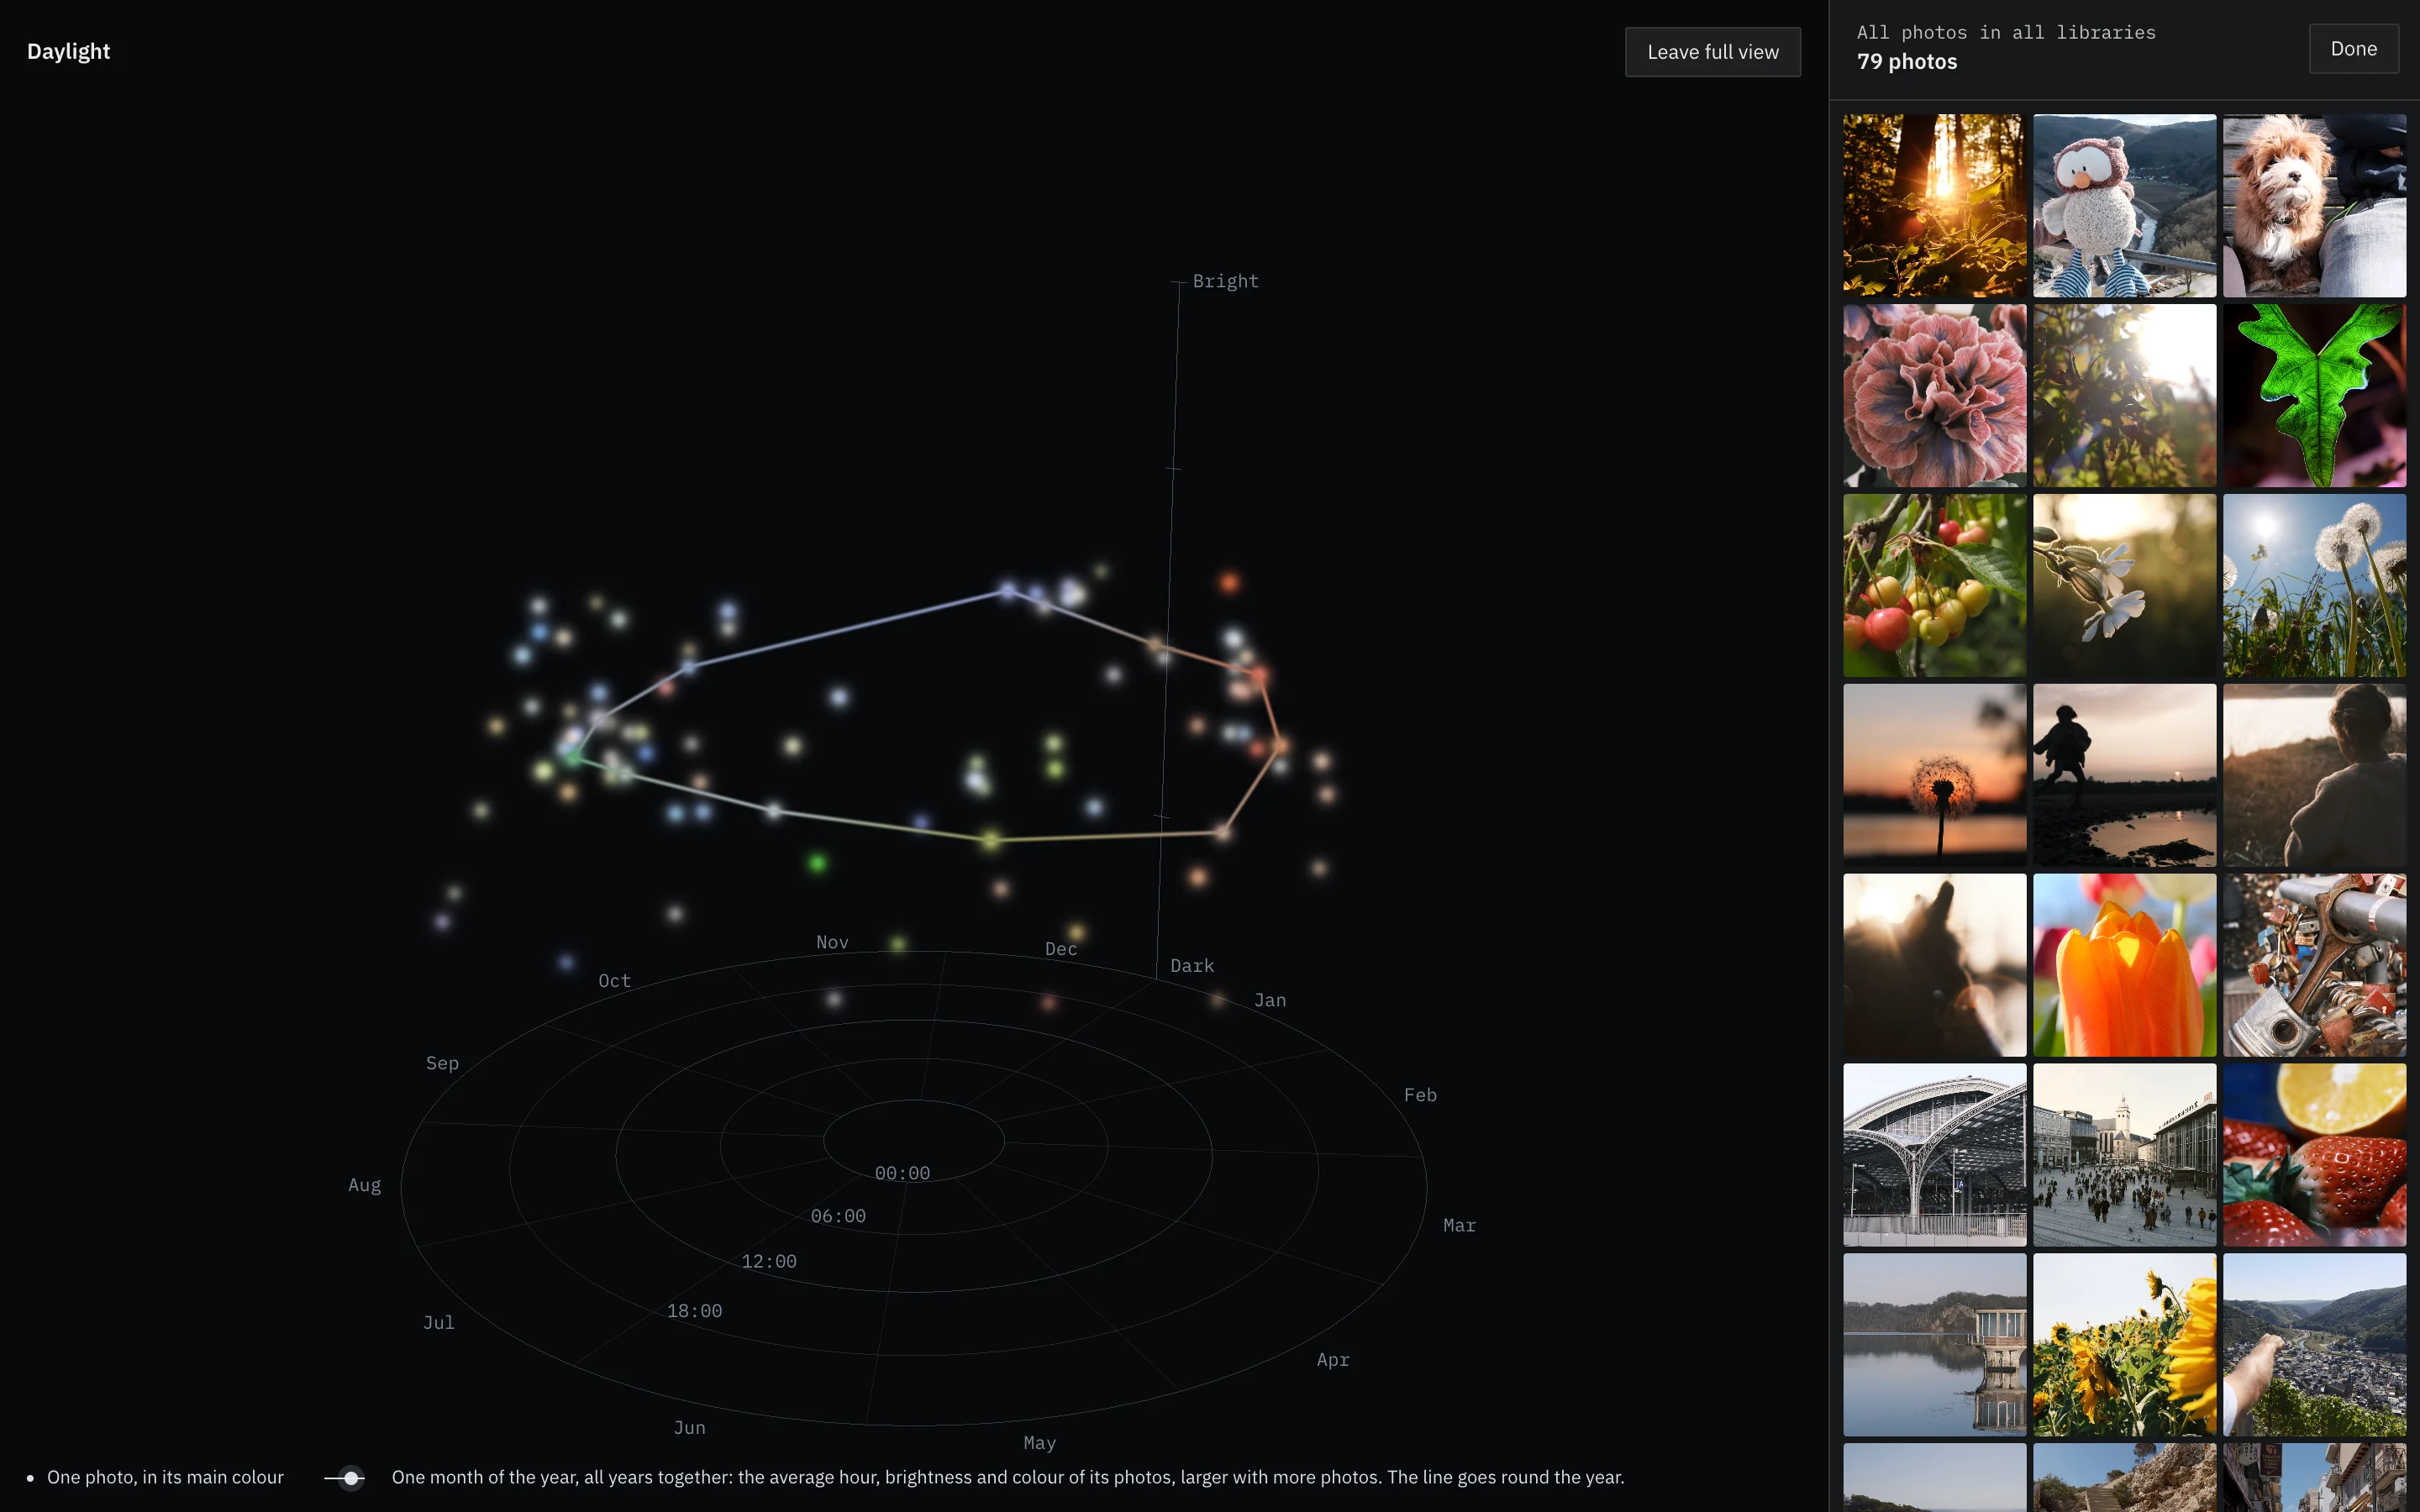
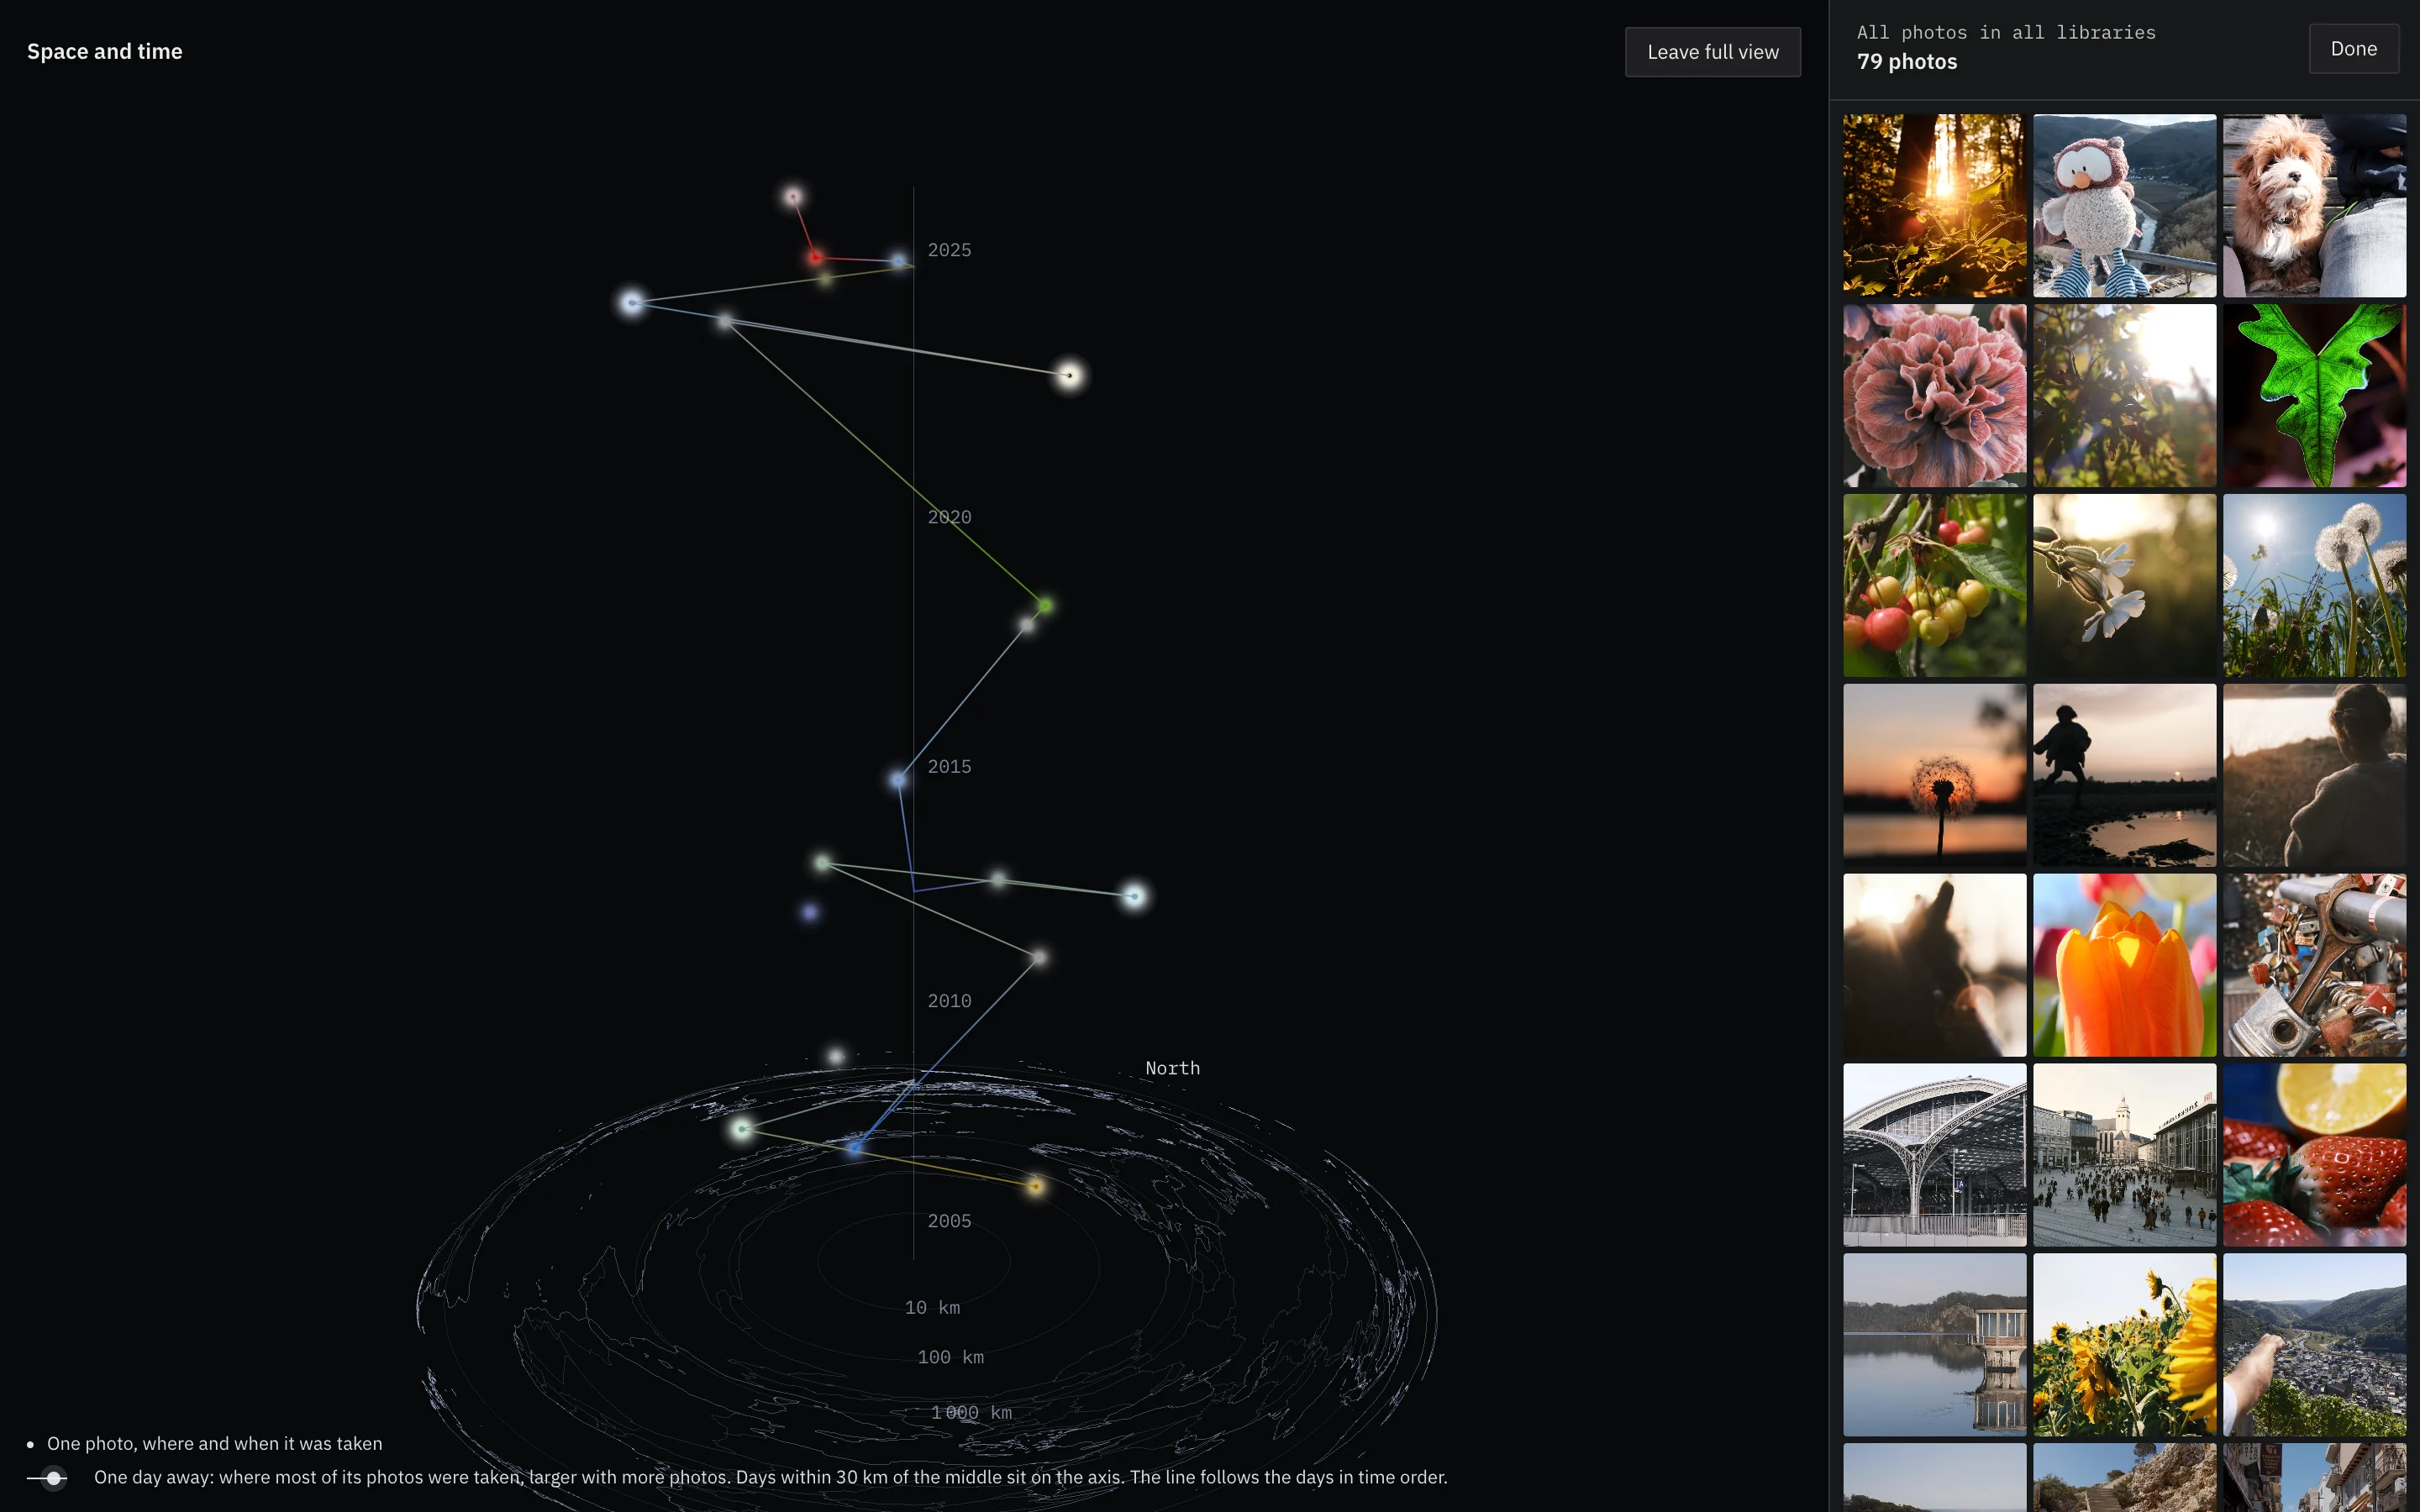
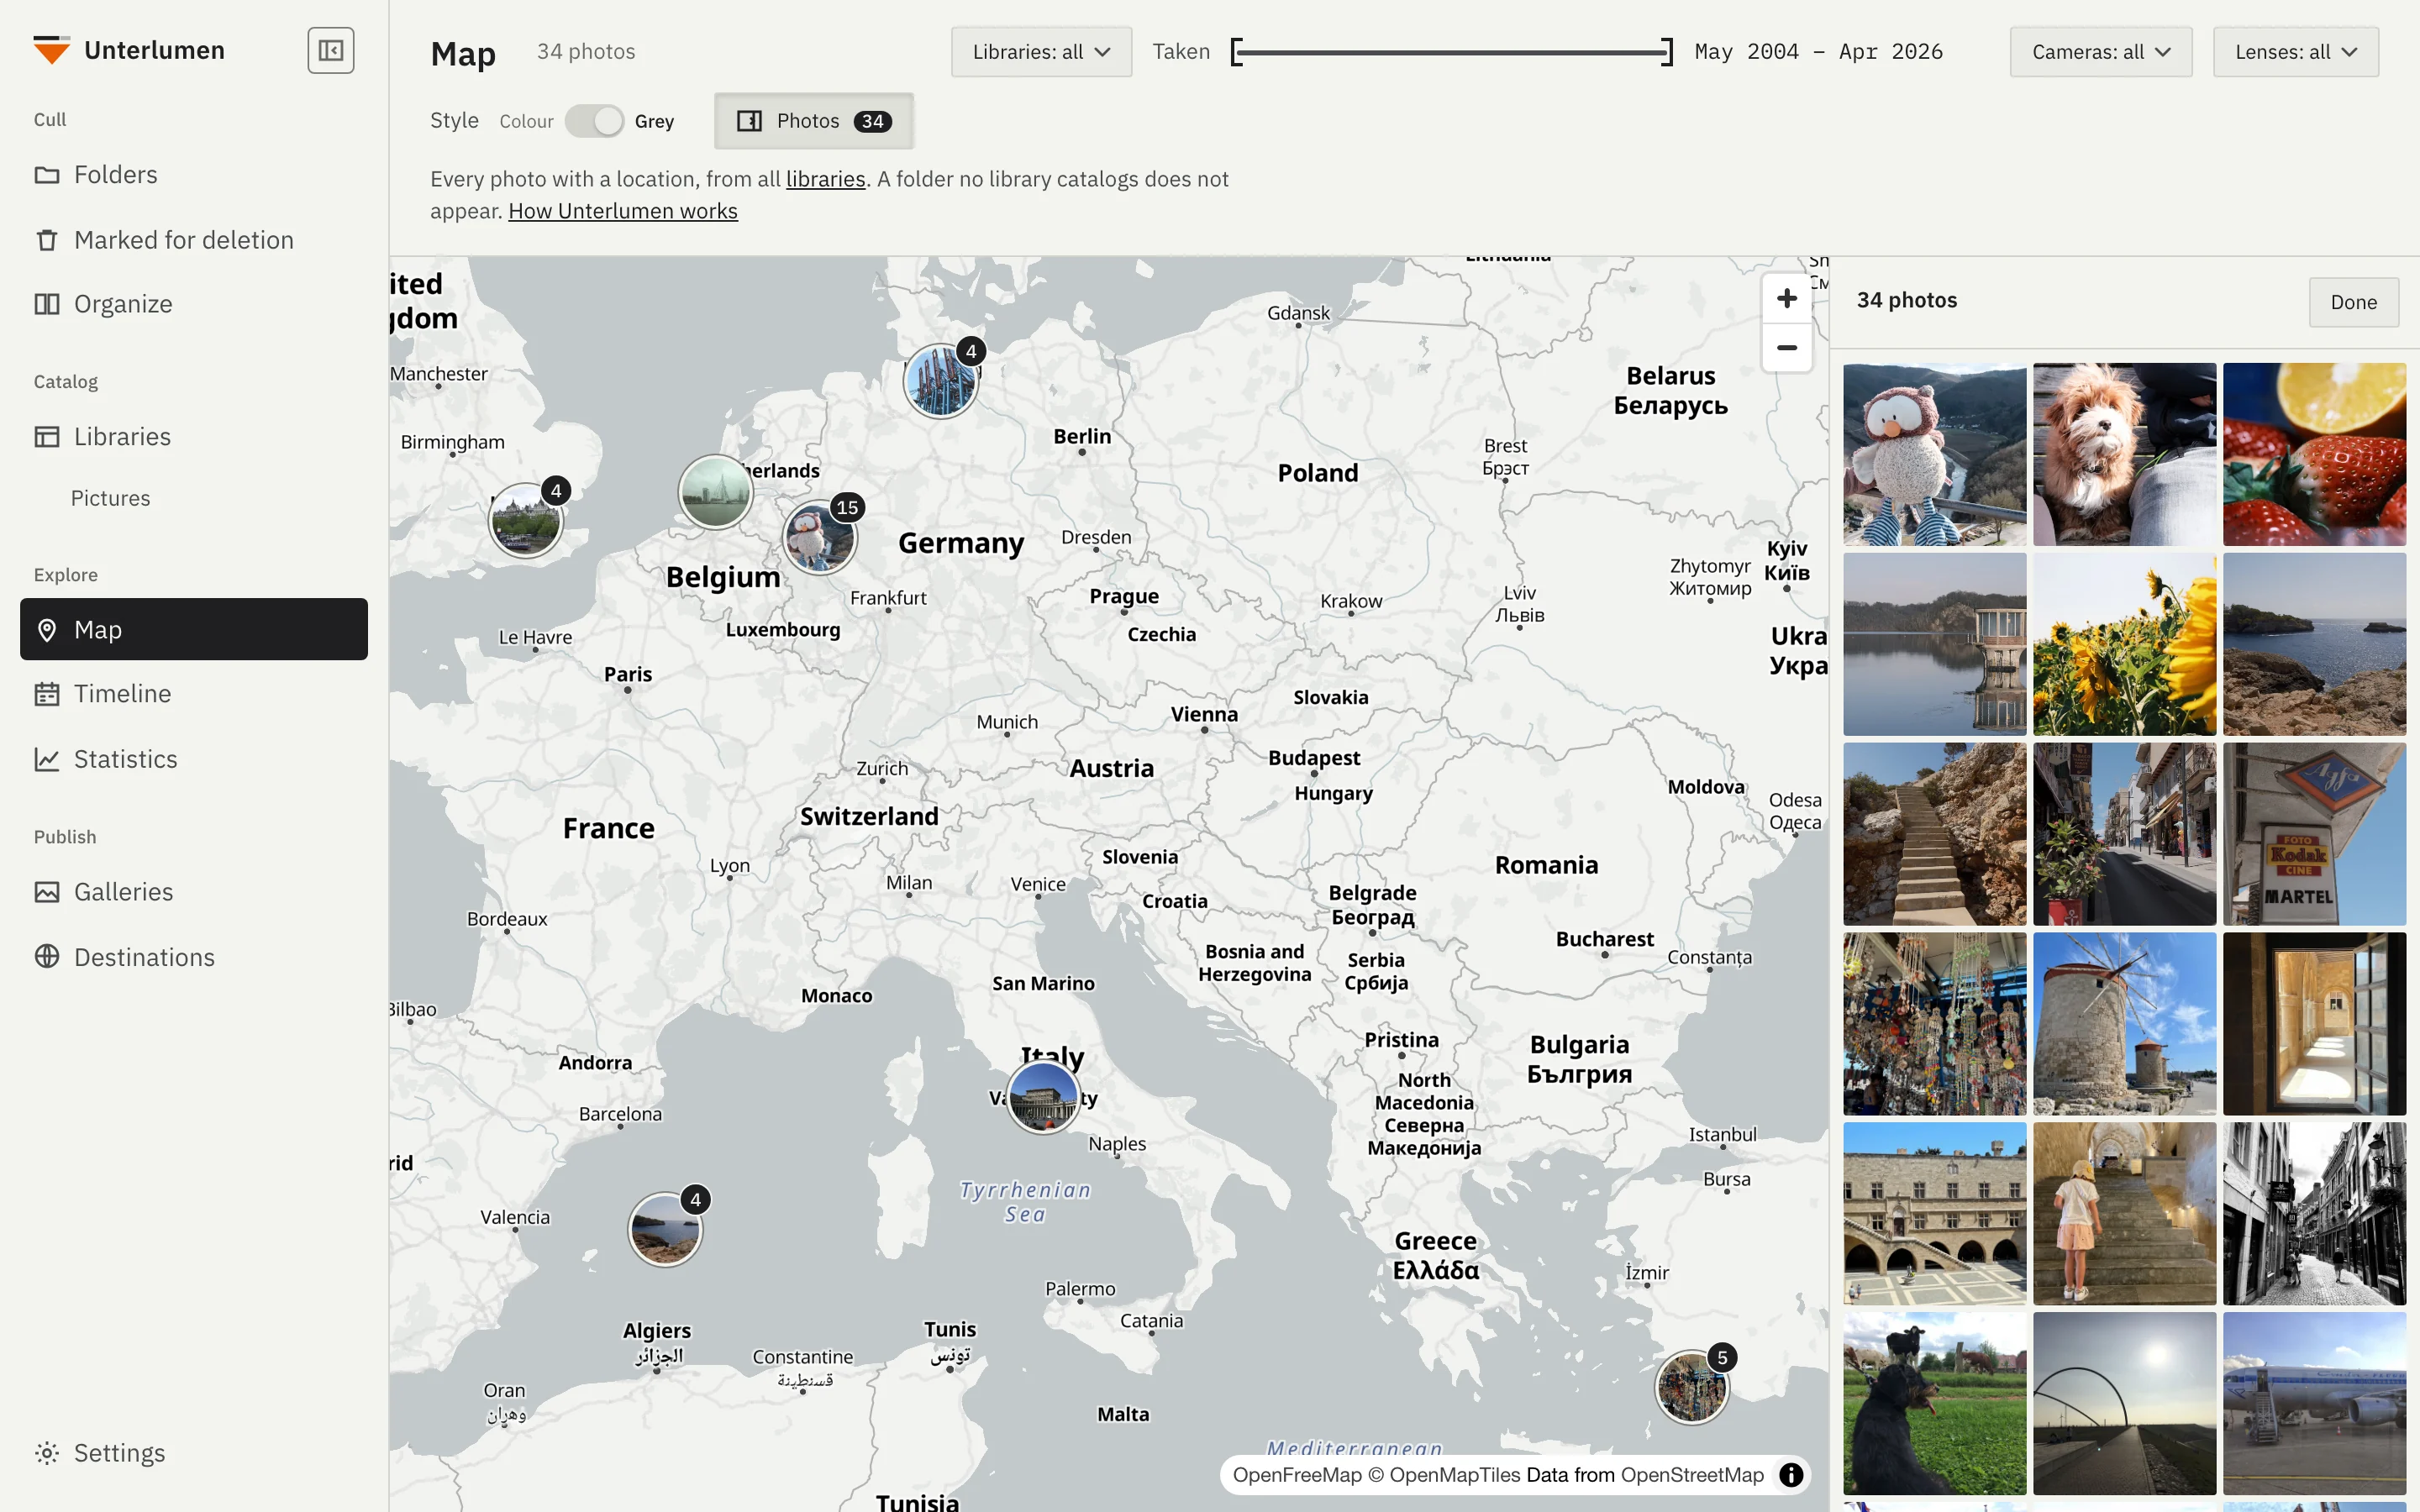
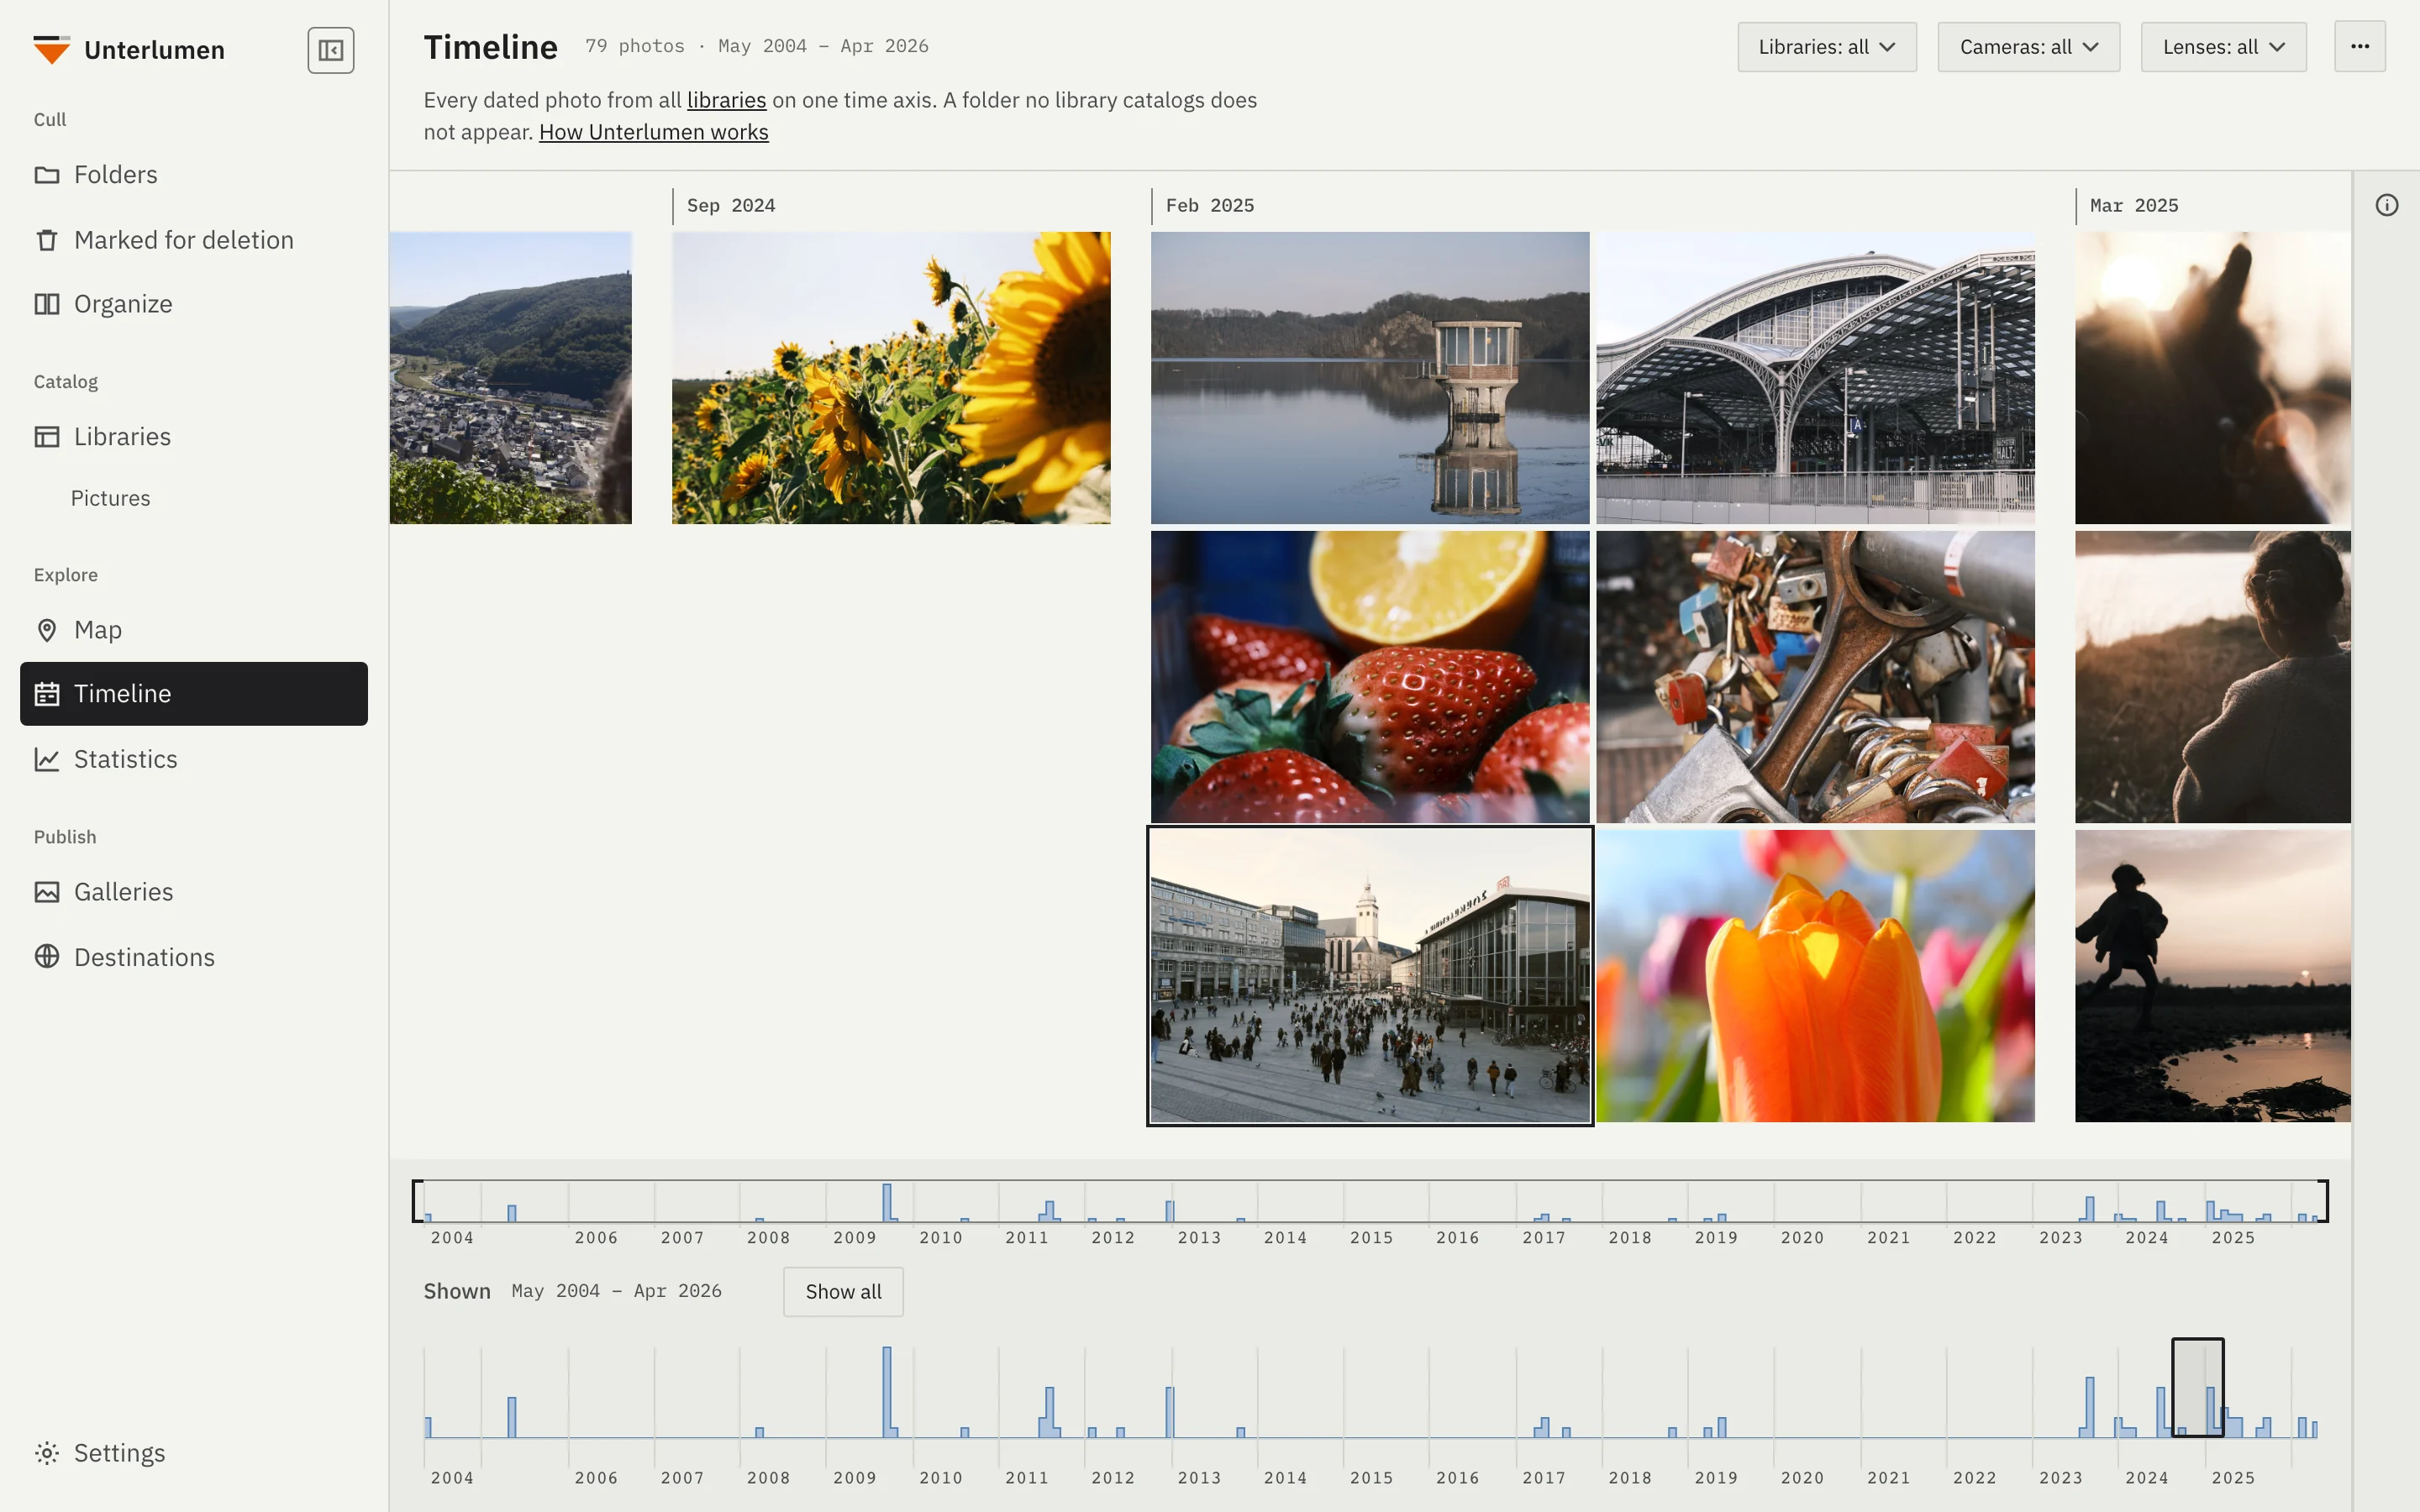
Open Unterlumen on your phone, on the same network, and look through everything you have: libraries, folders, photos, the map, the timeline and your galleries.
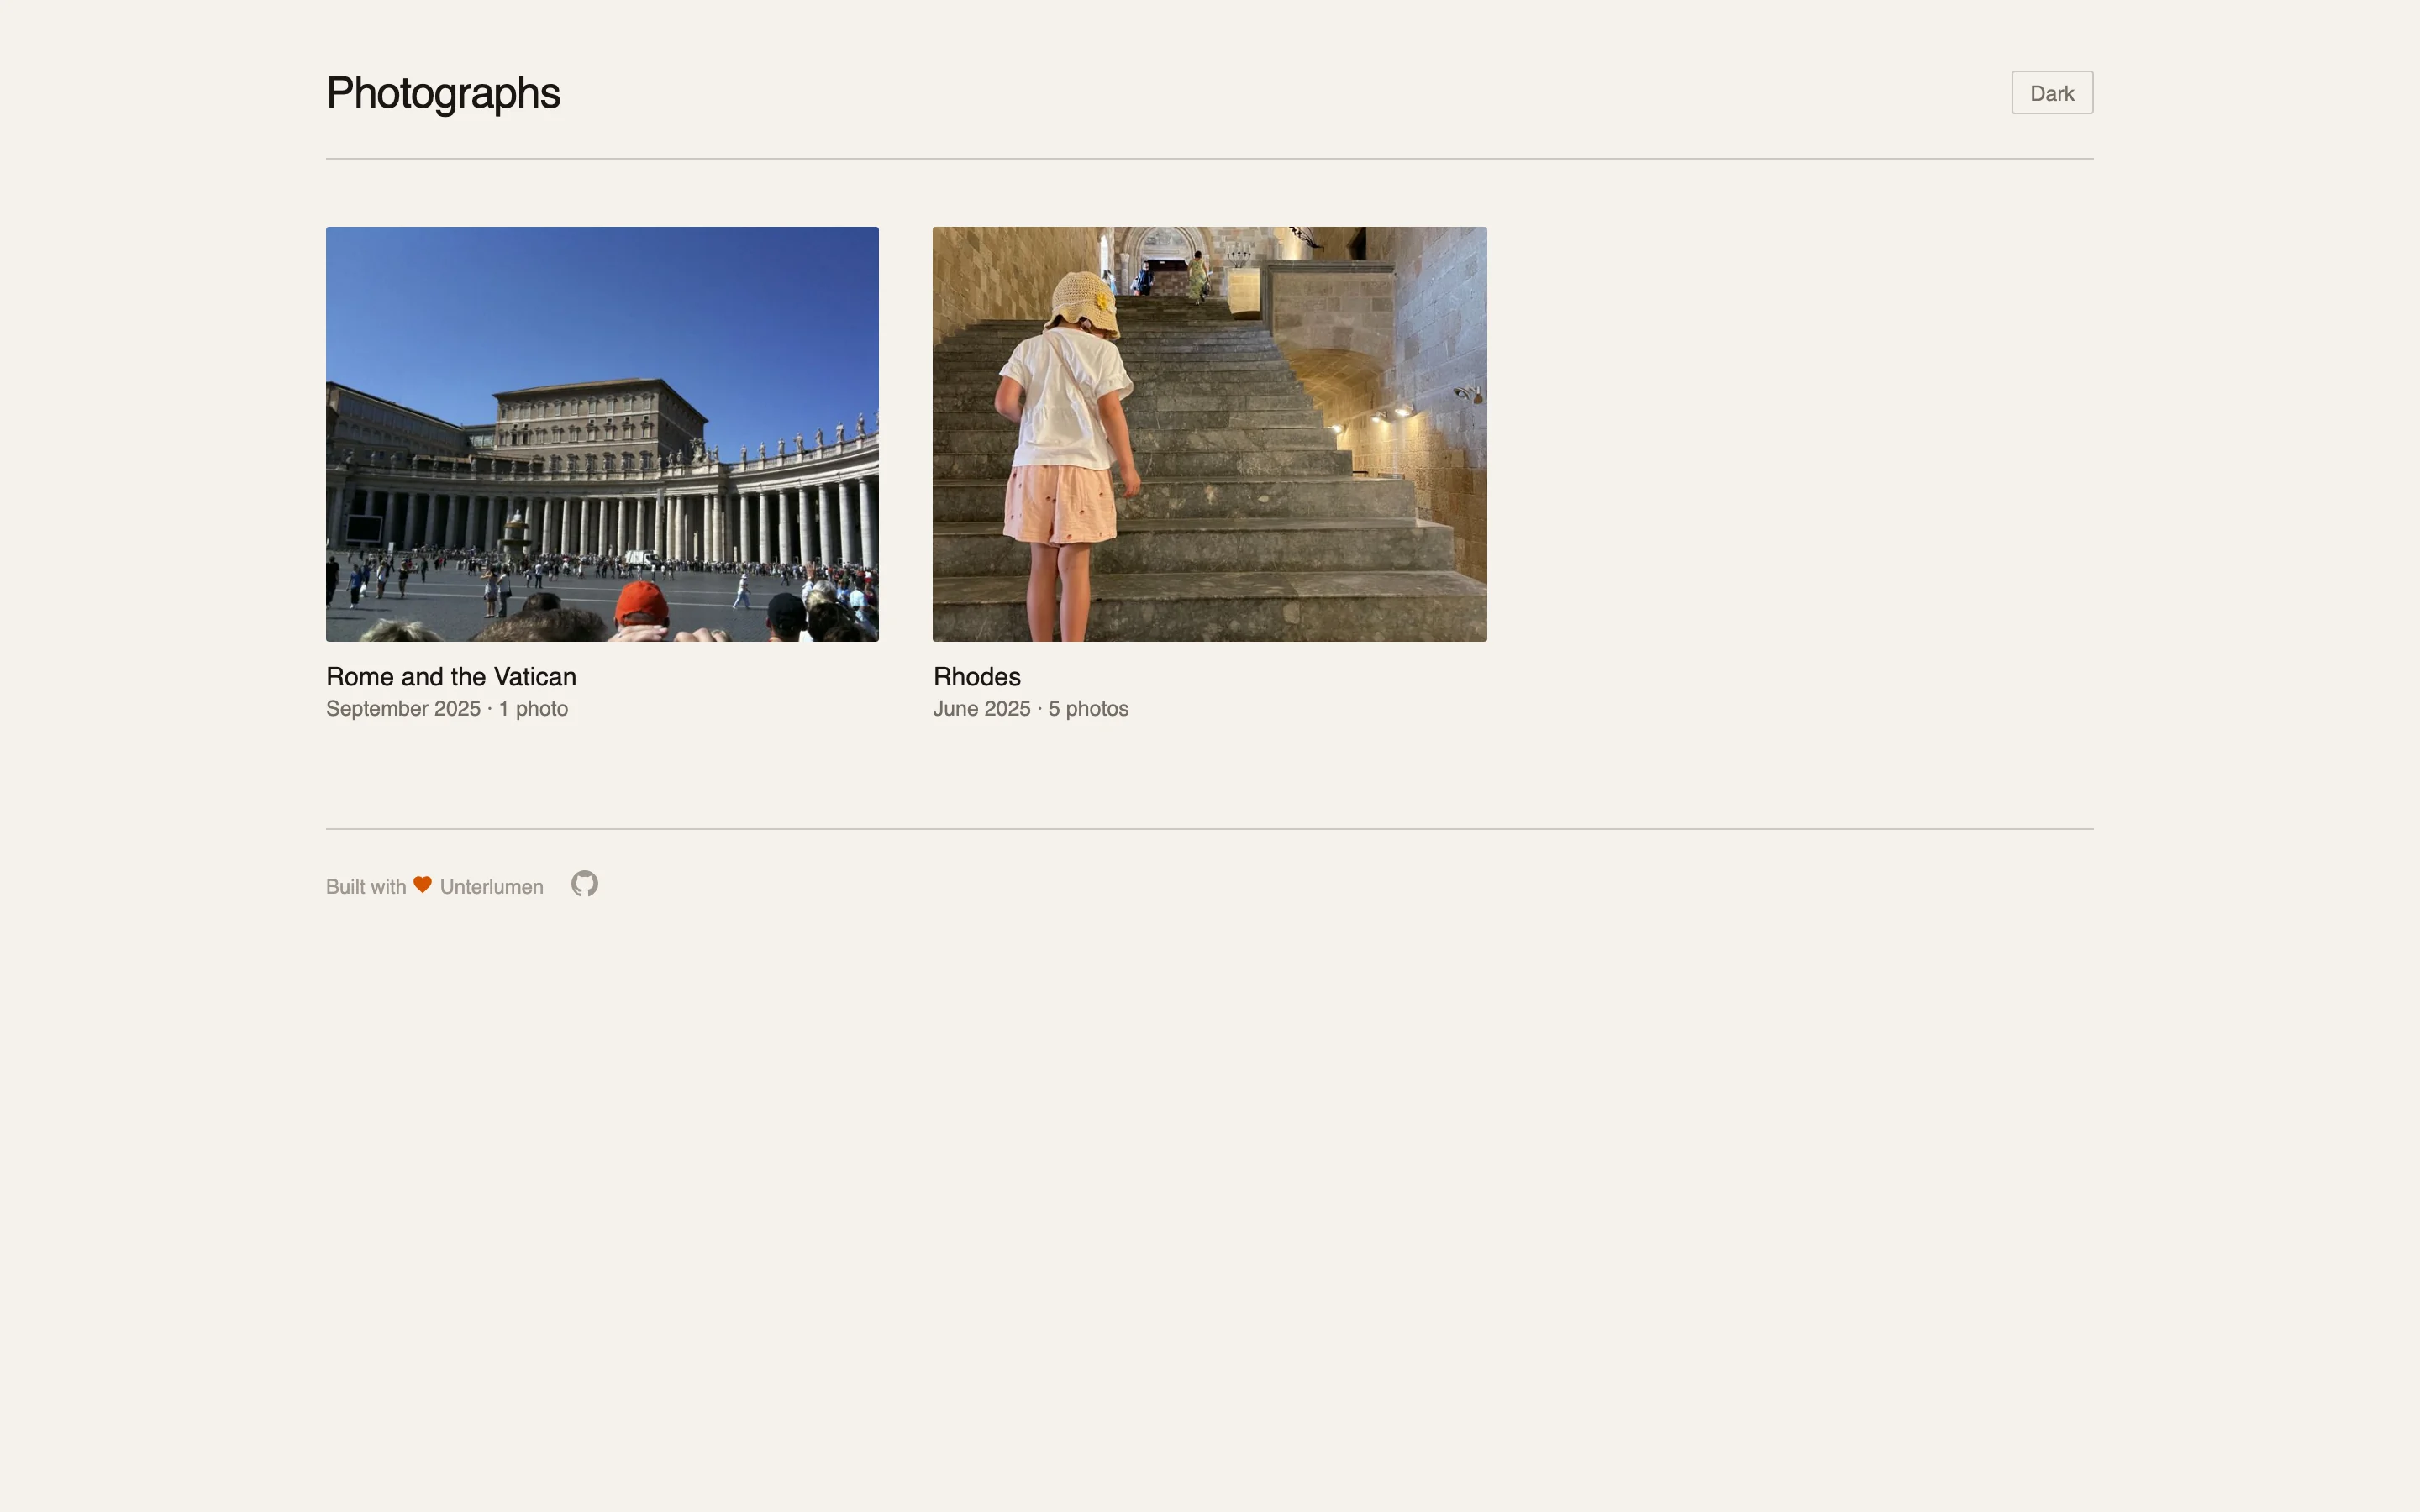
Your photos on your own webspace, as a whole website or as a link for a few people — no photo platform in between.
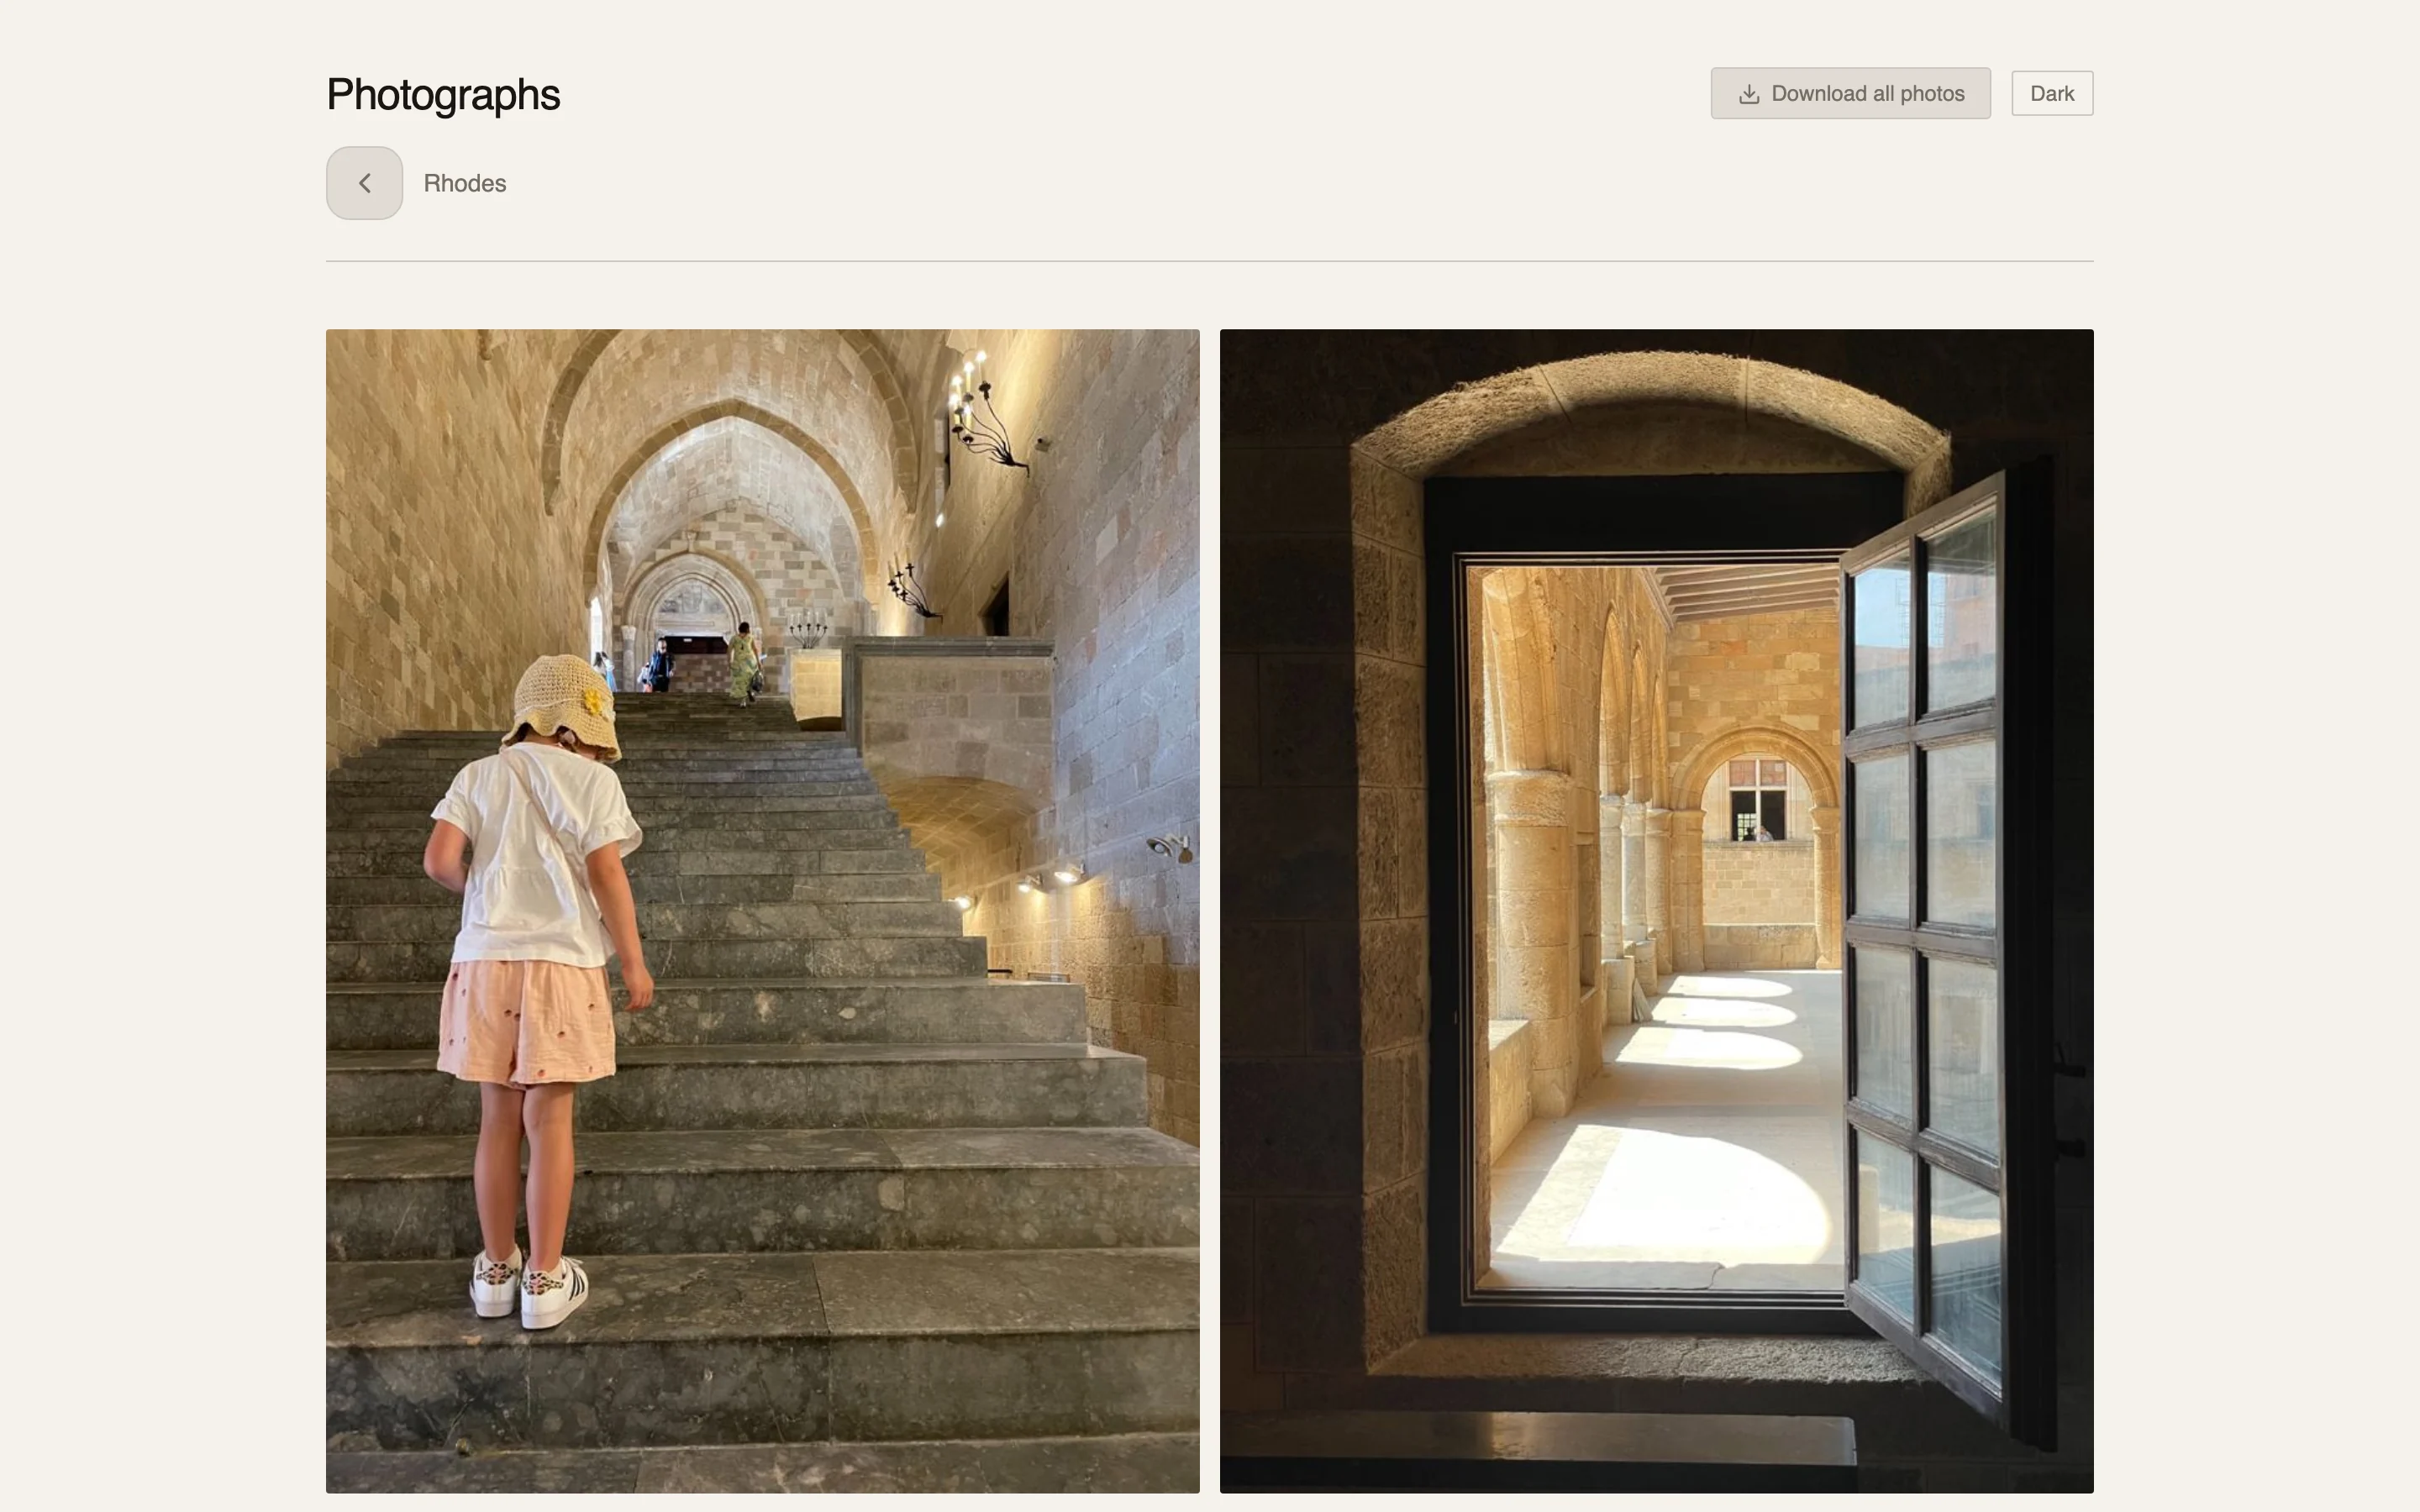
Galleries become a multi-album static website with an index, navigation and a sitemap. It grows with every gallery you publish and can be found by search engines.
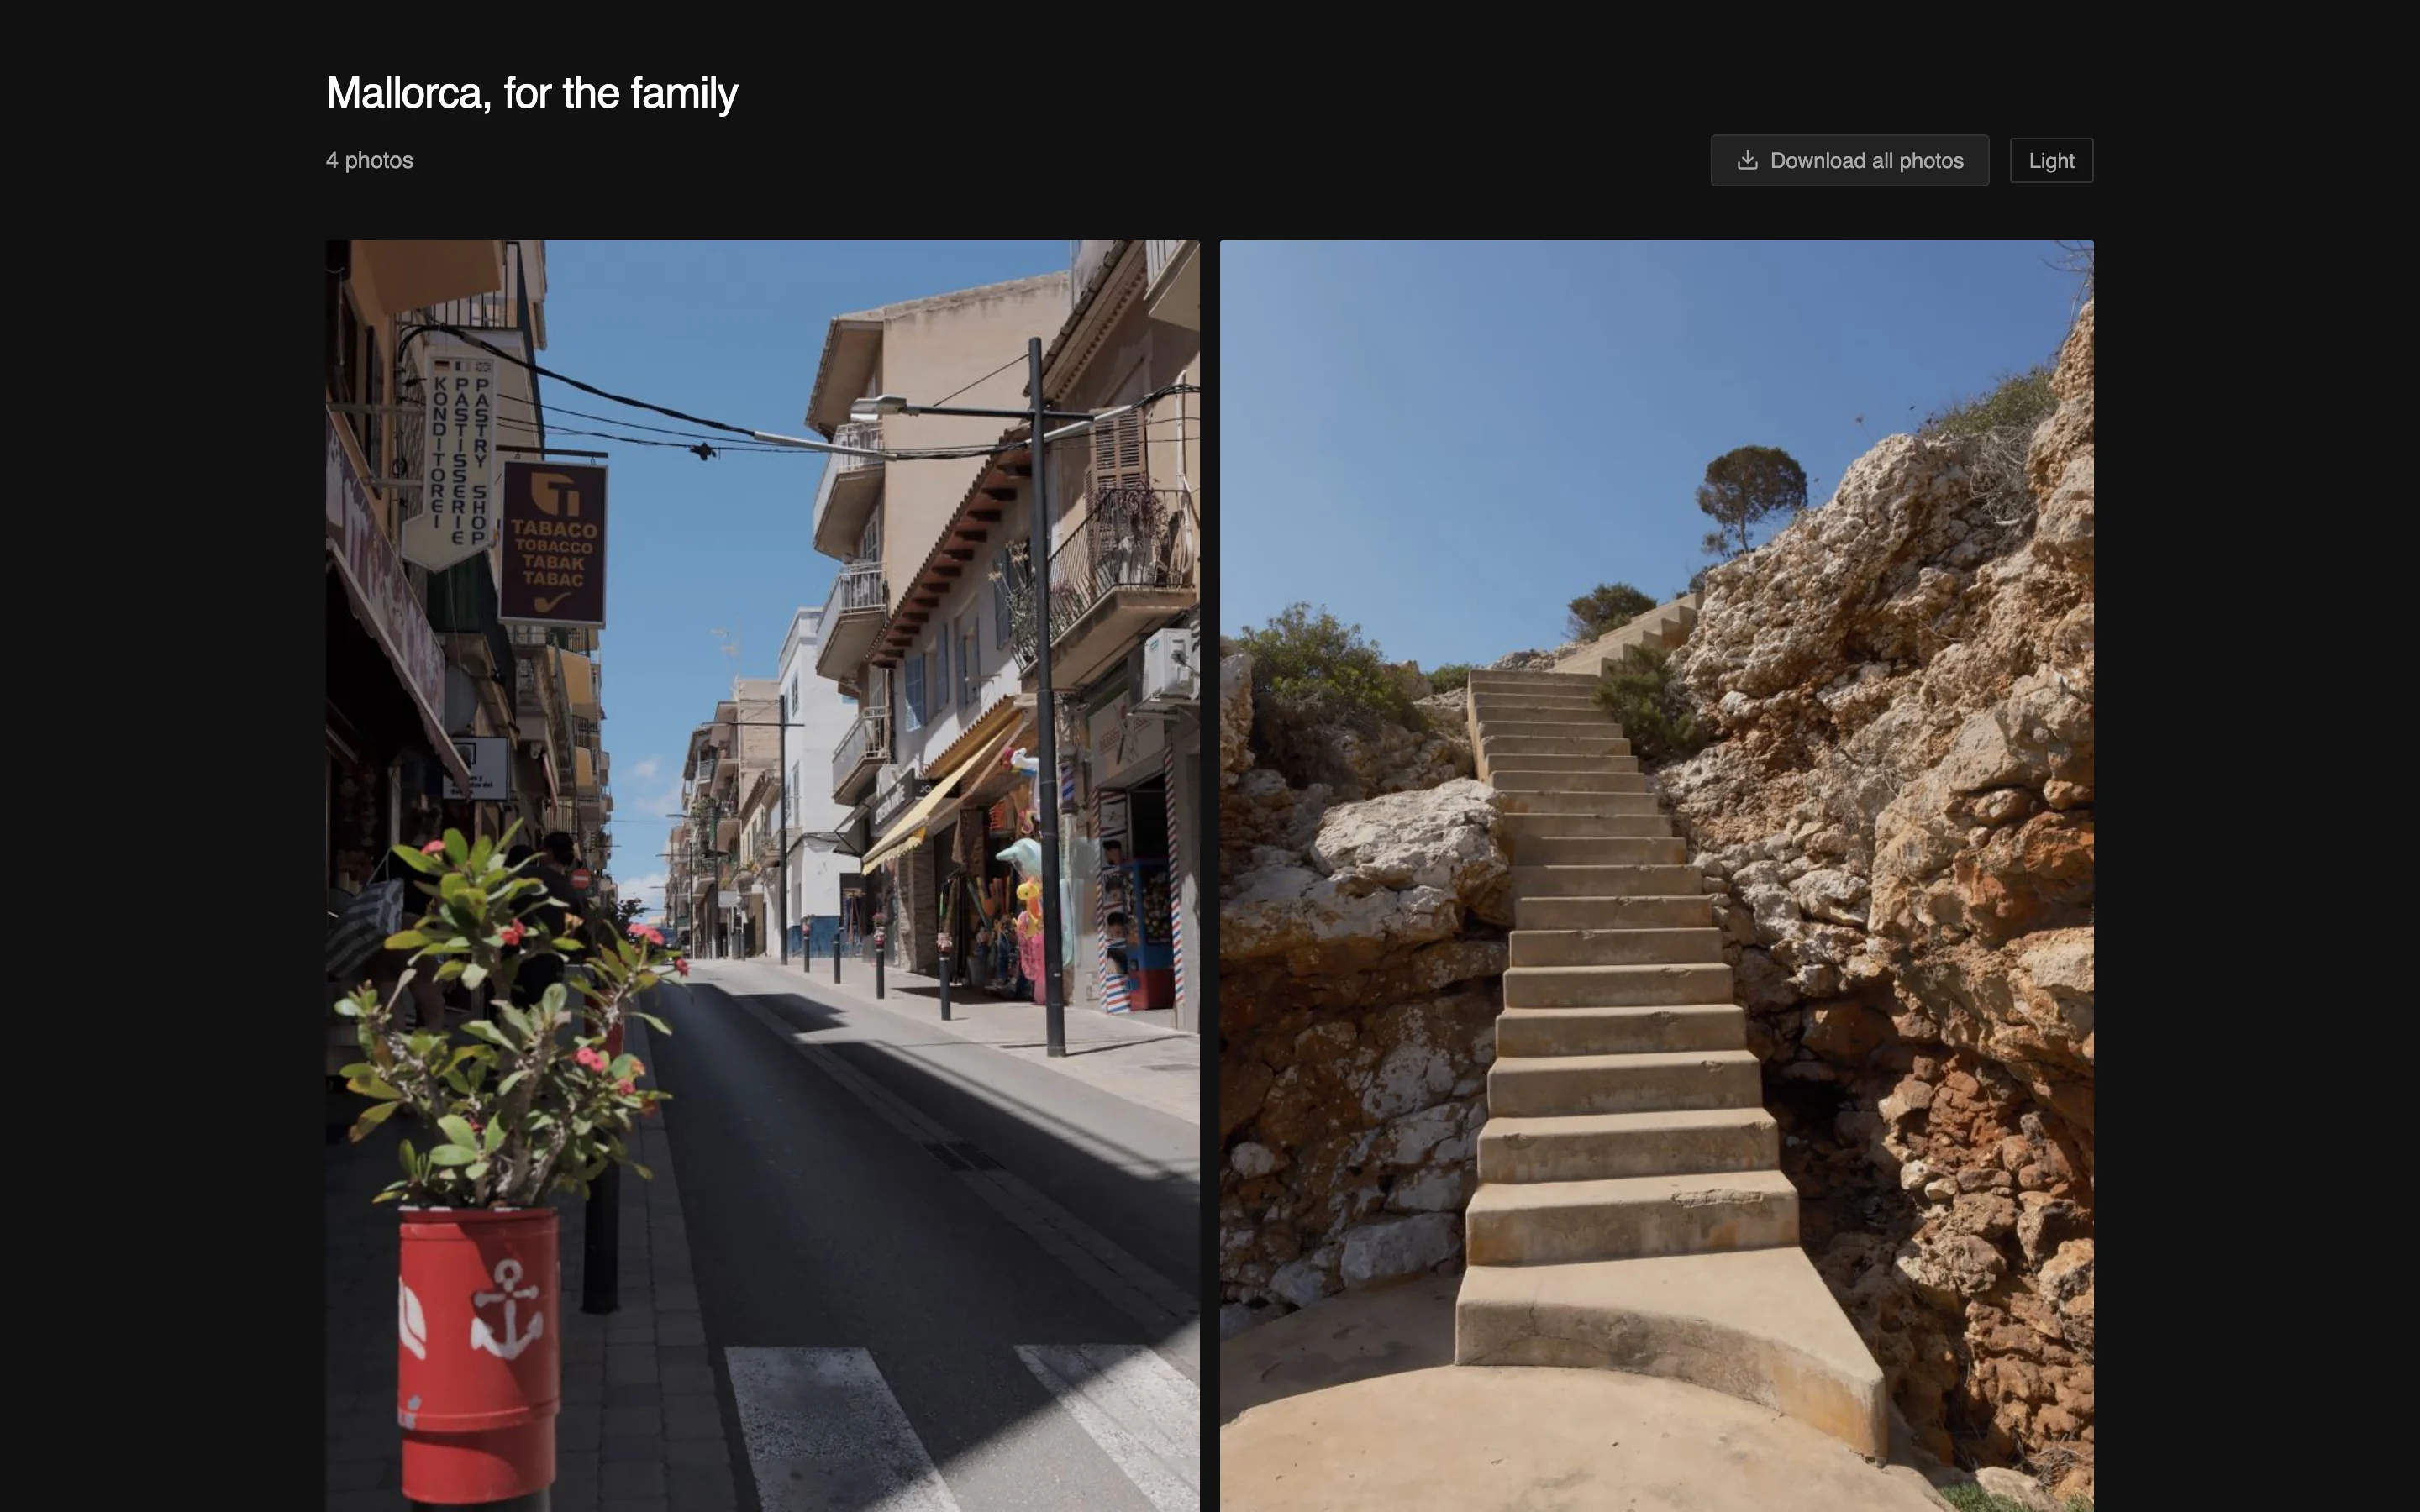
One gallery per link under an unguessable address, kept out of search engines, for sending to family and friends. One host holds as many of them as you like.
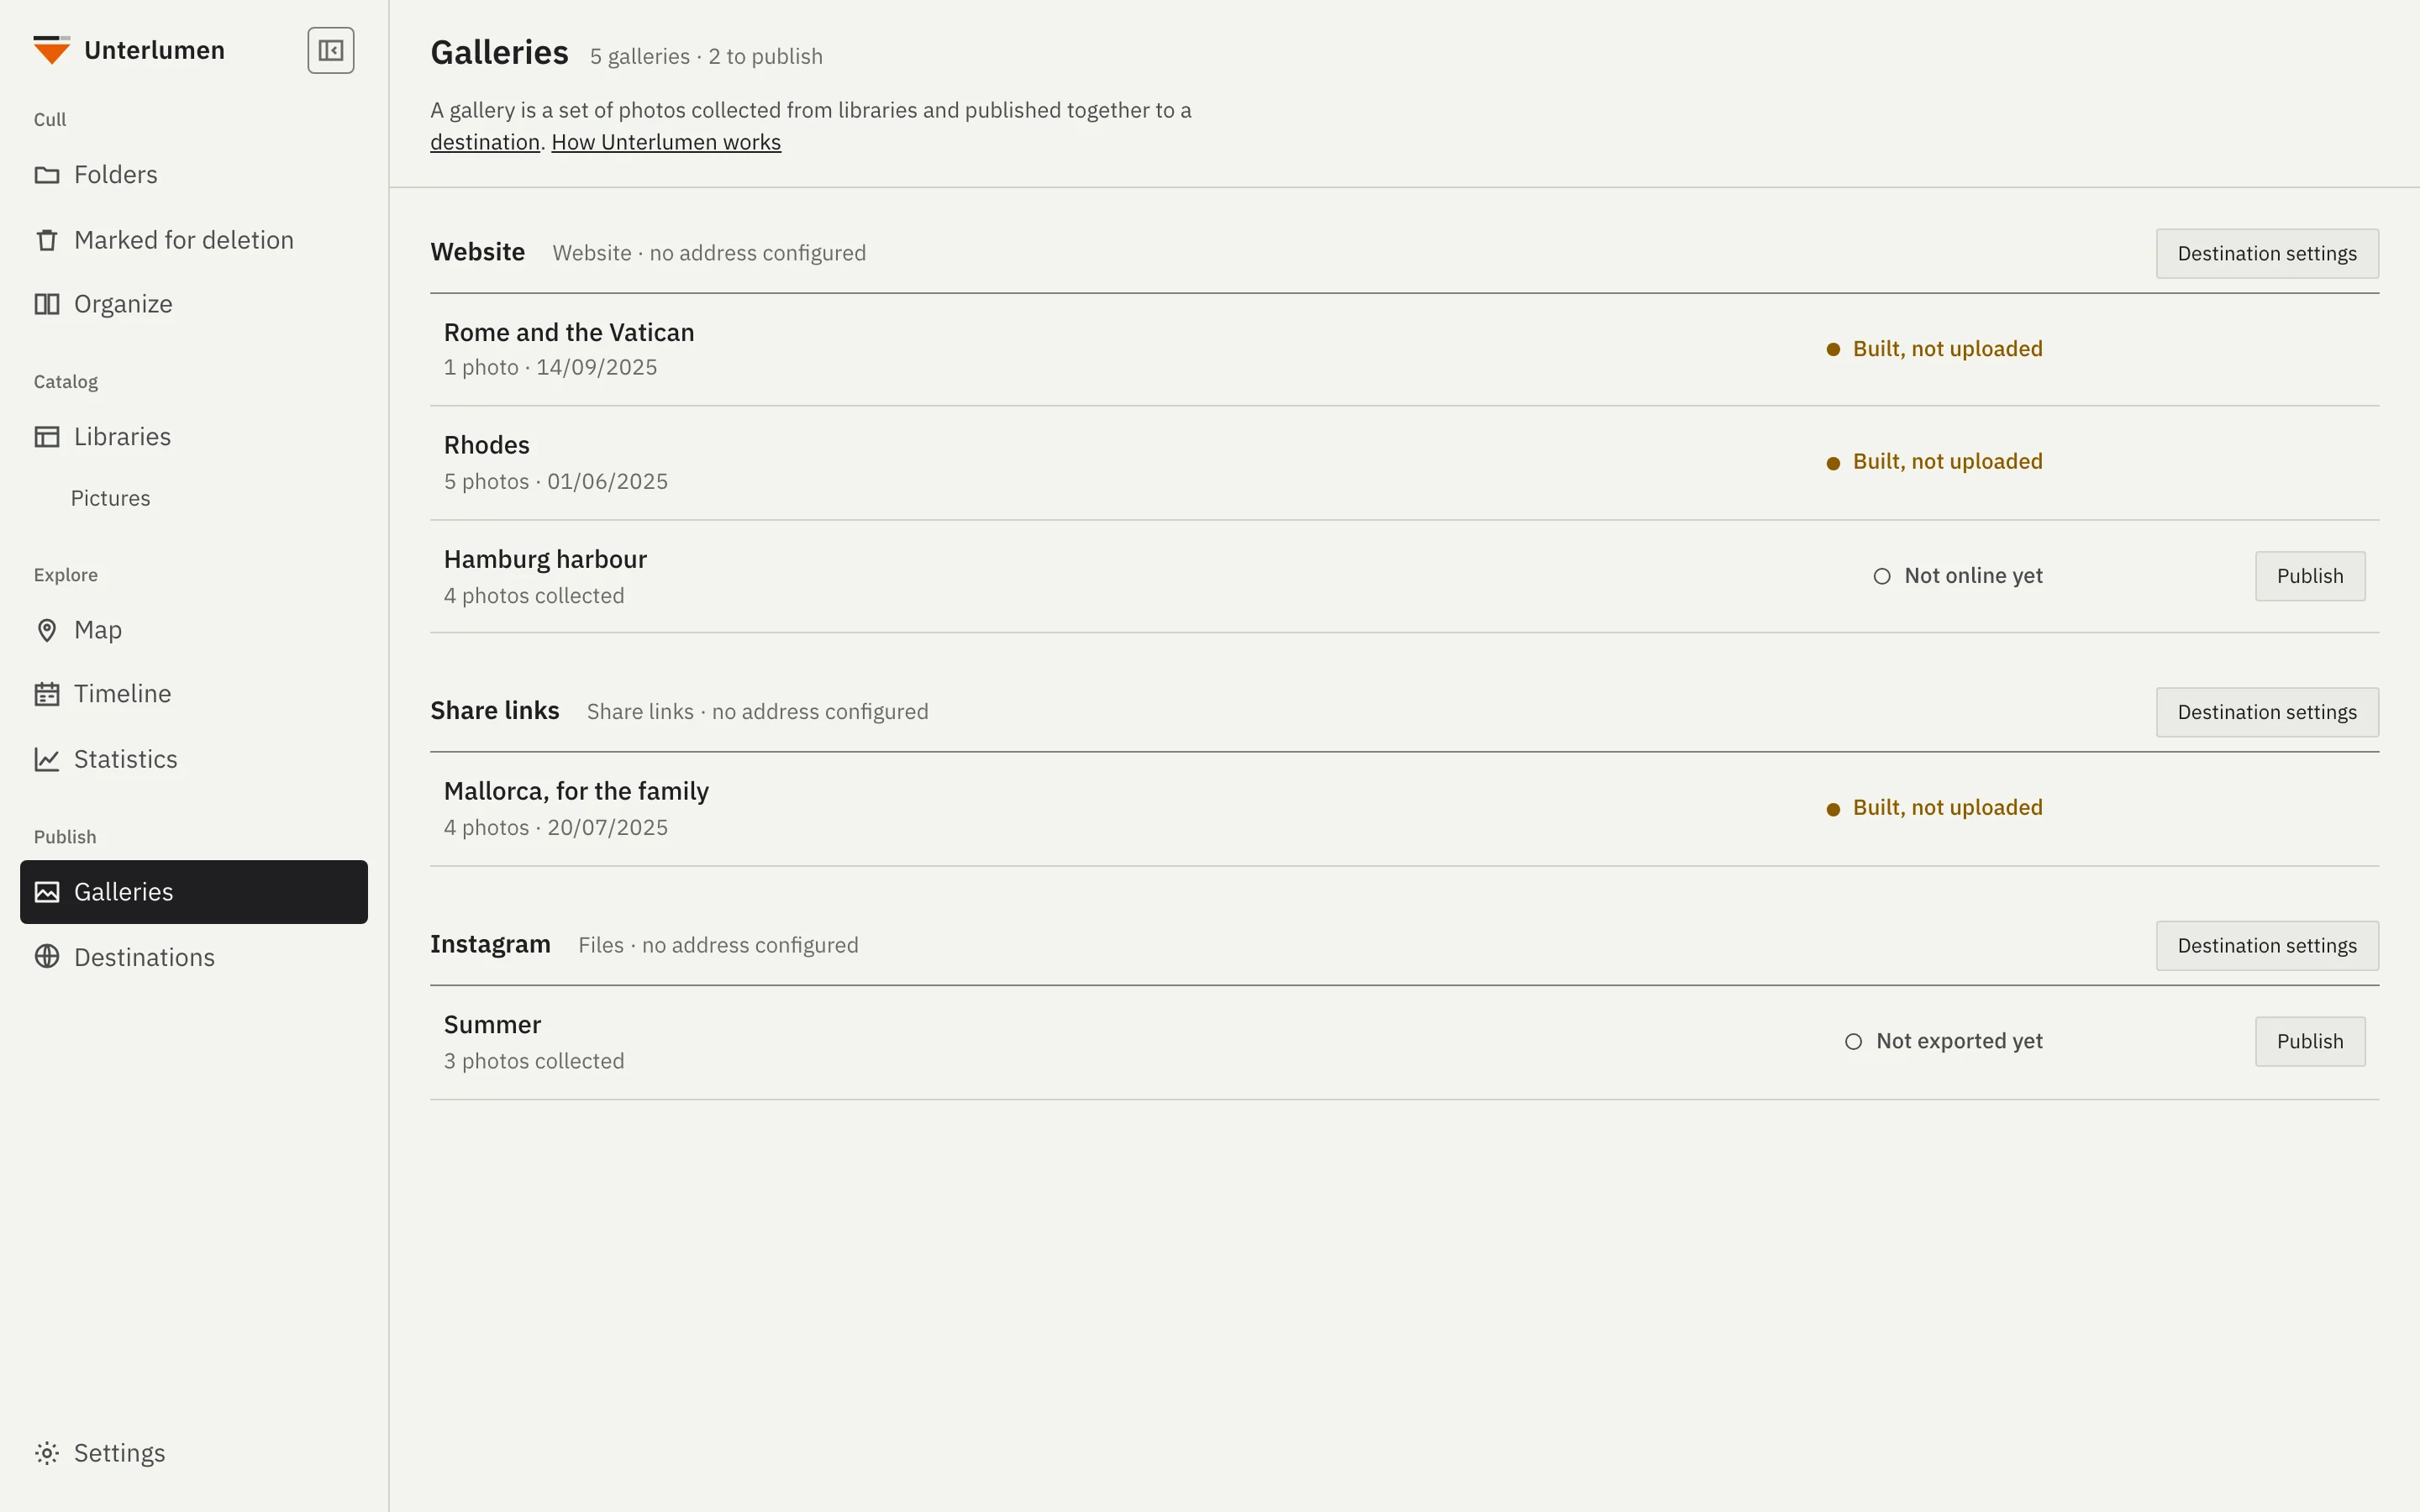
Collect photos into a gallery over as many sessions as you like. Publish exports, builds, uploads and checks the link in one step; each gallery says in words where it stands.
Uploading needs your own webspace reachable over SSH and uses rsync. Without an upload target the build stays in a local folder you can put online any way you like.
Where are your photos, and where do you want to look at them? One installation is enough; two can share their galleries.
For you if your photos are on your Mac or PC — or on a NAS you open in the Finder or Explorer — and you work at that computer.
For you if your photos live on a NAS or home server and you want to look at them from any browser at home, your phone included. Culling and publishing work there too, in the browser of your computer.
Run it in a container beside the photos.
For you if you do the work at your computer — a Mac, a Windows PC or Linux — but also want your photos on the phone. Each installation keeps its own catalog. You decide per library which ones both have, and destinations and galleries are shared through one folder on the NAS, so you publish from either.
Set up the NAS first: share in its Settings, and share each library you want on both in Edit library. Then your Mac, Windows PC or Linux computer: with the NAS connected as a network drive, choose its folder under Settings → Shared folder, and add the shared libraries there with New library.
Two ways to the same app; pick one.
Two ways to the same app; pick one.
In a terminal; installs the helper programs with apt, dnf or pacman and asks for your password with sudo:
curl -fsSL https://huepattl.de/unterlumen/install | sh
Tell a short page which NAS you have and where your photos are; it writes the compose.yml and the steps for Synology, QNAP, TrueNAS, Unraid, Portainer or plain Docker.
With Portainer: enter https://huepattl.de/unterlumen/portainer.json under Settings → App Templates, and Unterlumen is one of the App Templates.
Both at once: set up the NAS first, share in its Settings and share the libraries you want on both; then install Unterlumen on your Mac, Windows PC or Linux computer, choose the NAS's folder, connected as a network drive, under Settings → Shared folder, and add its shared libraries with New library.
Use at your own risk. Back up your files first, especially before you move, rename or delete.